How To Fix A Telescopic Rod Segment That Is Stuck Extended?
A stuck telescopic rod segment can turn a fun day outdoors into a frustrating puzzle. You grab both ends, pull hard, and nothing happens. The sections just won’t budge.
This problem happens to almost everyone who owns a telescopic rod. Friction, corrosion, or tiny bits of debris get trapped between the nested sections. Over time, this causes the segments to lock together tightly.
The good news? You don’t need to panic or buy a new rod. Most stuck segments can be fixed with simple household items and a bit of patience.
In a Nutshell
- Warm up the joint first. Heat makes the stuck material expand slightly, which helps break the friction seal. A hair dryer or warm cloth works well for this.
- Add a lubricant to the joint. A few drops of vegetable oil or WD-40 can reduce grip between segments. Let it sit for a minute before pulling.
- Grip smart with painters tape. Wrap tape sticky side out around your hand. This gives you a strong hold without slipping.
- Pull straight, never twist. Twisting can misalign the guides or crack the rod. Always pull in a straight line matching the rod’s axis.
- Tap gently while pulling. A light tap on the ground can help loosen the segment as you apply steady force.
- If the tip breaks off, heat it away, trim the blank, and glue a new tip using rod cement. This saves the rod instead of tossing it out.
Why Telescopic Rod Segments Get Stuck
Telescopic rod segments get stuck for a few clear reasons. Friction builds up when the nested sections rub against each other without proper lubrication. Over time, this friction hardens and locks the segments in place.
Corrosion is another major culprit. If your rod sits near water, salt air, or moisture, rust forms on the metal surfaces. This rust acts like glue between the segments. Even a thin layer of corrosion makes separation extremely difficult.
Debris and dirt also cause sticking problems. Dust, sand, or small particles get trapped between the nested sections. These particles wedge themselves into tight spaces and prevent smooth movement. The more you try to force the rod, the deeper the debris settles.
Heat expansion actually works in your favor here. When metal warms up, it expands slightly. This small expansion can break the grip that friction, corrosion, or debris has on your rod. That’s why heat is the first step in most unsticking methods.
Material stress happens when segments stay extended too long. The metal fatigues and the fit becomes tighter over time. Extended rods also absorb more moisture and temperature changes, which speeds up corrosion.
Understanding these causes helps you prevent future problems. Store your rod in a dry place. Keep it clean and lightly lubricated during off seasons. Never force a stuck segment without applying heat first.
The good news? Most stuck segments respond well to simple heat and lubrication. Your rod isn’t broken yet. With the right approach, you can safely separate those segments and get back to normal use.
What You’ll Need Before You Start
Before you start working on your stuck telescopic rod segment, gather the right tools and materials. Having everything ready makes the job faster and safer.
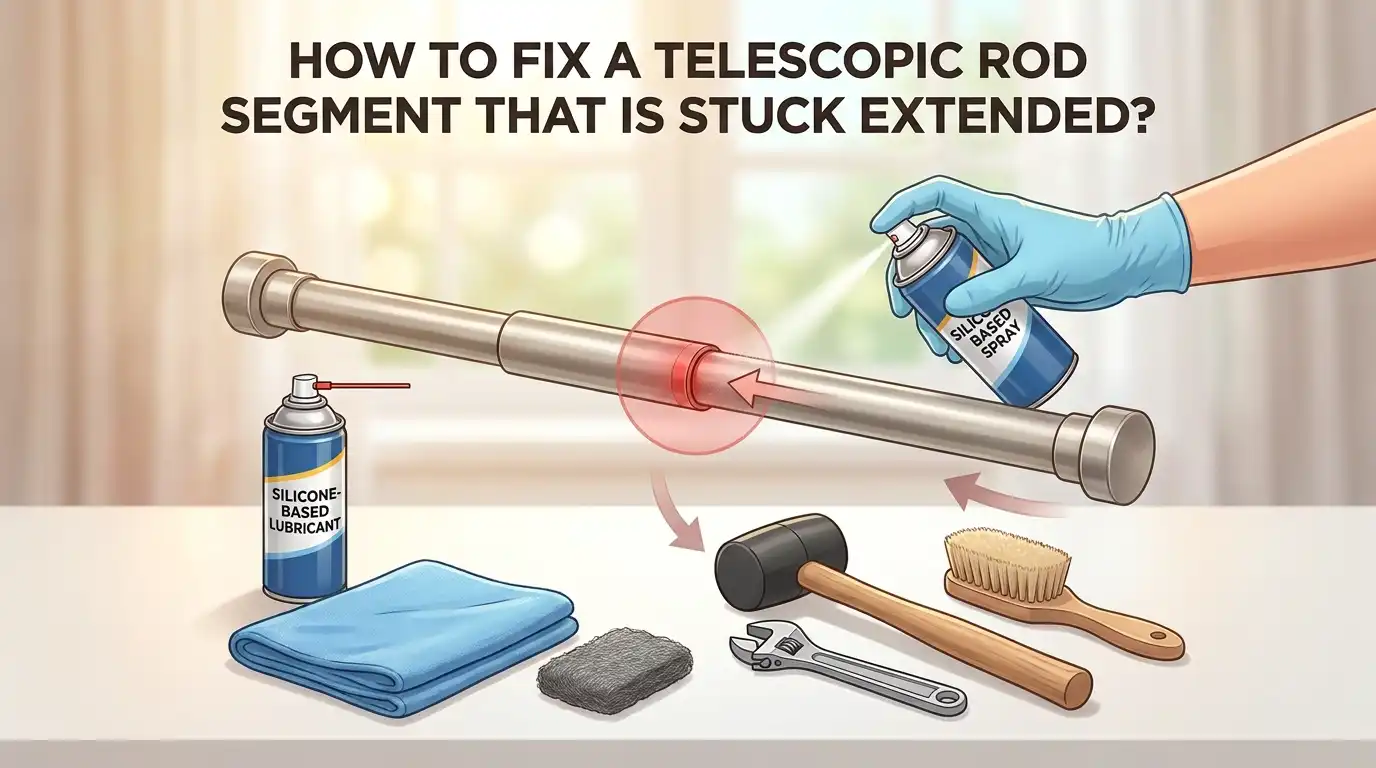
Heat is your first weapon. You’ll need a heat source to expand the stuck material. A heat gun works best because you can control the temperature. A hair dryer on high setting also works, though it takes longer. Hot water poured over the joint is another option if heat tools aren’t available.
Lubrication breaks the bond holding the segments together. Common household oils work well for this task. You can use vegetable oil from your kitchen. Other lubricants like penetrating oils also help reduce friction between the stuck sections.
Grip enhancement tools matter. Painters tape with the sticky side facing out gives you a better grip when pulling. This prevents your hand from slipping during the extraction process. Cloth or rubber gloves can also improve your grip strength.
Gentle tapping tools help too. A rubber mallet or wooden block is useful for light taps. Never use a metal hammer, as this can dent or crack your rod. The tapping helps loosen the joint gradually.
A straight pulling setup prevents damage. You need a clear space where you can pull the rod straight without obstruction. Pulling at angles or twisting causes cracks and guide misalignment.
First aid supplies are smart. Keep bandages and antiseptic nearby in case of minor cuts or scrapes. Working with stuck segments sometimes causes hand irritation.
Gather these items before you begin. This preparation prevents frustration and keeps your rod safe during the unsticking process.
Step-by-Step: Using Heat and Lubricant to Loosen a Stuck Segment
Heat and lubrication work together to free a stuck telescopic rod segment. This method addresses the core problem: friction and corrosion binding the nested sections together.
Start by applying heat to the stuck joint. Use a heat gun, hair dryer on high setting, or warm water to expand the material. Heat causes metal to expand slightly, which breaks the corrosion bond. Apply warmth for 2 to 3 minutes, moving the heat source around the joint evenly. Avoid overheating, which can damage rod coatings or handles.
Next, add lubricant while the joint is still warm. The heat opens microscopic gaps between segments. Vegetable oil, mineral oil, or standard penetrating lubricant flows into these gaps and reduces friction. Apply the lubricant around the entire joint where the two segments meet. Let it soak for 30 seconds to 1 minute.
Wrap painters tape around the outer segment with the sticky side facing outward. This creates a non slip surface for your hand. The texture gives you grip strength without damaging the rod coating.
Pull straight and steady with even force. Keep your pull aligned with the rod’s axis. Never twist or rock the segments side to side, as this misaligns internal guides and cracks the rod.
Tap gently on the ground while pulling. Use a rubber mallet or wooden block to tap the outer segment lightly. These small impacts help break the corrosion bond without forcing the issue.
If the segment still won’t budge after 5 to 10 minutes, reapply heat and lubricant. Patience works better than force. Repeat this cycle until the segment slides free.
The Painters Tape Grip Technique for Better Pulling Leverage
Painters tape works as a simple grip enhancement tool when you need extra leverage to pull a stuck telescopic rod segment. The sticky side facing outward creates friction between your hand and the rod surface.
Start by wrapping the painters tape around the outer segment. Overlap each wrap by about half the tape width as you spiral it down. This layering builds up grip strength without damaging the rod’s finish. Make sure the sticky side faces outward so your skin contacts the adhesive.
The tape’s stickiness prevents your hand from slipping during the pulling motion. This matters because a slipping grip forces you to grip harder, which tires your hand faster. Better grip means you can apply steady, even force for longer periods.
Position yourself with the rod held firmly in one hand using the taped section. Your other hand should stabilize the inner segment or the rod’s base. Stand with your feet shoulder width apart for balance and stability.
Pull straight back with smooth, steady pressure. Don’t jerk or yank the rod. Your wrapped grip lets you maintain consistent force without your hand sliding off the segment.
Combine the tape grip with gentle tapping on the ground. Hold the taped section and tap the outer segment lightly against a rubber mat or wooden block. The small impacts help break the corrosion bond while your pulling force works on separation.
The painters tape grip technique works best after you’ve applied heat and lubricant to the stuck joint. Heat expands the material and lubricant reduces friction. The improved grip simply helps you apply the pulling force more effectively and safely throughout the unsticking process.
Mistakes That Make a Stuck Rod Worse
Many people make mistakes when trying to free a stuck telescopic rod segment. These errors actually make the problem worse and can cause permanent damage.
Twisting the rod is the biggest mistake. When you rotate or twist a stuck section, you misalign the internal guides. This creates new friction points and can crack the rod material. Always pull straight back along the rod’s axis instead of rotating.
Applying uneven or lateral force damages the rod too. If you pull at an angle or from the side, you stress the segments unevenly. This bending action can bend the rod or crack the walls where segments overlap. Your pulling motion must stay in a straight line with the rod.
Forcing without heat or lubricant causes serious harm. Some people just yank hard on a stuck segment. This extreme pressure can split the rod, break the guides inside, or permanently deform the material. Heat and lubricant must come first to reduce friction safely.
Pulling too fast or with jerky motions is another common error. Quick, sudden pulls create shock forces that can snap the rod. Smooth, steady pressure works much better than aggressive yanking.
Ignoring the grip method leads to slipping and loss of control. When your hand slips during pulling, you lose the steady force needed. Your pull becomes uneven and unpredictable. This causes the rod to move at odd angles.
Tapping too hard defeats the purpose of gentle separation. Heavy strikes can bend or crack segments. Light taps work with heat and lubricant to gradually free the joint.
Patience and proper technique keep your rod safe while unsticking it.
What To Do If the Rod Segment Breaks During Removal
If your rod segment breaks during removal, don’t panic. This happens when too much force is applied without proper preparation. The good news is that you can repair it.
First, assess the damage carefully. Look at where the break occurred. If the tip snapped off, you’ll need to remove what remains of the broken section. If the blank itself cracked, the repair process is different.
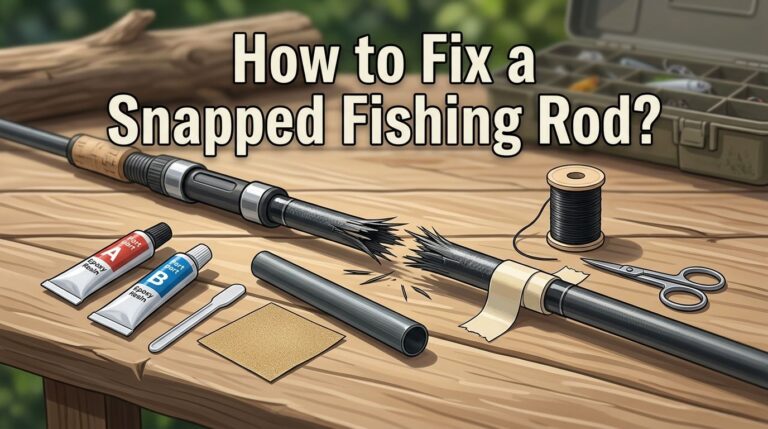
For a broken tip, apply heat to the joint where the tip connects to the blank. Use a heat source like a hair dryer or warm water. The heat helps loosen any adhesive holding the tip in place. Once warm, gently tap the broken tip with a rubber mallet to separate it from the blank.
Next, examine the blank for damage. Check if the blank itself cracked or if only the tip detached. If the blank is intact, you can prepare it for a new tip. Trim the blank end to remove any rough edges or splintered material. Make sure you cut back to solid material that isn’t compromised.
To attach a new tip, use rod cement designed for this purpose. Apply the cement to both the blank and the new tip according to the cement instructions. Insert the new tip onto the blank with a slight twisting motion to spread the cement evenly. Hold it in proper alignment while the cement sets.
Allow adequate curing time before using the rod again. Most cements require several hours to fully harden. Check the specific instructions for your cement type.
This repair restores your rod’s function. Proper care prevents future breaks during unsticking attempts.
Troubleshooting Persistent or Severely Corroded Joints
Severe corrosion creates a different challenge than simple friction. When rust or mineral deposits form inside the joint, they bond the segments together chemically. You cannot simply pull these apart with force alone.
Start by identifying corrosion signs. Look for white, green, or orange discoloration around the stuck joint. The segments may feel rough or gritty when you try to move them slightly. This tells you corrosion is present.
Apply heat first to break the corrosion bond. A heat source expands the metal and helps loosen oxidized particles. Work slowly and evenly around the entire joint area. This process takes patience but produces better results than forcing.
Once heated, apply a penetrating lubricant directly into the joint gap. Let it soak for 15 to 30 minutes. The liquid works into microscopic spaces where corrosion has formed. This breaks down the chemical bond holding the segments together.
Use a soft brush or cloth to gently scrub away any visible corrosion around the outside of the joint. Remove loose rust particles before attempting separation. This prevents debris from scratching the rod’s inner surfaces.
Now combine your grip technique with gentle tapping. Wrap painters tape around the outer segment with the sticky side facing out. Hold the rod firmly and pull with steady, direct force along the rod’s axis. Tap the ground gently while pulling to create small vibrations. These vibrations help separate corroded surfaces.
If the joint still resists, reapply heat and lubricant. Wait another 20 minutes and repeat the process. Severely corroded joints sometimes need multiple cycles. Never twist or pull at angles, as this damages the rod’s internal structure and guides.
Preventing Future Stuck Segments
Preventing stuck segments starts with regular maintenance. Clean your rod after each use, especially if you’ve been near salt water, sand, or dirt. These materials get trapped between nested sections and cause friction over time.
Store your rod in a dry location. Moisture creates rust and corrosion that bonds segments together. Keep it upright or horizontal, never bent or stressed in storage.
Apply a light coat of lubricant to the joints every few months. This reduces friction and keeps corrosion from forming. Wipe away excess lubricant so dirt doesn’t stick to the oily surface.
Extend and retract your rod gently during normal use. Smooth, controlled movements keep segments aligned and prevent binding. Avoid sudden jerks or rough handling that strains the joints.
Never force segments together when collapsing your rod. If you feel resistance, stop and check for debris. Gently wiggle the segment while pulling inward rather than jamming it down.
Store your rod with segments slightly extended, not fully collapsed. This reduces pressure on the joints and prevents segments from fusing together over time.
Inspect your rod regularly for signs of corrosion or damage. Catch problems early before they become serious. Look for discoloration, rough spots, or unusual resistance when extending or retracting.
Keep your rod away from extreme temperature changes. Rapid heating and cooling causes expansion and contraction that can create tight spots between segments.
Handle your rod with care during transport and storage. Protect it from impacts that could bend segments or misalign guides. A well maintained rod stays functional and segment free for years.
Final Thoughts
A stuck telescopic rod segment feels frustrating at first. But most fixes are simple once you know the right steps.
Heat and lubrication solve the majority of stuck rod problems. These two tools work together to break friction and corrosion bonds.
Remember to always pull with even, straight force. Twisting or yanking sideways damages guides and cracks the rod blank.
The painters tape grip technique gives you control without harming the rod surface. This small trick makes a big difference.
If a segment breaks during removal, stay calm. You can fix minor tip damage with proper rod cement and patience.
Corroded joints need extra attention. Heat first, then lubricate, then gently work the segments apart.
Prevention saves you time and stress later. Regular cleaning and light lubrication keep your rod segments moving freely.
Store your rod properly between fishing trips. Avoid extreme heat or cold, and never force segments together.
Most anglers face this problem at some point. It does not mean your rod is ruined.
With the right technique, you can free a stuck segment in minutes. Heat, lubricant, and steady pulling handle most situations.
Take your time during the process. Rushing leads to mistakes that cause real damage.
Patience and technique matter more than brute strength here. A calm, methodical approach protects your rod for future use.
Keep these steps in mind next time a segment sticks. You now have the knowledge to handle it confidently.
A well maintained rod lasts for years. Small efforts now prevent bigger headaches later.
Your telescopic rod is a valuable tool. Treat it with care, and it will serve you well on every fishing trip ahead.
Frequently Asked Questions
Why does my telescopic rod segment get stuck in the extended position?
Stuck segments happen when friction builds up between nested sections. Debris, dust, or salt spray can collect in the joint area. Corrosion from moisture creates a bond that holds sections tight. Metal naturally expands and contracts with temperature changes, which can also cause segments to lock in place.
What’s the best way to unstick a segment without damaging the rod?
Heat is your first step. Apply warmth to the stuck joint for 30 seconds to 1 minute. This expansion helps loosen the grip. Next, apply lubricant directly into the gap between segments. Wrap painters tape around the rod section with the sticky side facing outward. This gives you a secure grip without scratching the surface. Pull straight and evenly along the rod’s axis. Tap gently on the ground while pulling to help separate the sections.
Can I use any lubricant on my telescopic rod?
Common household oils work well for this task. Vegetable oil is safe and effective. Penetrating lubricants designed for metal joints also work. Apply the lubricant sparingly into the joint gap. Avoid getting it on your hands since it makes the grip slippery. Let the lubricant sit for a few minutes before attempting to separate the segments.
What should I avoid when unsticking a segment?
Never twist or rotate stuck sections. Twisting misaligns the internal guides and can crack the rod. Don’t apply uneven or sideways force. Always pull in a straight line with the rod’s axis. Avoid forcing segments apart without heat and lubrication first. These mistakes cause permanent damage that cannot be repaired.

Hi, I’m Ivy Webb, the passionate angler and creator behind BaitHookVault.com. I spend my days out on the water personally testing and reviewing a wide variety of fishing tools and gear.