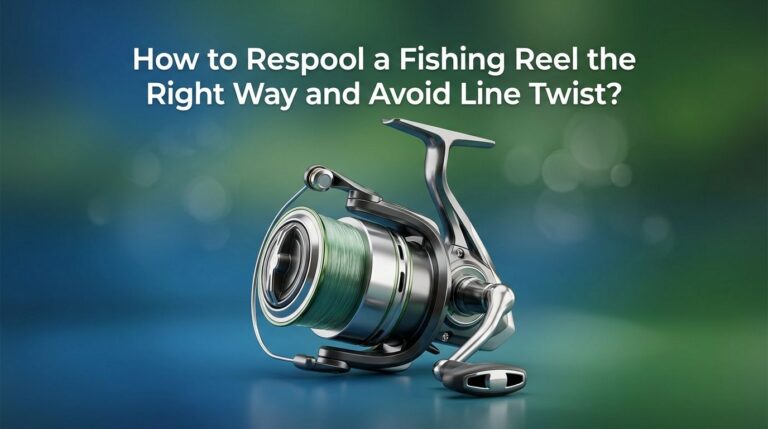
How to Fix a Snapped Fishing Rod? A Complete Guide
You just heard that awful crack. Your favorite fishing rod snapped, and your heart sank faster than a lead sinker. Before you toss it in the trash, stop right there. A snapped fishing rod does not always mean a dead fishing rod. Many anglers have saved rods that looked beyond hope with a few simple tools and some patience.
Whether the break happened at the tip, the midsection, or near the handle, there is a good chance you can bring it back to life.
The repair might not win a beauty contest, but it can hold up to real fishing pressure if you do it right. This guide walks you through every method, every tool, and every step you need to get your rod working again.
In a Nutshell
- Identify the type of break first. A broken tip requires a completely different fix than a midsection snap. Look at the damage closely and check for splinters, cracks, or crushed areas before you pick a repair method.
- The splint and sleeve method works best for midsection breaks. You insert a strong internal plug (like a nail, fiberglass rod, or graphite dowel) into the hollow ends and secure the joint with epoxy and thread wraps. This is the most popular DIY repair among anglers.
- Tip repairs are the easiest fix. A rod tip replacement kit and a bit of adhesive can get you back on the water in minutes. You just sand the broken end, apply heat activated glue, and press on a new tip guide.
- Epoxy resin is your best friend for structural repairs. Two part epoxy creates a bond strong enough to handle serious fish. Quick setting super glue works for temporary fixes, but epoxy gives lasting strength.
- Thread wrapping adds critical reinforcement. Wrapping thread tightly around the repaired section and sealing it with epoxy or clear finish prevents the joint from flexing and failing under load.
- Some breaks are not worth repairing. If the rod shattered into multiple pieces, if the blank is crushed flat, or if the break is right at the reel seat, replacement is often the smarter choice.
Assess the Damage Before You Start
The first step is always a careful inspection. Pick up both pieces of the broken rod and look closely at each end. Check if the break is clean or jagged. A clean snap is much easier to fix than a splintered mess.
Run your fingers gently along the rod near the break. Feel for hairline cracks that extend beyond the visible damage. These hidden cracks can cause a second failure if you do not address them. If you find them, you will need to sand back past the cracks before making your repair.
Also check if the rod is hollow or solid at the break point. Hollow sections accept internal splints. Solid sections (common near the tip) need external sleeves or direct bonding. Knowing this tells you which repair method will work.
Gather the Right Tools and Materials
You do not need a workshop full of specialized gear. Most rod repairs require basic items that are easy to find. Here is what you should have on hand before starting.
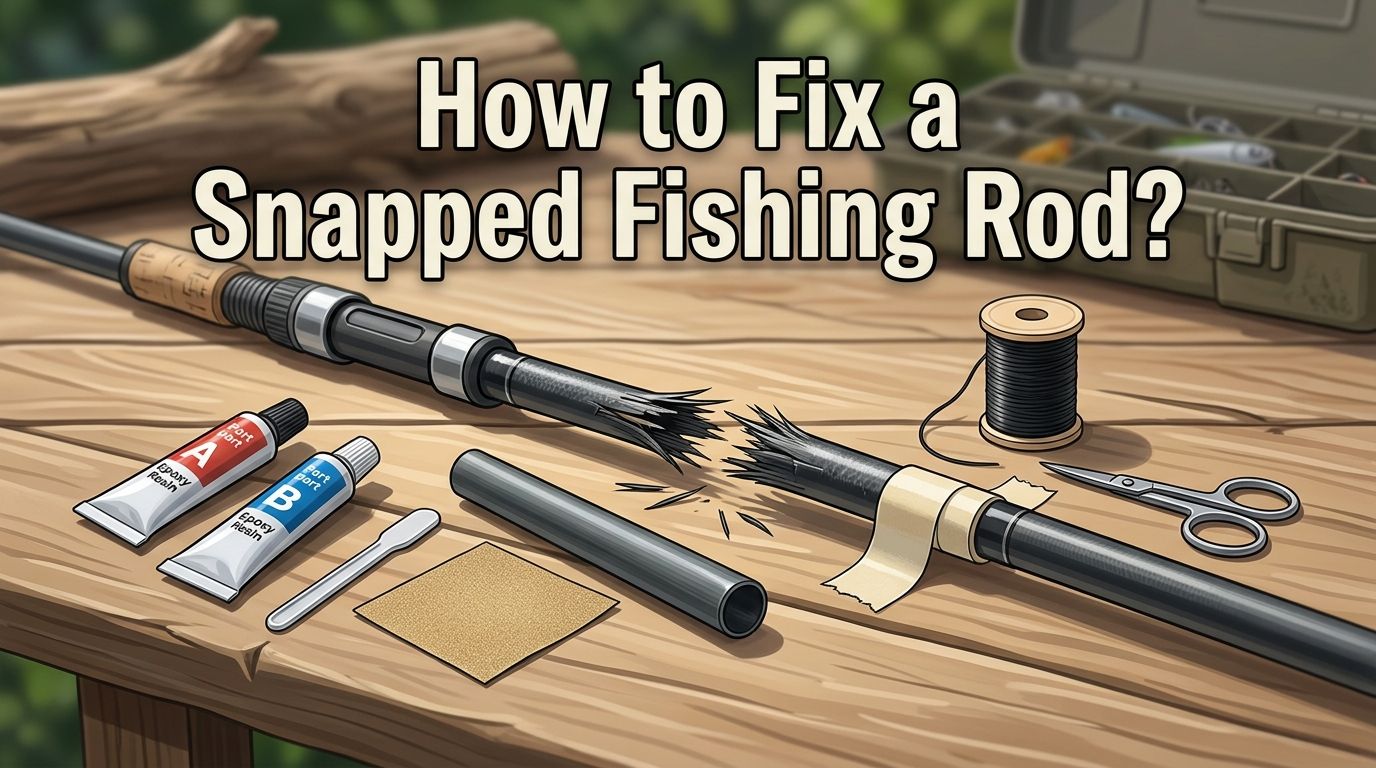
You need fine grit sandpaper (220 grit works well), two part epoxy resin, a strong internal splint (a finishing nail, fiberglass rod, or graphite dowel), thread or fishing line for wrapping, scissors, a lighter or heat source, and clear finish or nail polish for sealing. A rod tip repair kit is helpful if the break is at the tip.
Lay everything out before you begin. Having all your materials ready prevents rushing, which is the biggest cause of sloppy repairs. A clean, flat work surface with good lighting makes the whole process easier.
How to Fix a Broken Rod Tip
A broken tip is the most common rod failure. It is also the simplest to fix. You can complete this repair in under five minutes with the right supplies.
Start by sanding the broken end of the rod with fine grit sandpaper. Remove any splinters and create a smooth, flat surface. Next, select a replacement tip guide that fits the diameter of the exposed blank.
Apply heat activated rod tip adhesive or a small drop of super glue inside the new tip guide. Slide it onto the sanded end of the rod blank. Align the new tip guide with the rest of your rod guides so your fishing line runs straight. Hold it in place for 30 seconds until the adhesive grips.
Pros: Fast, cheap, and easy. Barely changes the rod’s action. Cons: You lose a small amount of rod length. The rod may feel slightly stiffer at the tip.
The Internal Splint Method for Midsection Breaks
This is the go to repair for a rod that snapped in the middle. The concept is simple: you glue a strong internal plug inside both hollow ends and bond them together.
Sand both broken ends smooth with fine grit sandpaper. Remove all splinters and jagged edges. Choose a splint material that fits snugly inside the hollow rod. A finishing nail with the head cut off works for thin sections. A fiberglass rod or graphite dowel works for larger diameter breaks.
The splint should extend at least one inch into each side of the break. Apply two part epoxy inside both hollow ends and onto the splint. Insert the splint into one side first, then carefully slide the second piece onto the other end. Align the guides perfectly before the epoxy sets. Hold the pieces straight and let the epoxy cure fully.
Pros: Strong, reliable bond. Keeps the rod’s profile slim. Cons: Adds slight stiffness at the repair point. Requires careful alignment.
The External Sleeve Method
If your rod blank is too thin for an internal splint, an external sleeve provides an alternative. This method wraps the outside of the break with a reinforcing tube.
Find a piece of fiberglass tubing or a section from an old, slightly larger rod that slides over the break point. The sleeve should cover at least one inch on each side of the break. Sand the outside of the rod at the repair area to help the epoxy grip.
Apply epoxy to the rod surface and the inside of the sleeve. Slide the sleeve into position over the break. Press it firmly and wipe away excess epoxy. Wrap thread over the sleeve ends for extra hold, then seal with clear finish.
Pros: Works on very thin rod sections. Provides excellent strength. Cons: Creates a visible bulge on the rod. May interfere with the action and feel of the rod. Can affect guide spacing if a guide sits near the break.
Thread Wrapping for Extra Strength
Thread wrapping is not optional for a lasting repair. It adds a critical layer of reinforcement that prevents the joint from flexing apart under pressure.
After your splint or sleeve is in place and the epoxy has cured, wrap nylon thread or rod building thread tightly around the entire repair area. Start about one inch below the break and wind upward in tight, even coils. Keep consistent tension as you wrap. Continue until you reach one inch past the other side of the break.
Tie off the thread with a simple loop knot. Trim the loose end close. Apply a thin coat of two part epoxy or clear rod finish over the entire wrapped section. This seals the thread, prevents unraveling, and adds a smooth surface. Let it cure for at least 24 hours before fishing.
Pros: Greatly increases repair strength. Adds a clean, finished look. Cons: Requires patience and steady hands. Takes time to cure.
Using Epoxy Resin the Right Way
Epoxy is the backbone of almost every rod repair. Using it correctly makes the difference between a fix that lasts years and one that fails on the first cast.
Always use two part epoxy and mix it in exact equal portions. Stir slowly for at least 60 seconds to avoid air bubbles. Air bubbles weaken the bond and create failure points. Apply the epoxy in a thin, even layer. Too much epoxy adds unnecessary weight and bulk.
Work quickly once you mix the epoxy. Most formulas start to set within five to ten minutes. Have all your parts sanded, fitted, and ready to assemble before you mix. Temperature matters too. Epoxy cures best at room temperature. Cold garages or damp basements slow the cure and can weaken the final bond.
Quick Temporary Fixes on the Water
Sometimes a rod breaks during a fishing trip and you need a fast fix to keep casting. A temporary repair can save your day on the water, even if it will not last forever.
The simplest emergency fix uses electrical tape. Align the broken pieces and wrap tape tightly around the break. This holds the rod together enough for light casting. It will not handle heavy fish, but it keeps you fishing.
Another option is a stick splint. Find a straight stick or twig that matches the rod diameter. Tape it along the outside of the break as an external support. This gives more strength than tape alone. Both of these fixes are strictly temporary. Do a proper repair at home using epoxy and thread for a permanent solution.
Pros: Gets you back to fishing immediately. Requires no special tools. Cons: Very weak. Will not handle large fish. Must be replaced with a real repair.
Reattaching or Replacing Rod Guides
A snap often damages the nearest rod guide. You will need to replace it if the guide frame is bent, the insert is cracked, or the wrapping came undone.
Use a razor blade to carefully cut away the old thread wrap. Slide the damaged guide off the rod. Clean any remaining adhesive from the blank with sandpaper. Position a new guide of the same size in the correct spot, lining it up with the other guides.
Wrap thread around the guide foot, starting from the end closest to the guide ring. Wrap tightly in even, touching coils. When you reach the edge of the guide foot, tie off the thread. Seal the wrap with two part epoxy or clear rod finish. Rotate the rod slowly for a few minutes to prevent the finish from sagging.
When Repair Is Not Worth It
Not every broken rod deserves a second chance. Knowing when to let go saves you time and frustration.
If the rod snapped in multiple places, the blank is likely structurally compromised throughout. A repair at one point just moves the stress to the next weak spot. Crushed or flattened blanks also signal the end. The fibers inside are damaged beyond what any epoxy can fix.
Breaks at or very near the reel seat are extremely difficult to repair. The handle and reel seat assembly leaves no room for a splint or sleeve. Also consider the rod’s value. If the rod cost less than the repair materials, buying a new one makes more practical sense. High end rods are often worth repairing. Budget rods may not be.
How to Prevent Your Rod from Snapping Again
Prevention is always easier than repair. A few simple habits can dramatically extend the life of your fishing rod.
Never store your rod assembled in a car door, trunk, or against a wall where it can fall. Most rod breaks happen during transport, not during fishing. Use a rod case or sleeve for travel. Always open and close car doors with awareness of where your rod is positioned.
Avoid high sticking, which means lifting the rod past a 90 degree angle while fighting a fish. This puts extreme stress on the midsection and tip. Set your drag properly so the reel absorbs shock instead of the rod. Check your guides regularly for cracks or grooves that can weaken the line and cause sudden load shifts.
Caring for a Repaired Rod
A repaired rod needs a little extra attention. The fix spot will always be slightly less flexible than the original blank, so treat it with care.
Avoid casting heavy lures that exceed the rod’s rated power. The repair joint handles normal loads well but can fail under extreme stress. Inspect the repair before every fishing trip. Look for cracks in the epoxy, loose thread wraps, or any sign the bond is weakening.
Store the repaired rod in a protective case. Keep it away from extreme heat, which can soften epoxy over time. If you notice any flex or movement at the repair joint, reinforce it with fresh thread wrapping and a new coat of epoxy before your next outing. A well maintained repair can last for many seasons.
Professional Rod Repair vs DIY
You always have the choice between fixing it yourself and sending it to a professional. Each option has clear advantages depending on your situation.
DIY repairs cost very little. A few dollars in supplies handles most breaks. You also get the satisfaction of fixing your own gear. However, DIY repairs require patience and some hand skill. A sloppy repair can look bad and fail quickly.
Professional rod builders have specialized tools, high quality materials, and years of experience. They can make a repair that is almost invisible and extremely strong. The downside is cost. Professional repairs can run anywhere from $30 to over $100 depending on the damage. For expensive rods, this investment is worthwhile. For budget gear, DIY is the smarter path.
Pros of DIY: Cheap, fast, and satisfying. Cons of DIY: Results depend on your skill level. Pros of Professional Repair: High quality, strong, and clean. Cons of Professional Repair: More expensive and requires shipping or travel time.
Frequently Asked Questions
Can you fix a fishing rod that snapped in half?
Yes, you can fix a fishing rod that snapped in half. The internal splint method is the most effective approach. You insert a strong plug like a fiberglass rod or finishing nail into the hollow ends, bond everything with epoxy, and reinforce the joint with thread wrapping. The repair adds slight stiffness at the break point but restores enough strength for regular fishing. Results depend on the severity and location of the break.
Is it worth repairing a cheap fishing rod?
It depends on the cost of materials and your time. If the rod cost less than $20 and you need to buy epoxy, thread, and a splint, the math may not add up. However, if you already have basic supplies on hand, fixing a cheap rod takes only a few minutes and keeps usable gear out of the trash. It is also great practice for future repairs on more valuable rods.
What is the strongest glue for fishing rod repair?
Two part epoxy resin provides the strongest bond for fishing rod repairs. It cures hard, resists water, and handles the flexing stress of casting and fighting fish. Super glue (cyanoacrylate) works for quick fixes and tip replacements, but it is more brittle under repeated bending loads. For structural repairs on the rod blank, always choose epoxy over super glue.
How long does a fishing rod repair last?
A properly done repair using epoxy and thread wrapping can last for years. Many anglers report fishing repaired rods through multiple seasons without any problems. The key factors are thorough sanding, a snug fitting splint, quality epoxy mixed correctly, and a solid thread wrap sealed with finish. Skipping any of these steps shortens the repair’s lifespan.
Can you fix a graphite fishing rod?
Yes, graphite rods respond well to both the internal splint method and the external sleeve method. Graphite is hollow, which makes it easy to insert an internal plug. The main concern with graphite is its tendency to splinter, so careful sanding before repair is essential. Use fine grit sandpaper and take your time to create clean, smooth edges before applying any adhesive.

Hi, I’m Ivy Webb, the passionate angler and creator behind BaitHookVault.com. I spend my days out on the water personally testing and reviewing a wide variety of fishing tools and gear.