How to Safely Remove a Stripped Side Plate Screw on a Baitcaster?
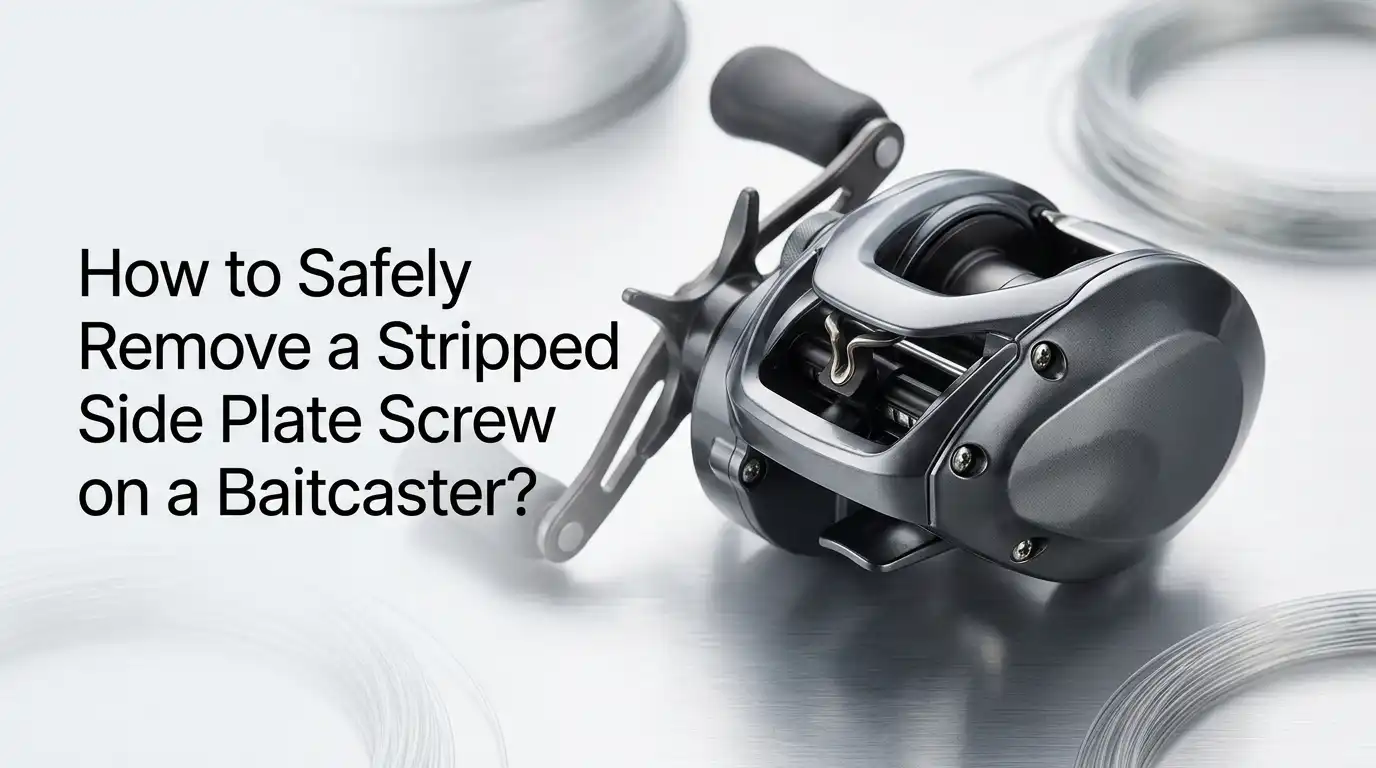
A stripped side plate screw on your baitcaster can ruin a perfect fishing day in seconds. You grab your screwdriver, twist with confidence, and suddenly the bit spins freely inside a mangled screw head.
Now your reel sits half open, you cannot service the spool, and panic starts creeping in. The good news is that you do not need to throw the reel away or rush to a repair shop. With a few simple tools and the right techniques, you can save the screw, the side plate, and your favorite baitcaster.
This guide walks you through every safe method anglers use to free a stripped screw without cracking the housing or destroying the threads.
In a Nutshell
- Stop turning immediately the moment you feel the screwdriver slip. Every extra twist deepens the damage and makes recovery harder.
- Use the right size driver first. Most baitcaster side plate screws need a JIS (Japanese Industrial Standard) bit, not a standard Phillips. This single fix solves many stripping issues before they start.
- Try gentle methods before aggressive ones. A rubber band trick, valve grinding compound, or bigger flat blade often works without damaging the reel.
- Apply heat and penetrating oil when corrosion is the cause. Saltwater anglers face this often, and patience beats brute force every time.
- Save extractor kits and drilling for last. These methods work, but they remove material permanently, so use them only when softer techniques fail.
- Replace the screw with a stainless steel upgrade after removal. A fresh screw with anti seize lubricant prevents the same problem next season.
Why Side Plate Screws Strip in the First Place
Side plate screws on baitcasters are tiny, soft, and often made from coated brass or plated steel. They sit in a high stress spot where salt, moisture, and grit gather over time.
When you push down without enough force or use a screwdriver one size too small, the bit slips and rounds out the cross shaped slot.
Many anglers also use a standard Phillips driver on screws that were designed for a JIS bit. The two heads look similar, but a Phillips bit cams out on purpose, while a JIS bit grips fully.
This single mismatch causes most stripped screws on Japanese made reels like Daiwa, Shimano, and Abu Garcia. Add a little corrosion from saltwater spray and the screw practically welds itself in place. Knowing this helps you avoid repeating the mistake on the second screw.
Stop and Inspect Before You Try Anything
The moment you feel the bit slip, put the screwdriver down. Pick up the reel and look at the screw head under bright light or with a magnifying glass. You want to know exactly how bad the damage is before choosing a method.
Check whether the cross slot is partly intact, fully rounded, or filled with grime. A screw with 70 percent of its slot left has many easy options, while one that is fully smooth needs more aggressive steps.
Also look for rust streaks, salt buildup, or thread locker residue around the head. Take a photo with your phone if it helps you compare progress later. This quick inspection saves you from picking the wrong tool and turning a small problem into a total reel disaster.
Gather the Right Tools for the Job
A clean workspace and the right tools turn a frustrating job into a quick fix. Lay out a soft towel so small parts do not roll away. Then collect a JIS screwdriver set, a precision flat blade, fresh rubber bands, penetrating oil such as PB Blaster or Kroil, and a small soldering iron or lighter for heat.
You may also want a manual impact driver, a small screw extractor kit, and valve grinding compound for extra grip. Keep tweezers, cotton swabs, and isopropyl alcohol nearby to clean debris between attempts.
Wear safety glasses if you plan to drill, and place a tray under the reel to catch shavings. Good lighting matters too. A headlamp or desk lamp removes shadows so you can place each bit dead center on the screw head.
Method 1: The Rubber Band Trick
This is the first method every angler should try because it costs nothing and rarely causes harm. Place a wide flat rubber band over the stripped screw. Press your screwdriver firmly into the rubber band so the rubber fills the damaged slot. Now turn slowly with steady downward pressure.
The rubber grips the rounded edges and gives the bit something to bite. Balloon rubber, bicycle inner tube, or a thick office band all work well. Push hard enough that you feel the rubber compress fully into the head before turning.
Pros: Cheap, gentle, no risk of cracking the side plate, works on lightly stripped screws.
Cons: Fails on screws that are fully smooth or seized by corrosion, and the rubber tears if you twist too fast. Still, this trick saves roughly half of all stripped baitcaster screws with zero damage.
Method 2: Switch to a Larger Flat Blade Driver
If the rubber band slips, look at the screw head again. A stripped Phillips slot often has two small grooves left across the middle. A precision flat blade screwdriver can sit inside those grooves and act like a regular slotted screw.
Pick a blade that fills the slot from edge to edge. Push down hard with your palm and turn slowly. Too small a blade will spin out, and too large a blade will scratch the side plate. If you have a JIS driver and have not tried it yet, try that first because it grips more deeply than a Phillips bit.
Pros: Uses a tool most people already own, works on moderately stripped screws, no chemicals needed.
Cons: Can scratch the painted side plate finish if the blade slips, and very small reel screws may not have any usable groove left. Take your time and keep the blade perfectly centered.
Method 3: Apply Valve Grinding Compound or Friction Paste
Valve grinding compound is a gritty paste used in engine repair that turns any driver into a high grip tool. Dab a tiny amount onto your screwdriver tip, press it into the screw head, and turn slowly. The grit fills the rounded slot and bites both the bit and the screw at the same time.
You can also use commercial products sold as screw grip paste if you do not have valve compound. A pinch of fine sand mixed with a drop of oil works in a pinch too. Clean the area with alcohol afterward so no grit ends up inside your reel.
Pros: Adds serious grip without damaging the screw further, cheap, and reusable for future jobs.
Cons: Messy, requires careful cleanup, and the abrasive can scratch your side plate if it spreads. Always wipe the screw and surrounding metal with a cotton swab when you finish.
Method 4: Use Heat to Break Corrosion
Saltwater anglers see this problem often. Salt and moisture fuse the screw threads to the frame over months of use. No amount of grip will turn a screw that is chemically welded in place. Heat breaks that bond.
Touch a small soldering iron directly to the screw head for thirty seconds. The heat travels down the threads and burns off corrosion. Avoid open flames near plastic side plates because they melt or warp easily. A grill lighter held briefly to a metal frame is fine, but never aim a torch at a graphite reel.
Pros: Solves seized screws that no other method touches, very effective on saltwater reels.
Cons: Risk of melting plastic parts, discoloring paint, or damaging internal grease if heat travels too far. Let the reel cool fully before turning the screw.
Method 5: Soak With Penetrating Oil
Penetrating oil is your patience tool. Products like PB Blaster, Kroil, or Liquid Wrench creep into tiny gaps that WD 40 cannot reach. Place a single drop on the screw head and let it sit for several hours, or even overnight.
Tip the reel so gravity pulls the oil downward into the threads. Reapply every few hours for stubborn screws. When you return, the oil has loosened the rust, and softer methods like the rubber band trick suddenly work. Combine this with light heat for the best results on heavily corroded reels.
Pros: Gentle, cheap, very effective on rusted screws, no risk to reel parts when used carefully.
Cons: Slow, oil can seep into the reel and thin out factory grease, and heavy use leaves an oily mess. Wipe excess oil away before reassembly.
Method 6: Tap With a Manual Impact Driver
A manual impact driver is a hand tool that converts a hammer strike into rotational force. You insert the correct bit, press it into the screw, and tap the back end with a small hammer. The shock breaks the bond while the rotation turns the screw.
This tool works wonders on Japanese reels because the sudden twist beats slow steady pressure. Use only a small jeweler hammer, never a full size claw hammer, on a delicate baitcaster. Place the reel on a folded towel over a hard surface so it does not bounce.
Pros: Breaks loose seized screws without rounding them further, fast results.
Cons: Risk of cracking plastic side plates if you hit too hard, requires buying a tool you may not own, and takes practice to control the force.
Method 7: Cut a New Slot With a Rotary Tool
When the screw head is fully smooth and nothing grips, cut a fresh slot across the head using a rotary tool with a tiny cutoff disc. Go slowly, keep the disc level, and cut just deep enough to fit a flat blade screwdriver.
Cover the rest of the side plate with painter tape so flying sparks do not mar the finish. Wear safety glasses and work in short bursts to avoid heat buildup. After cutting, blow away metal dust before placing your screwdriver in the new slot.
Pros: Turns a hopeless screw into an easy flat blade removal, reliable, and you can reuse the screw if the threads are good.
Cons: Permanent change to the screw, risk of slipping and damaging the reel, requires a rotary tool. Practice on an old screw first if you have never done this before.
Method 8: Use a Screw Extractor Kit
Screw extractors are tapered reverse threaded bits that bite into a pilot hole and turn the screw out as you twist counterclockwise. Drill a small pilot hole into the center of the screw head, insert the extractor, and turn slowly with a tap wrench.
Choose the smallest extractor that matches your screw size. Drilling too deep risks ruining the threads in the frame. Apply steady pressure and let the extractor do the work.
Pros: Designed exactly for this job, very effective on broken or fully rounded screws, reusable kit.
Cons: Can snap off inside the screw if forced, leaving an even harder problem. Drilling requires steady hands, and replacement screws are mandatory afterward. Use this only when softer methods fail.
Method 9: Drill Out the Screw Completely
Drilling out the screw is your last resort before sending the reel to a professional. Use a drill bit slightly smaller than the screw shaft and drill straight down through the head. The head pops off, releasing the side plate.
Then use needle nose pliers to grip the remaining shaft and twist it free. Go slowly with a sharp bit and use a drop of cutting oil to keep the bit cool. Stop the moment the head separates so you do not damage the threads in the frame.
Pros: Always works when nothing else does, frees the side plate so you can finish your repair.
Cons: Destroys the screw, risks damaging frame threads, and may require thread chasing afterward. Many anglers tap a slightly larger thread if the original is ruined.
Reassembly Tips to Prevent Future Stripping
Once the screw is out, do not just slap a new one in and call it done. Clean the threads in the frame with a cotton swab and alcohol. Inspect them for damage and run a tap if needed.
Pick up stainless steel replacement screws in the correct size. Apply a thin film of marine grease or anti seize compound to the threads before installing. Hand tighten only, never crank down with full force on a tiny reel screw.
Use the correct JIS or Phillips bit, push straight down, and stop the moment the screw seats. These small habits keep your side plate screws turning smoothly for years and prevent the next stripping disaster before it starts.
When to Call a Professional Reel Technician
Sometimes the smart move is handing the reel to an expert. If you have already broken an extractor inside the screw, cracked the side plate, or stripped the frame threads, a professional can save the reel without making things worse.
Reel repair shops have jeweler grade tools, tap and die sets, and parts stock that home anglers rarely keep. A repair often costs less than a new baitcaster, especially on premium reels.
Look for technicians who specialize in your reel brand. Send clear photos of the damage so they can quote accurately. Knowing when to stop and ask for help is part of being a good angler, and it protects the gear you depend on every weekend.
Frequently Asked Questions
Can I use WD 40 to remove a stripped reel screw?
WD 40 helps in mild cases but is not a true penetrating oil. PB Blaster, Kroil, or Liquid Wrench work much better because they creep deeper into rusted threads. Use WD 40 only if nothing else is available, and give it extra soak time.
Why do my baitcaster screws keep stripping?
The most common cause is using a standard Phillips driver on a JIS screw. Buy a JIS screwdriver set, push straight down with firm pressure, and turn slowly. Worn out screwdriver tips and overtightening also cause repeat stripping.
Is it safe to drill into my baitcaster?
Drilling is safe if you go slowly, use a sharp small bit, and stop the moment the screw head separates. Cover nearby parts with tape, wear eye protection, and clean every shaving out of the reel before reassembly.
Where can I find replacement side plate screws?
Most reel manufacturers sell factory replacement parts through their service centers. You can also find generic stainless steel screws at hardware stores in the same metric size. Bring the old screw with you to match thread pitch and length exactly.
How do I prevent screws from seizing on saltwater reels?
Rinse the reel with fresh water after every saltwater trip and dry it fully. Apply a thin coat of marine grease to all screw threads during annual service. Store the reel in a dry place, and never leave it in a hot car where moisture builds up inside the housing.

Hi, I’m Ivy Webb, the passionate angler and creator behind BaitHookVault.com. I spend my days out on the water personally testing and reviewing a wide variety of fishing tools and gear.