How To Repair A Broken Fishing Rod Tip At Home?
A broken rod tip can ruin a great fishing day in seconds. One slammed car door, one tangled branch, or one accidental drop, and your favorite rod stops working. The good news is simple.
You do not need a repair shop. You do not need expensive gear. You can fix a broken fishing rod tip at home in under fifteen minutes with a few basic tools.
This guide walks you through every step. You will learn how to remove the old tip, pick the right replacement, glue it down, and make the repair last. By the end, you will feel confident handling this fix yourself. Let us get your rod back in the water fast.
Key Takeaways
- A broken rod tip is one of the easiest rod repairs you can do. Most fixes take ten to fifteen minutes with simple tools you may already own at home.
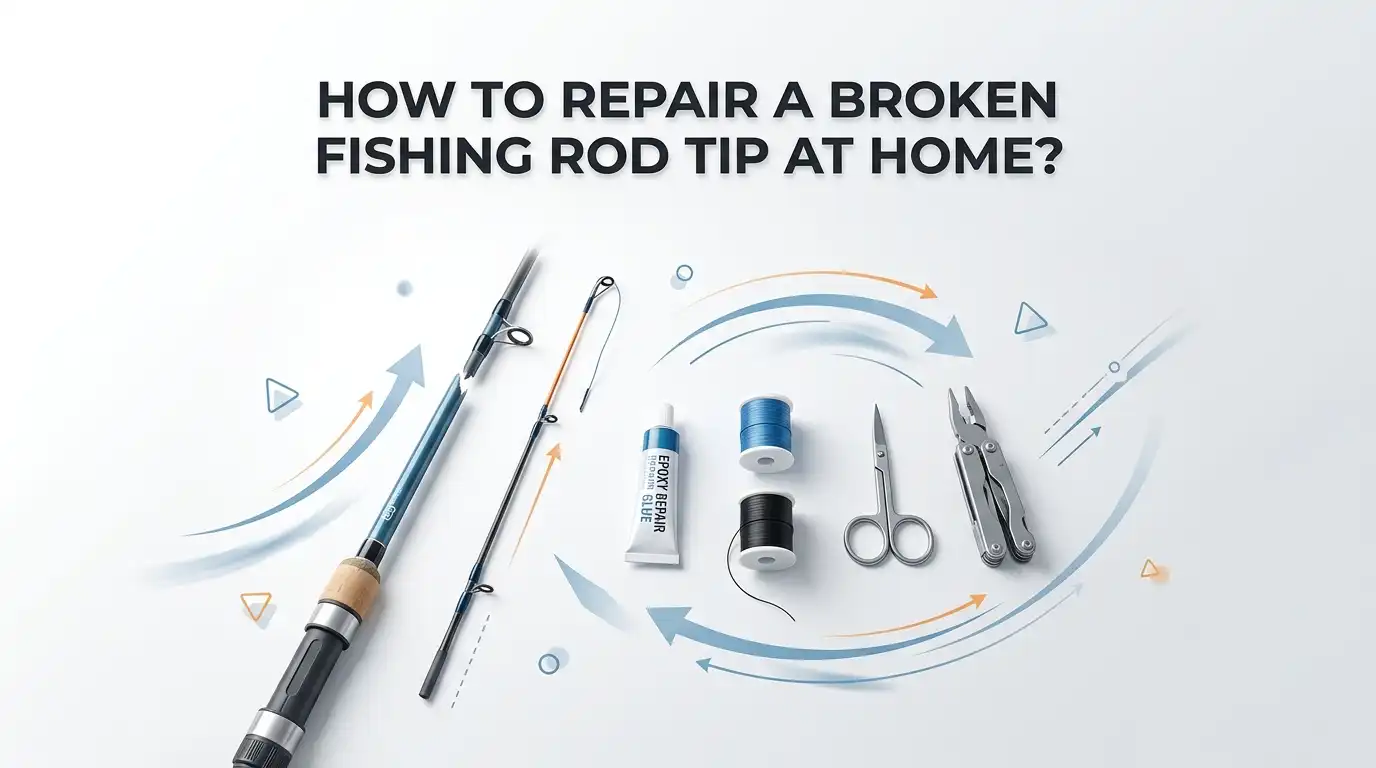
- You only need a few items. These include a replacement tip top guide, a glue stick or epoxy, a lighter or small heat source, sandpaper, and pliers.
- Matching the tube size matters most. The tube must fit your rod blank diameter snugly. The ring size is less critical if you just want to fish again quickly.
- Heat softens old glue for easy removal. Apply gentle heat, but never overheat the blank. Too much heat can crack or crumble the rod.
- Hot glue gives a fast fix, while epoxy gives a permanent bond. Choose based on how long you want the repair to hold and how soon you want to fish.
- Prevention beats repair every time. Store rods in racks, use rod sleeves, and watch out for car doors and brush to protect your tips.
Why The Tip Of Your Fishing Rod Breaks So Easily
The rod tip is the thinnest and weakest part of your rod. It carries a lot of stress during casting and fighting fish. This makes it the first part to fail. Most tip breaks happen off the water, not on it.
Car doors, tailgates, ceiling fans, and closet doors crush rod tips every season. Slamming a trunk on a rod tip is one of the most common causes. Storage mistakes cause many breaks too.
Leaning a rod against a wall lets it slide and snap. Dragging a rod through thick brush snags the tip on branches.
Even high sticking a big fish puts huge pressure on that thin section. Knowing these causes helps you avoid the next break. Once you understand the weak points, you can protect them better.
Signs Your Rod Tip Needs Repair
Not every tip problem looks the same. Learning to spot the issue early saves your line and your fish. A broken tip is the most obvious sign. You will see a splintered end where the top section snapped off. The rod is unusable until you fix it. A bent tip is harder to notice.
The rod still casts, but it feels off. You may sense reduced sensitivity and weird casting behavior. A worn out tip guide shows different clues. Look for grooves cut into the ring where your line runs.
Frayed line or a cracked ceramic insert points to guide wear. You may hear scraping or grinding when you reel in. Braided line cuts grooves faster because it is thin and hard. If your line keeps snapping for no clear reason, check the tip guide first.
Tools And Materials You Need For The Repair
Gather your supplies before you start. Having everything ready makes the job smooth and quick. You do not need a full workshop for this fix. Here is what works best for a home repair.
- A replacement tip top guide. This must match your rod blank size. You can buy a small assortment pack with several sizes.
- A heat source. A simple lighter works fine. A heat gun set to low works too, but be careful.
- Adhesive. A rod tip glue stick or hot melt glue gives a fast fix. Five minute epoxy gives a stronger, longer hold.
- Pliers. These help you grip and pull the old tip free.
- Sandpaper or a small file. Fine grit sandpaper cleans and smooths the rod end.
Optional extras improve the finish. A razor blade, rod wrapping thread, and clear nail polish help make a neat, lasting repair. Most people already own half of these items at home.
How To Remove The Old Broken Tip
Start by taking off the damaged tip top guide. This step is simple but needs care. Heat is the key to easy removal. Hold a lighter under the metal tube of the old tip for a few seconds. The heat softens the glue inside. Do not aim the flame at the rod blank itself.
The carbon or fiberglass can crack or crumble if it gets too hot. Once the glue softens, grip the metal tube with pliers. Pull it straight off with a gentle twist. The old tip should slide free without force.
If the rod snapped instead of just losing the tip, you may not have an old tip to remove. In that case, you work directly with the broken blank end. Move slowly and check the rod for any deep cracks below the break before you continue.
Cleaning And Preparing The Rod Tip
A clean surface makes a strong bond. Skip this step and your new tip may fall off later. First, rub away any old glue left on the blank. Use your fingernail or a razor blade to scrape off dried adhesive. The cleaner the surface, the better the new glue will grip.
Next, smooth the rod end with fine grit sandpaper. If the break left splinters or jagged edges, sand them down until the end is straight and even. A neat, flat end helps the new tip seat properly. Wipe the area with a clean cloth to remove dust and sanding debris.
Some people add a quick wipe with rubbing alcohol for an even cleaner bond. Make sure the end is fully dry before you move on. This prep work takes only a minute but makes a real difference in how long your repair lasts.
How To Choose The Right Replacement Tip Size
Picking the correct tip is the most important part of this job. The wrong size leads to a weak or sloppy repair. The tube size matters more than the ring size. The tube is the metal part that slides over the rod blank. It must fit snugly without being too tight.
Measure the rod blank diameter at the broken end. You can do this with a caliper or by testing different drill bits until one matches. Note the size in millimeters. The ring size is less important if you just want to fish again fast. A slightly smaller or larger ring still works fine.
It may look a little odd and reduce casting distance a touch, but it will function. If you want the rod to perform exactly as before, match the original ring size. For most home repairs, a snug tube fit is what truly counts.
Method One: Quick Fix With Hot Glue Stick
This method gets you back on the water fast. It is the go to fix for emergencies. Start by melting the tip of a rod tip glue stick with your lighter. Rub the melted glue onto the cleaned rod blank.
Then heat the metal tube of the new tip lightly. Touch the glue on the rod one more time to make sure it stays melted. Slide the new tip onto the blank.
Spin it once or twice to spread the glue evenly. Line up the tip ring with the other guides on the rod. Hold it steady until the glue cools and sets, which takes about a minute.
Pros: This fix is fast, cheap, and easy. You can fish right away. The heat sensitive glue lets you remove and reset the tip later if needed.
Cons: The bond is not as strong as epoxy. It can loosen in hot weather or under heavy strain. It works best as a temporary or light duty repair.
Method Two: Permanent Repair With Epoxy
Epoxy gives the strongest, longest lasting hold. Choose this when you want a real, finished repair. Mix a small batch of five minute epoxy following the package directions. Apply a thin coat to the cleaned rod blank end.
Slide the new tip top guide over the blank. Twist it slightly to spread the epoxy and remove air pockets. Line up the ring with your other rod guides.
Hold it in place until the epoxy starts to set. Wipe away any excess epoxy with a cloth or alcohol swab before it cures. Let it cure fully before fishing. Five minute epoxy lets you fish in about half a day.
Pros: This creates a strong, durable bond that holds up to hard use. It survives heat and pressure far better than hot glue.
Cons: It takes longer to set. Quick set epoxy may yellow over time and feels more brittle. Removing an epoxy tip later is harder than removing a glued one.
How To Align The New Tip Correctly
Proper alignment keeps your rod casting smooth and straight. A crooked tip throws off your whole setup. The new tip ring must line up perfectly with the other guides. Look down the length of the rod from the handle.
All the guides should sit in one straight line. The tip ring should point in the exact same direction as the rest. If it is off, your line will rub and your casts will suffer. Adjust the tip while the glue or epoxy is still soft. A small twist is all it takes to correct the angle.
Once the adhesive sets, the position is locked in. So check the alignment two or three times before the glue cools.
A misaligned tip causes friction, lost casting distance, and faster line wear. Take an extra few seconds here. Getting this right makes the difference between a good repair and a frustrating one.
How To Make Your Repair Last Longer
A few extra steps turn a quick fix into a lasting one. This is worth doing if you love the rod. Wrapping thread over the joint adds strength and a clean look. After the glue cools, wrap thread about half an inch down the blank from the tip tube.
Use a doubled loop of braided line to pull the thread tag end under the wraps. This locks the thread in place. Trim the ends with a razor and touch them lightly with a flame to melt frays.
Finish the wrap with a thin coat of epoxy or clear nail polish. This seals the thread and protects it from water. Let it cure fully before use.
This extra work mimics how custom rod builders finish their tips. It costs little time and makes your repair look factory made. The wrap also spreads stress so the tip holds up under hard casts.
Common Mistakes To Avoid During Rod Tip Repair
Small errors can ruin an otherwise simple fix. Knowing them ahead of time saves you trouble. Overheating the rod blank is the biggest mistake. Too much heat can crack or crumble the carbon.
Always keep the flame on the metal tube, not the blank. Using the wrong tube size is another common error. A loose tube wobbles, while a tight one will not seat fully. Skipping the cleaning step also weakens the bond.
Forgetting to align the tip before the glue sets ruins your casting. Many people rush this and end up with a crooked guide. Using too much glue makes a messy joint that traps water.
Fishing too soon before epoxy cures can pop the tip right off. Patience matters here. Avoid these mistakes and your repair will hold strong for many trips.
How To Prevent Future Rod Tip Damage
The best repair is the one you never need to make. A little care goes a long way. Store your rods in a rack or stand that keeps them upright and separated. Never lean a rod against a wall where it can slide and snap.
Use rod sleeves or covers to protect the tips during transport. These soft wraps stop tips from tangling and hitting each other. Hard cases give even more protection from drops and slams. Watch out for car doors, tailgates, and trunk lids. These crush more rod tips than anything else.
When walking through brush, hold the tip up and in front of you. Lay rods on top of heavier gear, never under it. Be mindful of low ceilings, fans, and doorways indoors. These simple habits protect your gear and save you from many future repairs.
When To Repair Versus Replace Your Rod
Sometimes a fix is not the smart choice. Knowing when to repair and when to replace saves money and effort. Repair the tip when only the tip top guide broke off. This is a quick, cheap fix that restores full function.
Repair also makes sense when the break is very close to the original tip. Losing an inch or two rarely changes the rod action much. Consider replacing the rod when the blank cracks far down the length.
Deep cracks below the tip weaken the whole rod and can fail mid cast. A break in the lower or middle section is much harder to fix well.
Repairing a very cheap rod may cost more in time than it is worth. For a high value or favorite rod, repair almost always wins. Weigh the rod value, the break location, and your own time before you decide.
Frequently Asked Questions
How long does it take to repair a broken fishing rod tip?
Most tip repairs take ten to fifteen minutes. The hot glue method lets you fish almost right away. Epoxy needs more time to cure, usually around half a day for quick set types. If you add a thread wrap and finish coat, allow extra curing time before use.
Can I fix a rod tip without a repair kit?
Yes, you can. A lighter, a glue stick, sandpaper, and a spare tip get the job done. Many anglers fix tips with basic home tools. A kit just makes it easier by including matched tip sizes and the right glue in one package.
What glue works best for a fishing rod tip?
Hot melt glue sticks work great for fast, removable fixes. Five minute epoxy gives a stronger, permanent bond. Choose hot glue if you want speed and easy future removal. Choose epoxy if you want a repair that holds up to heavy fishing pressure.
Will a smaller replacement tip ring still work?
Yes, a slightly smaller or larger ring still functions fine. The tube size matters far more than the ring size. An off sized ring may look odd and reduce casting distance a little, but it will not stop you from fishing well.
How do I keep from overheating the rod blank?
Aim the flame only at the metal tube, never the blank. Use short bursts of heat instead of constant flame. A low setting on a heat gun also helps. Too much heat can crack or crumble the rod, so go slow and stay patient.
Is a repaired rod tip as strong as the original?
A well done repair holds up very well for normal fishing. Epoxy bonds with a thread wrap come close to factory strength. A quick hot glue fix is weaker and better for light use. Match your repair method to how hard you plan to fish.

Hi, I’m Ivy Webb, the passionate angler and creator behind BaitHookVault.com. I spend my days out on the water personally testing and reviewing a wide variety of fishing tools and gear.