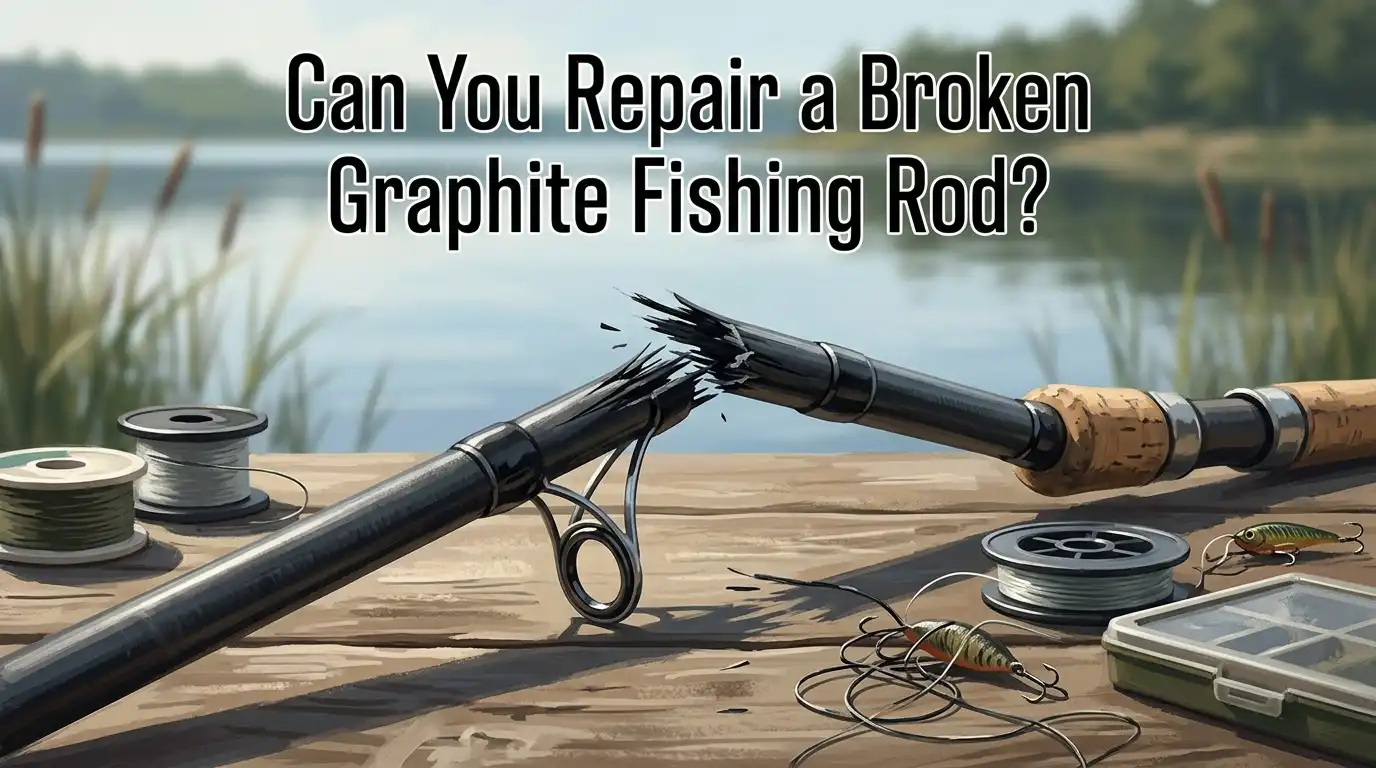
Can You Repair a Broken Graphite Fishing Rod?
You just heard that sickening snap. Your graphite fishing rod broke, and now you are staring at two pieces of what used to be your favorite rod. The good news? You do not have to throw it away.
A broken graphite fishing rod can absolutely be repaired, and in many cases, you can do it yourself at home with a few basic supplies. Whether the tip snapped off, the mid section cracked, or the rod broke near the butt, there is a fix for each scenario.
This guide walks you through every practical method, gives you step by step instructions, and helps you decide if a DIY repair or a professional service makes the most sense for your situation. Stick around because your rod still has plenty of fish left in it.
Key Takeaways
- A broken graphite fishing rod can be repaired in most cases. The location and severity of the break determine which method works best. Tip breaks are the easiest to fix, while mid section and butt section breaks require more effort but are still very doable at home.
- The internal spigot method is the most popular DIY repair. It involves inserting a smaller piece of graphite or fiberglass rod blank inside the broken ends and gluing them together. This creates a strong joint that preserves most of the rod’s original action.
- Thread wrapping and epoxy add serious strength to any repair. After joining the broken pieces, wrapping the joint with nylon thread and sealing it with epoxy creates a durable bond that can handle real fishing pressure.
- Professional repairs typically cost between $20 and $100 or more, depending on the damage. DIY repairs can be completed for as little as $10 to $30 in materials. Consider professional help if the break is near a ferrule or involves multiple fractures.
- The repaired section will feel slightly different. Any repair adds a small amount of stiffness or weight to the break point. The rod will still fish well, but the action may change slightly near the repaired area.
- Prevention matters just as much as repair. High sticking, car door closures, and improper storage cause most graphite rod breaks. Knowing these causes helps you protect your rods and avoid future damage.
Why Graphite Fishing Rods Break
Graphite rods are strong under normal fishing loads, but they are brittle compared to fiberglass. They handle bending forces well along their length, yet they are weak against sudden impacts and point pressure. A small nick or dent from a car door, tackle box, or rock can create a stress point that leads to a break later.
High sticking is the number one cause of rod breakage while fighting fish. This happens when you raise the rod past a 90 degree angle and put extreme pressure on the tip section. The rod is designed to flex along a curve, not bend at a sharp angle near the tip.
Improper storage and transport also cause many breaks. Rods that lean against walls, slide around in truck beds, or get stepped on in boats are at high risk. Understanding why your rod broke helps you pick the right repair method and avoid a repeat.
Assessing the Damage Before You Start
Before grabbing the glue, take a close look at the break. The type and location of the break determine your repair approach. A clean snap in the mid section is much easier to fix than a splintered crush at a ferrule joint.
Check the broken ends for splinters and hairline cracks that extend beyond the main break. Squeeze the blank gently near the break and look for soft spots. If the graphite feels mushy or you see cracks running several inches away from the break, the damage is more serious.
Also consider where on the rod the break occurred. Tip section breaks are the simplest to repair. Mid section breaks require an internal plug or sleeve. Butt section breaks are repairable but may need a stronger internal support. Write down the inner diameter of both broken ends because you will need these measurements to find the right repair materials.
The Internal Spigot Method Explained
The internal spigot method is the most widely used and recommended approach for repairing a snapped graphite rod. It works by inserting a solid or hollow piece of rod blank material inside the broken ends to act as a bridge.
You need a piece of graphite or fiberglass rod blank that fits snugly inside both broken ends. The spigot piece should extend at least one inch into each side of the break, giving you a minimum two inch overlap total. Many rod builders prefer fiberglass for the spigot because it is slightly more flexible and blends better with the rod’s natural action.
Sand the spigot piece lightly for a good glue bond. Apply slow cure epoxy inside the broken ends and onto the spigot. Slide both broken sections together while aligning the guides. Let the epoxy cure fully before moving on to wrapping.
Pros: Strong and reliable. Preserves most of the rod’s original action. Clean looking finish when wrapped. Cons: Adds slight stiffness at the joint. Requires finding the right diameter spigot material.
The External Sleeve Repair Method
An external sleeve wraps around the outside of the break instead of going inside. You slide a larger diameter section of rod blank over both broken ends and glue it in place. This method works well for thinner tip sections where an internal plug may not fit.
The sleeve should be made of fiberglass or graphite and should extend at least one inch past the break on each side. Sand both the sleeve interior and the rod exterior lightly for a better bond. Apply slow cure epoxy and slide the sleeve into position.
The main drawback is appearance. An external sleeve creates a visible bulge on the rod that you can feel during use. It also adds more weight and stiffness than an internal spigot. However, it is extremely strong and works as a reliable backup method.
Pros: Very strong bond. Works on thin sections where internal plugs do not fit. Easy to execute. Cons: Visible bulge on the rod. Adds noticeable stiffness and weight. Less attractive than a spigot repair.
Fixing a Broken Rod Tip
A snapped tip is the easiest and most common graphite rod repair. You can fix this in minutes with a new tip top guide and some hot melt glue or epoxy. This repair costs under $10 in most cases.
Start by trimming the broken end clean with a fine toothed saw or a rotary tool with a cut off wheel. Sand the end smooth. Find a tip top guide that fits the new diameter of the rod at the cut point. You may need to go up one size because the rod is slightly thicker further down the blank.
Heat the inside of the tip top with a lighter or heat gun. Apply a small drop of hot melt adhesive and push it onto the rod end. Align it with the other guides and hold it in place until the glue sets. The rod will be slightly shorter, but it will fish perfectly well.
Pros: Quick, cheap, and easy. Minimal effect on rod action. Cons: Rod becomes shorter. May need to adjust reel placement for balance.
Step by Step Guide to a Full Spigot Repair
Here is a clear process to complete a full internal spigot repair on your broken graphite fishing rod.
Step 1: Sand both broken ends with fine grit sandpaper. Remove any splinters or jagged edges. The ends must be flat and clean for a proper joint.
Step 2: Find a spigot piece that fits snugly inside both broken ends. Test fit it by sliding it in dry. It should require light pressure to insert. If it slides in too easily, wrap a thin layer of thread around the spigot to build up the diameter.
Step 3: Apply slow cure epoxy to the spigot and inside both broken rod sections. Avoid five minute epoxy because it is not waterproof and cures too fast for proper alignment.
Step 4: Slide both rod sections onto the spigot and push them together. Align all guides in a straight line. Wipe away excess epoxy.
Step 5: Let the epoxy cure for a full 24 hours before handling the rod. Do not rush this step.
Wrapping and Finishing the Repair
After the spigot joint cures, you need to reinforce it with a thread wrap. This step adds strength and gives the repair a clean, professional look.
Use nylon rod wrapping thread in a color that matches your rod. Start wrapping about one inch below the break and continue one inch above it. Keep the wraps tight and close together with no gaps. A simple hand wrap technique works fine. You do not need a rod lathe for a repair.
Tie off the thread with a loop pull method or a simple knot. Trim the excess. Then apply a thin coat of rod building epoxy finish over the thread wraps. This seals the thread and creates a smooth, durable surface.
Rotate the rod slowly while the epoxy cures to prevent drips and sags. A rod drying motor helps, but you can also rotate it by hand every few minutes for the first hour. Let it cure for 24 hours.
Using Household Items for Emergency Repairs
Sometimes you break a rod on the water and need a quick fix to keep fishing. You can make a temporary repair using items you likely have in your tackle bag or vehicle.
A strong finishing nail or sewing needle can work as a makeshift internal spigot. Sand or file off the nail head and slide it into both broken ends. Use super glue to secure the joint and wrap it tightly with electrical tape or medical tape.
Another option is to use a thin wooden dowel, a straightened paper clip, or even a piece of stiff wire. The key is finding something round, stiff, and small enough to fit inside the rod blank. This is strictly a temporary fix to get you through the rest of your fishing day.
Pros: Gets you back fishing fast. Uses common items. Cons: Not durable. Must be redone properly later. May damage the rod further if done carelessly.
Choosing the Right Epoxy for Rod Repair
Not all epoxies work the same for rod repair. The type of epoxy you choose affects bond strength, flexibility, and durability. This choice matters more than most anglers realize.
Slow cure epoxy (24 hour) is the best option for structural bonds. It is waterproof, strong, and gives you enough working time to align the parts correctly. Avoid five minute epoxy for structural repairs because it is weaker and often not waterproof.
Rod building finish epoxy is different from structural epoxy. Use it for coating thread wraps, not for gluing joints. It is thinner and designed to flow into a smooth finish. Super glue works for temporary fixes and tip top replacements, but it is too brittle for main joint repairs.
Two part marine epoxy is another solid option for structural bonds. It handles water exposure well and provides excellent adhesion to graphite and fiberglass surfaces.
When to Use a Professional Rod Repair Service
Some breaks are better left to the experts. If the rod broke at a ferrule joint, if there are multiple fractures, or if you want the repair to be nearly invisible, a professional rod builder is the smart choice.
Professional rod repair costs range from $20 for a simple tip top replacement to $100 or more for a full blank repair with wrapping and finish. Many local tackle shops offer repair services or can refer you to a rod builder in your area.
A professional will have access to a wide range of spigot blanks, thread colors, and finishing equipment. They can match the original wraps and finish far better than most DIY repairs. The turnaround time is usually one to two weeks.
Consider professional help if the rod has sentimental value or if it is a high end rod worth several hundred dollars. The cost of a $50 to $100 repair is easy to justify on a rod that cost $300 or more.
How a Repaired Graphite Rod Performs
A properly repaired graphite rod will fish well but will feel slightly different at the repair point. The spigot and thread wrap add a small amount of stiffness and weight right at the joint. This changes the flex pattern of the rod in that section.
For most anglers, the difference is barely noticeable during normal casting and fishing. The rod will still cast, set hooks, and fight fish. If the break was in the butt section, the change in action is even less noticeable because that part of the rod is already stiff.
Tip section repairs cause the most noticeable change. The rod may feel slightly stiffer in the upper third, and the casting action may lose some of its original sensitivity. Still, a repaired rod is far better than no rod at all, and many anglers fish their repaired rods for years without any issues.
Tips to Prevent Your Graphite Rod from Breaking Again
Prevention saves you time, money, and heartbreak. Follow these practical tips to keep your graphite rods safe and intact.
Always transport your rods in a protective rod tube or rod rack. Never lay rods loose in a truck bed, car trunk, or boat deck where they can roll and get stepped on. Invest in rod sleeves for added protection during travel.
Avoid high sticking at all costs. When fighting a fish, keep your rod angle below 90 degrees. Let the rod’s flex and your drag system do the work instead of cranking the rod into a sharp bend. This single habit change prevents the majority of rod breaks.
Inspect your rod regularly for nicks, dents, and scratches. Even a tiny impact mark can weaken graphite enough to cause a break under load later. Store your rods vertically in a rod holder at home to prevent accidental damage. Take care of your graphite rods, and they will last for decades.
Frequently Asked Questions
Is it worth repairing a broken graphite fishing rod?
Yes, it is almost always worth trying. DIY repairs cost between $10 and $30, and even professional repairs rarely exceed $100. If your rod cost more than that or has sentimental value, a repair is a smart investment. Even budget rods can get a second life with a simple spigot repair.
Can you use super glue to fix a broken fishing rod?
Super glue works for temporary fixes and tip top replacements only. It is too brittle for structural joint repairs and can crack under the stress of casting and fighting fish. Use slow cure two part epoxy for any permanent repair that involves a spigot or sleeve.
Will a repaired fishing rod be as strong as before?
A well executed spigot repair with proper thread wrapping creates a joint that is very strong at the repair point. However, the rod’s overall flex pattern changes slightly. The repaired area will be stiffer than the original blank, but the rod will still perform well for everyday fishing.
How long does a graphite fishing rod repair take?
A tip top replacement takes about 10 minutes. A full spigot repair with thread wrapping and epoxy finishing takes about two to three hours of active work spread over two days. Most of that time is waiting for epoxy to cure between steps.
Can I repair a graphite rod that broke into more than two pieces?
It is possible but much harder. Each break needs its own spigot and wrap. Multiple repairs add significant stiffness and weight to the rod. If the rod broke into three or more pieces, a professional repair or replacement may be the better option.
What is the best material for an internal spigot plug?
Many experienced rod builders prefer fiberglass over graphite for the spigot piece. Fiberglass is slightly more flexible and blends better with the rod’s action. A graphite spigot works too, but it can make the repair point feel noticeably stiffer. Use whichever material fits the inner diameter of your broken rod blank.

Hi, I’m Ivy Webb, the passionate angler and creator behind BaitHookVault.com. I spend my days out on the water personally testing and reviewing a wide variety of fishing tools and gear.