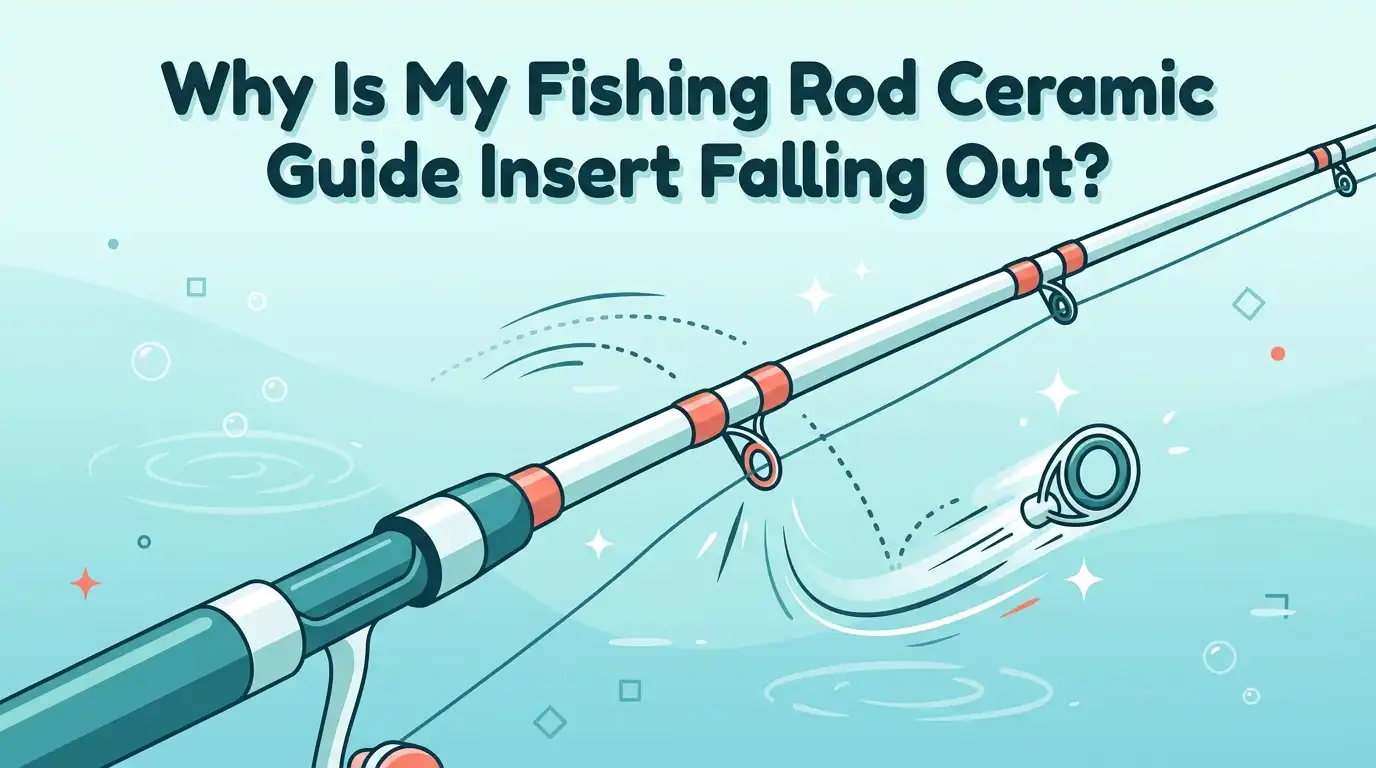
Why Is My Fishing Rod Ceramic Guide Insert Falling Out?
Your line zips out smoothly. Then you feel it. That small ceramic ring inside your rod guide is loose, or worse, it has popped out completely.
A missing or wobbly ceramic insert can ruin a cast and shred your fishing line fast. The good news is that this problem is common, and you can fix it yourself at home.
This guide breaks down why your ceramic guide insert keeps falling out. You will learn the real causes, the step by step repair methods, and the smart habits that stop it from happening again.
In a Nutshell:
- Corrosion is the top cause. Salt and moisture eat away at the metal guide frame. Once the metal weakens, the ceramic ring loses its grip and pops out.
- Heat and glue do most of the work. Many tip top inserts are held by heat sensitive glue. A quick warm up with a lighter often releases or reseats the ring.
- Two part epoxy is your best friend. For ring guides, clean, dry epoxy gives the strongest and most lasting hold.
- Match the insert size correctly. A ring that is too small or too large will never sit right. Measure before you buy a replacement kit.
- Smooth edges protect your line. Always run a cotton swab around the new insert. If it snags, the ceramic has a crack or rough spot that will cut your braid.
- Prevention beats repair. Rinse your rod after every saltwater trip and store it dry. Simple care adds years to your guides.
What Is a Ceramic Guide Insert and Why It Matters
A ceramic guide insert is the smooth ring that sits inside the metal frame of each rod guide. Your fishing line runs through this ring on every cast and retrieve. The ceramic surface reduces friction and protects your line from heat.
Common ceramic materials include aluminum oxide, Alconite, and Silicon Carbide (SiC). SiC is the hardest and smoothest, while Alconite offers great durability at a lower cost. The insert does the real work, and the metal frame just holds it in place.
When the insert falls out, your line rubs against bare metal. This creates friction, heat, and grooves. A worn or missing insert will fray braid and weaken mono in minutes. That is why fixing it fast matters so much for your gear and your catch.
The Main Reasons Your Ceramic Insert Keeps Falling Out
Several issues cause a ceramic insert to loosen or pop out. Knowing the cause helps you pick the right fix. Most failures trace back to one of a few common problems.
Corrosion is the biggest culprit, especially for saltwater anglers. Salt creeps into the groove that holds the ring. Over time it eats the metal, and the insert simply falls free.
Glue failure ranks second. Tip top guides often use heat set glue. Heat, age, or impact breaks this bond. Physical shock also matters. Banging your rod in a car door or against a boat rail can crack the bond or chip the ring.
Finally, poor original assembly plays a role. Some factory rods use too little epoxy, so the ring was never held well in the first place.
How to Inspect the Damage Before You Start
Do not rush into a repair. A careful check tells you exactly what you are dealing with. A two minute inspection saves you from a wasted fix.
First, look at the guide frame closely. Hold it under good light or use a magnifying glass. Check for rust, pitting, or a worn groove where the ring used to sit. If the metal is badly corroded, gluing a new ring will not last.
Next, find the loose insert if it is still around. Inspect it for cracks or chips. A cracked ring must be replaced, not reused. Then test the frame shape. A bent or oval frame needs reshaping before the ring will seat.
Finally, decide your path. A solid frame means a simple reglue. A damaged frame means a full guide replacement.
Method 1: Reseating a Loose Insert With Heat
If the ring is loose but still in good shape, heat is your fastest tool. This method works well for tip top guides held by thermal glue. It takes only a few minutes.
Hold a lighter or small torch near the metal frame for a few seconds. Do not aim the flame at the ceramic ring or the blank. The metal expands slightly as it warms. Then use a small tool or your fingertip to press the ring gently back into place. Let it cool fully.
Pros: It is fast, cheap, and needs no special supplies. Most people own a lighter.
Cons: Too much heat can crack the ceramic or scorch the rod blank. The bond may also fail again if the original glue was weak or worn out.
Method 2: Gluing the Insert Back With Super Glue
Super glue offers a quick fix when you need to fish today. It works best as a temporary or emergency repair. Use a thin, runny super glue rather than a thick gel for the cleanest result.
Start by cleaning the groove and the ring with rubbing alcohol. Let it dry. Then place a tiny bead of super glue around the edge of the insert. Press the ring into the frame and hold it for thirty seconds. Wipe away any extra glue right away.
Pros: It is fast, easy, and uses a product most homes already have. You can be fishing within an hour.
Cons: Super glue is brittle. It cracks under shock and does not handle water well over time. This fix often fails after heavy use or saltwater exposure.
Method 3: The Strong Two Part Epoxy Fix
For a repair that truly lasts, two part epoxy is the gold standard. This is the same approach rod builders trust. Epoxy flexes slightly and resists water far better than super glue.
Mix equal parts of the resin and hardener on a scrap surface. Clean the guide groove and ring with denatured alcohol first. Then apply a thin layer of epoxy into the groove. Press the ceramic insert in firmly and center it. Add a small smooth layer over the edge to lock it down. Let it cure fully, often twenty four hours.
Pros: It creates a strong, long lasting, and water resistant bond. It handles shock and saltwater well.
Cons: It takes longer to cure, so you cannot fish right away. Mixing the right ratio takes a little care and patience.
Method 4: Full Guide Replacement When the Frame Is Damaged
Sometimes a glue fix is not enough. If the metal frame is rusted, bent, or broken, you must replace the whole guide. This is more work but gives you a fresh, reliable result.
First, cut the old thread wraps with a sharp craft knife. Cut along the guide foot, not the blank. Apply gentle heat with a hair dryer to soften old epoxy and lift the thread cleanly. Remove the damaged guide. Then position the new guide, wrap it with rod thread, and seal the wrap with rod finish epoxy.
Pros: It fully restores the guide and removes corrosion at the source. The repair lasts as long as the original.
Cons: It needs thread, finish, and some skill. The learning curve is steeper than a simple glue job. Plan for a few hours of work.
Using a Rod Repair Kit for Quick Insert Swaps
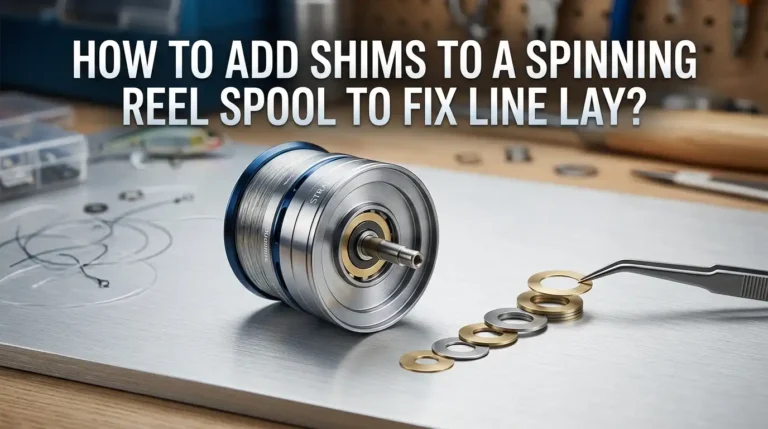
Repair kits make insert replacement simple for beginners. These kits usually include ceramic rings in many sizes plus glue. They let you fix the ring without removing the entire guide frame.
Start by matching the new ceramic ring to your guide. Pick a ring that fits snugly inside the metal frame. Pop out the old broken insert with a small tool. Clean the groove. Then glue the new ring in using the method that suits your needs, super glue for speed or epoxy for strength.
Pros: Kits are affordable and cover many guide sizes at once. They are great for anglers with several rods to maintain.
Cons: Quality varies between kits. Cheaper ceramic rings may have rough edges that harm your line. Always inspect each ring before you install it.
How to Match the Correct Insert Size
A wrong size insert never holds well. Sizing is the step most people get wrong. Take your time here to avoid a failed repair.
Measure the inner diameter of the metal frame groove first. Then measure the old insert if you still have it. The new ring must drop into the frame with a tight, even fit. A ring that is too small will rattle and fall out again. A ring that is too large will not seat at all.
Most repair kits label rings by millimeter size. Use a digital caliper for the most accurate reading. If you fish braid, choose a smooth ring like SiC or Alconite. The smoother surface protects thin braided line from fraying during long casts.
Testing Your Repair Before You Fish
Never trust a fresh repair without a quick test. A bad insert can cut your line on the very first cast. This simple check takes seconds and saves your gear.
Run a cotton swab or cotton ball gently around the inside of the new ring. If the cotton snags or pulls fibers, the ring has a crack or rough edge. A clean, snag free pass means the surface is smooth and safe.
Next, tug the insert lightly with your fingernail. It should not move at all. Then run a length of your actual fishing line through the guide. Feel for any catch or roughness as the line slides. If everything feels smooth and the ring stays put, your repair is ready for the water.
Smart Ways to Prevent Inserts From Falling Out
Prevention is easier than repair. A few simple habits keep your guides solid for years. Most insert failures are completely avoidable with basic care.
Rinse your rod with fresh water after every saltwater trip. Salt is the number one enemy of guide frames. Dry the rod fully before storage. Store rods in a rack, not loose in a trunk where they get banged around.
You can also add protection during your next repair. Run a fine bead of clear glue around both sides of the insert as a sealant. This keeps water out of the groove. Check your guides at the start of each season. Catching a loose ring early lets you fix it before it falls out on the water.
When to Repair Yourself Versus Visit a Pro
Most insert fixes are easy DIY jobs. But some situations call for a professional. Knowing the difference saves you time and protects expensive rods.
Handle it yourself when the fix is a simple reglue or an insert swap on a budget rod. These take basic tools and little risk. A glue and reseat job is perfect for first timers.
Visit a pro when the damage is serious or the rod is valuable. High end rods, multiple corroded guides, or broken frames deserve expert hands. A professional rod builder has the right thread, finish, and experience for a clean rewrap. The cost is often small compared to replacing a premium rod. When in doubt with a prized rod, ask a pro first.
Common Mistakes to Avoid During Insert Repair
A few simple errors cause most failed repairs. Avoiding them gives you a clean, lasting fix. Learn from these mistakes so you only do the job once.
The first mistake is using too much heat and cracking the ceramic or burning the blank. Work slowly and keep the flame moving. The second is skipping the cleaning step. Old epoxy and salt prevent new glue from bonding. Always clean with alcohol first.
The third mistake is rushing the cure. Super glue and epoxy both need time to set fully. Fishing too soon pops the insert right back out. The fourth is using a rough or wrong size ring. Never install an insert without testing it with cotton first. These small steps make the difference between a fix that holds and one that fails.
Frequently Asked Questions
Can I still fish with a missing ceramic insert?
You can, but it is risky. The bare metal frame creates friction and heat. This frays braid and weakens monofilament fast. You may also lose casting distance. Fix the insert as soon as you can to protect your line and your catches.
What glue works best for a ceramic guide insert?
Two part epoxy is the strongest and most water resistant choice. It handles shock and saltwater well. Super glue works for quick or emergency fixes but is brittle. For tip top guides, a heat set thermal glue is the proper match.
Why does my insert keep falling out even after gluing?
The most likely reason is corrosion in the metal frame. If the groove is rusted or worn, no glue will hold. You may need a full guide replacement instead. Poor cleaning before gluing also causes repeat failures.
How do I know what size replacement ring to buy?
Measure the inner diameter of the guide frame groove with a caliper. Match the new ring to that exact size. The ring should fit snugly with no gaps. Most repair kits list ring sizes in millimeters to help you choose.
Is a cracked ceramic insert worth fixing?
No. A cracked insert will cut your line and cannot be repaired. Always replace it with a new smooth ring. Test the new one with a cotton swab to confirm there are no rough edges before you fish.
How long should I wait before fishing after a repair?
For super glue, wait at least one hour. For two part epoxy, wait a full twenty four hours for a complete cure. Rushing the cure time is the top reason inserts pop back out. Patience gives you a bond that truly lasts.
Final Thoughts
A falling ceramic guide insert is annoying, but it is far from the end of your rod. Now you know the real causes, from salt corrosion to weak factory glue. You also have clear, step by step fixes for every situation.
Start with a careful inspection. Pick heat for loose tips, super glue for speed, or epoxy for strength. Replace the full guide when the frame is too damaged. Then test your work with the simple cotton swab trick before you cast.
Most of all, build good habits. Rinse, dry, and store your rods with care. A few minutes of prevention keeps your guides solid for many seasons. Grab your tools, fix that insert, and get back to doing what you love most, fishing.

Hi, I’m Ivy Webb, the passionate angler and creator behind BaitHookVault.com. I spend my days out on the water personally testing and reviewing a wide variety of fishing tools and gear.