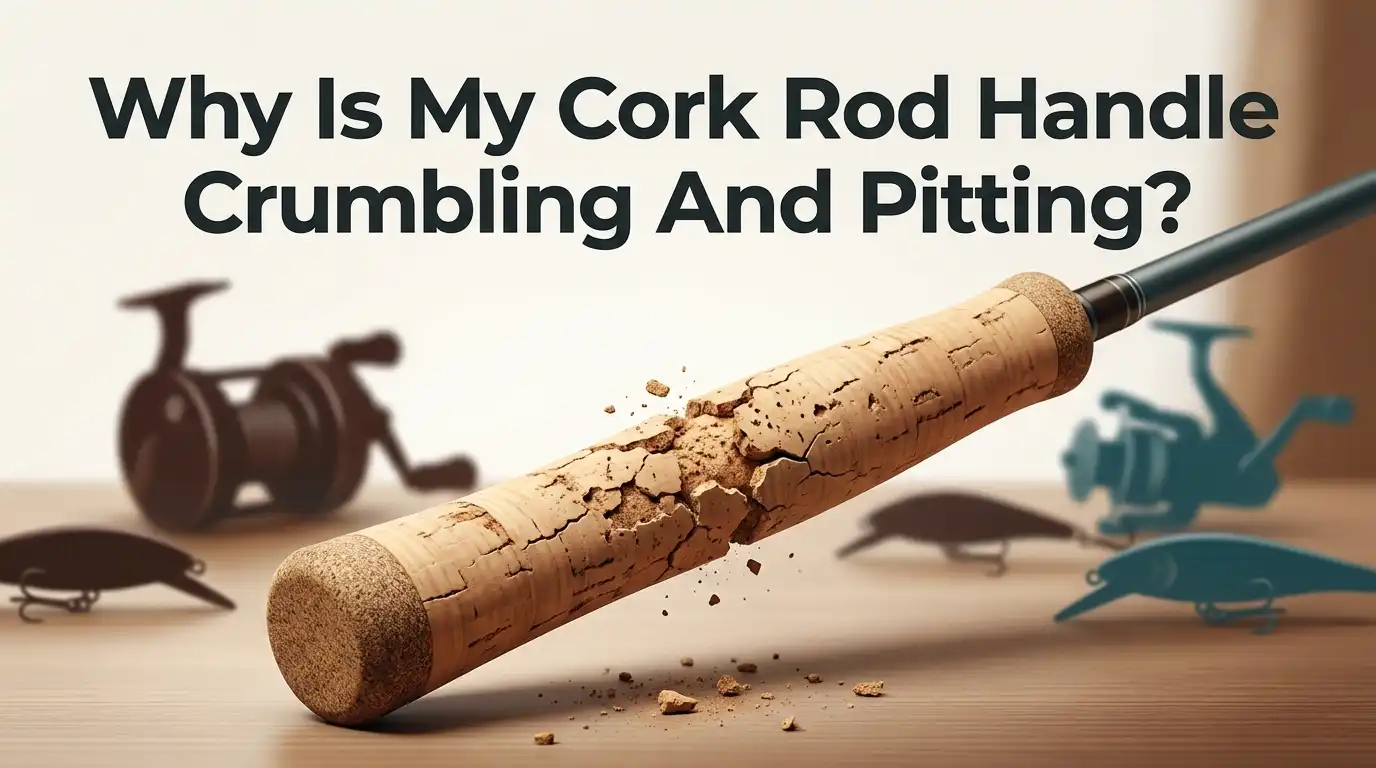
Why Is My Cork Rod Handle Crumbling And Pitting?
Your favorite fishing rod feels different in your hand. The cork grip that once felt smooth now flakes, crumbles, and shows deep little holes. You rub it and tiny pieces fall away.
This is frustrating, and you may worry the rod is ruined. Good news awaits you. A crumbling and pitting cork handle is one of the easiest fishing problems to fix at home.
You do not need special skills or expensive tools. This guide walks you through every cause and every solution in plain steps. By the end, you will know exactly how to bring your handle back to life and keep it strong for years.
Key Takeaways
- Cork crumbles because it dries out. Oils, sweat, sun, and dirt break down the natural glue that holds cork together, which then creates pits and loose chunks.
- Cleaning comes first, always. You must clean the cork gently with mild soap or a magic eraser before you attempt any repair, or the filler will not stick.
- Wood filler or cork paste fixes most pits. A mix of wood glue and cork dust fills small holes and blends in naturally with the original grip color.
- Wine cork patches fix big chunks. When cork breaks off down to the metal, you can cut a real wine cork into a patch and glue it in place.
- Sealing protects your work. A cork sealant blocks oil and dirt from soaking in, and this single step extends handle life more than anything else.
- Prevention beats repair. Regular cleaning, drying, and storage in a cool dry place stop most crumbling before it ever starts.
What Cork Actually Is And Why It Breaks Down
Cork comes from the bark of the cork oak tree. Rod makers grind this bark into rings, then glue and press those rings onto the rod blank.
This gives you a light, warm, and grippy handle. But cork is a natural material, and natural materials do not last forever.
Cork holds thousands of tiny air pockets inside its structure. These pockets make it soft and light. Over time, the natural binder that holds cork together dries out and weakens.
Once that binder fails, the air pockets open up. You then see pits, gaps, and loose crumbs. Understanding this helps you fix the problem at its root instead of just covering it up.
The Main Reasons Your Cork Handle Is Crumbling
Several things attack your cork grip at once. Your hands leave behind oils, sweat, and salt every time you fish. These substances soak into the porous cork and slowly break down its structure. Fish slime, blood, and bait residue speed up this damage.
Sunlight is another big enemy. UV rays dry out the cork and make it brittle. Heat inside a hot car or boat locker does the same. Then add physical wear. Rod holders, beach spikes, drops, and even a puppy’s teeth chip pieces away.
Water that sits in the cork can cause rot and mold too. Most handles suffer from a mix of all these causes, which is why crumbling seems to appear suddenly after a season of hard use.
How To Tell Pitting From Deeper Damage
Before you fix anything, you should know how bad the damage really is. This tells you which repair method to use. Run your fingers along the handle and press gently as if you were fishing.
Small pits and shallow holes are the mildest problem. These are the tiny craters that dot the surface. Cracks run along the grain and feel like thin splits. Missing chunks are the worst, where cork has fallen away down to the rod blank or the reel seat.
Squeeze the grip and feel for soft, spongy spots. These hidden voids often hide under a smooth surface. Knowing the depth and type of damage saves you time. Shallow pits need only filler, while big chunks need a patch.
Step One: Clean The Cork The Right Way
Cleaning is the first and most important step. Filler will not bond to a dirty, greasy surface, so skipping this ruins your whole repair. Gather a magic eraser, mild dish soap, warm water, and a soft toothbrush.
Wet the cork first. Then rub gently with the damp magic eraser or a soap-soaked toothbrush. Use light, even pressure and work in small sections. Rinse and repeat for stained spots. Here is the key warning: do not scrub too hard.
Dry, porous cork can tear away in large chunks if you get aggressive. Start soft and add pressure only where needed. Once clean, let the handle dry fully before you move on. Dawn dish soap works well because it cuts hand grease better than most cleaners.
Pros: Cheap, fast, and uses items you likely already own. Cons: Aggressive scrubbing can pull off more cork, so patience matters here.
Step Two: Fill Small Pits With Wood Filler
Once your cork is clean and dry, you can fill those shallow pits. Wood filler is the simplest option. Buy a tub that can be sanded, and pick a color that matches your grip as closely as possible.
Press the filler firmly into each pit with your finger or a small putty knife. Fill each hole completely and pack it down. A thin surface layer will flake off after a few trips, so make it solid.
Let the filler dry for the full time listed on the tub. Deep pits may need several hours. Then sand smooth with fine or medium sandpaper, removing as little cork as possible.
Pros: Easy for beginners, dries fast, and comes in many colors. Cons: Store-bought filler rarely matches cork perfectly, so repairs can look patchy on light grips.
Step Three: Make Your Own Cork Paste For A Natural Look
If you want your repair to blend in like it was never there, make your own cork paste. This method wins the color-matching game every time because you use the actual cork from your handle.
Lightly sand a small area of the cork or grind up a real wine cork to make fine dust. Mix this dust with Elmer’s wood glue until you get a thick paste. Some builders use a two-part epoxy instead for a stronger, more flexible bond.
Pack the paste into the pits with a toothpick or thread pick. Press it down so it fills the porous channels. Build it slightly above the surface, let it cure, then sand it flush.
Pros: Best color match, strong bond, and cheap. Cons: Takes more time and effort, and glue mixes may need to cure overnight.
Step Four: Replace Missing Chunks With A Wine Cork Patch
Sometimes damage goes past simple pits. A whole segment of cork may be gone, right down to the metal. Do not panic. You can rebuild this area with a patch from an old wine cork.
Look closely at the missing section. Take a razor knife and cut the wine cork into a puzzle piece that roughly fits the gap. It does not need to be perfect. Lay a healthy bead of wood filler or epoxy in the hole, then press the patch in firmly.
Fill the edges with more filler or cork paste. Let everything dry, then sand the patch down until it blends with the rest of the grip. It may not look brand new, but it will feel solid and work well.
Pros: Saves a rod that seemed ruined, and materials are nearly free. Cons: Patches are visible up close and take practice to shape correctly.
Step Five: Fill Odd-Shaped Gaps With A Cork Mixture
Not every missing area has a clean shape. Some gaps are jagged, wide, or oddly curved. A solid wine cork patch will not fit these well. For these spots, a loose cork mixture works better and molds to any shape.
Take a rasp or file to a wine cork and create small individual chunks and flakes. Mix these chunks with your wood filler or epoxy.
This gives you a chunky, moldable paste that packs into strange gaps. Push it in with a putty knife and pack it down tight. Build it up slightly proud of the surface. Once it cures fully, sand it to match the shape of the handle.
Pros: Fits any shape, blends texture well, and uses scrap materials. Cons: Messier than other methods, and thick mixes need long cure times before sanding.
Step Six: Sand Everything Smooth Without Overdoing It
Sanding ties your whole repair together. This is where a rough patch becomes a smooth, comfortable grip. But this step is also where many people go wrong by removing too much good cork.
Wait until every filler and patch has cured completely. Rushing this causes the filler to smear instead of sand. Use fine grit sandpaper, around 220 grit, for the final smoothing. Sand only the humps and raised filler. Work slowly and check often with your fingers.
You want the repair level with the original surface and nothing more. Round any sharp edges so the grip feels natural. Wipe away all dust when you finish, because leftover particles stop sealant from bonding.
Pros: Creates a clean, professional feel and hides repair lines. Cons: Over-sanding thins the cork and can undo your hard work in seconds.
Step Seven: Seal The Cork To Lock In Your Repair
This step is optional, but it is the one that makes the biggest difference over time. Sealing blocks oil, dirt, and water from soaking back into the porous cork. This stops future pitting before it starts.
Clean the handle one more time to remove sanding dust, then let it dry. Apply a cork sealant with a foam brush and let it soak in. Anglers use products made just for cork, but sealants sold at shoe stores work too. A small bottle treats many rods.
The sealant keeps the classic cork look and feel while adding a protective layer. Some people skip this and leave the plastic film on new rods instead, but that film gets slippery and traps moisture underneath, which causes mold.
Pros: Extends handle life more than any other step, cheap per rod. Cons: Adds a slight sheen some anglers dislike, and needs reapplying over the years.
When To Repair Versus When To Replace The Handle
Not every handle is worth saving. Sometimes the smart move is a full replacement rather than a patch job. Knowing the difference saves you time and frustration.
Repair makes sense when the cork is mostly solid with scattered pits, cracks, or a few missing chunks.
These fixes are quick and keep the good fish memories soaked into your grip. Replacement makes sense when most of the cork has rotted, gone soft, or crumbled away across the whole handle.
In that case, rebuilding piece by piece takes longer than a fresh grip. You can also switch to foam or a rubberized grip if you no longer want cork. For valuable or sentimental rods, a professional rod builder can rebuild the handle for you.
How To Prevent Your Cork Handle From Crumbling Again
The best fix is stopping the damage before it happens. A little care after each trip keeps your grip strong for many seasons. This routine takes only a few minutes.
Wipe your handle down with a damp cloth after every fishing session. This removes salt, slime, and oils before they soak in. Let the rod dry fully before storage, because trapped moisture causes rot. Store rods in a cool, dry place away from direct sun and hot lockers.
Deep clean the cork once or twice a year, then reseal it. Try to hold the rod with clean hands when you can, since hand grease is a major cause of breakdown. Small habits like these prevent almost all future crumbling.
Common Mistakes To Avoid During Cork Repair
A few simple errors can ruin an otherwise good repair. Knowing them ahead of time keeps your project on track and your rod looking sharp.
The biggest mistake is skipping the cleaning step. Filler simply will not stick to greasy cork. The second mistake is scrubbing too hard and tearing away healthy cork. Third, many people rush the drying time and sand while the filler is still soft, which smears everything.
Fourth, over-sanding removes good cork and thins your grip. Finally, some anglers use a thin surface layer of filler over deep holes, and this flakes off within a few trips. Take your time, respect the cure times, and pack every repair solid. Patience is the one tool that matters most here.
Frequently Asked Questions
Why does my cork handle crumble even though the rod is fairly new?
New cork can still crumble if it is a lower grade with factory voids, or if it dried out from heat and sun. Poor storage and greasy hands speed this up. Clean it, fill the pits, and seal it to slow the process.
Can I use regular household glue to fix cork pits?
Yes. Standard wood glue like Elmer’s works well when mixed with cork dust. This creates a paste that matches your grip. Epoxy gives a stronger, more flexible bond, but plain wood glue handles most small pits just fine.
How long does a cork repair last?
A well-done repair that is cleaned, filled, sanded, and sealed can last for many years. The sealant is the key to a long-lasting fix. Reapply sealant every year or two and wipe the grip after each trip to keep it strong.
Will sealing my cork handle make it slippery?
No. A proper cork sealant soaks into the surface and keeps the natural grip and feel. It only adds a light protective layer. This is different from plastic film, which does get slippery and can trap moisture underneath.
Is a pitted cork handle bad for the rod itself?
Pitting only affects the grip, not the rod blank underneath. Your rod still casts and fights fish normally. Repairing the cork is mostly about comfort, appearance, and stopping the damage from spreading deeper over time.
Can I fix cork crumbling without any sanding?
You can fill small pits and skip heavy sanding, but the repair will feel bumpy. Light sanding gives a smooth, comfortable grip. If you want a clean result, a quick pass with fine sandpaper is worth the small extra effort.

Hi, I’m Ivy Webb, the passionate angler and creator behind BaitHookVault.com. I spend my days out on the water personally testing and reviewing a wide variety of fishing tools and gear.