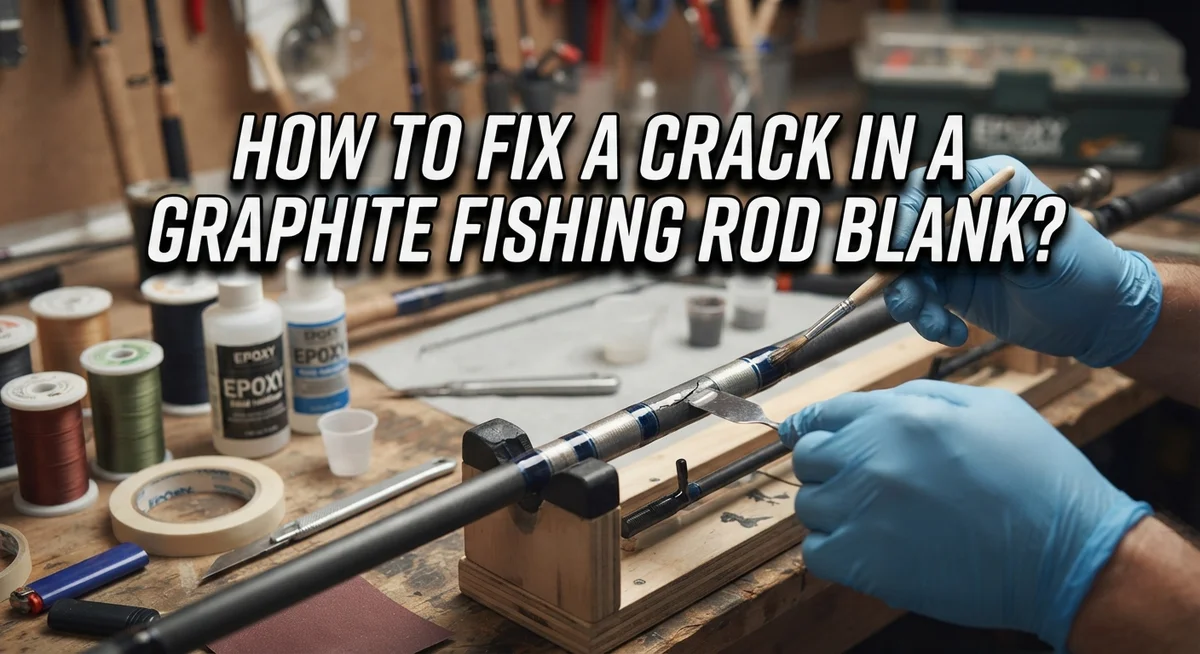
How To Fix A Crack In A Graphite Fishing Rod Blank?
A crack in your favorite graphite rod can feel like the end of the road. But don’t panic. Most cracks and breaks are fixable at home with a few simple tools.
Graphite rods are light and sensitive. This makes them great for fishing. It also makes them prone to cracks from pressure or accidental drops.
The good news is that you don’t need to replace your rod. You can repair it yourself and save money.
This guide walks you through fixing a crack in a graphite fishing rod blank. We cover tip breaks and mid section cracks. Each type needs a different approach.
In a Nutshell
- Small tip breaks need a new tip top guide. Use heat melt adhesive to attach it firmly. Make sure the guide lines up straight with the rod.
- Mid section cracks need the “sleeving” method. Slide a small graphite or fiberglass piece inside the hollow blank. This piece acts as an internal splint for the break.
- The sleeve must fit snugly inside the rod. A loose sleeve will not hold the two broken parts together well. A snug fit gives the rod its strength back.
- Apply glue carefully to the joint. Super glue or hot glue works well for this job. Wipe away any extra glue before it dries.
- Wrap the repaired area with strong tape. This step protects the crack from future stress. It also holds everything steady while the glue sets.
- Check alignment before the glue hardens. A crooked rod will not cast well and looks bad. Take your time here for the best result.
Understanding Graphite Rod Cracks and Breaks
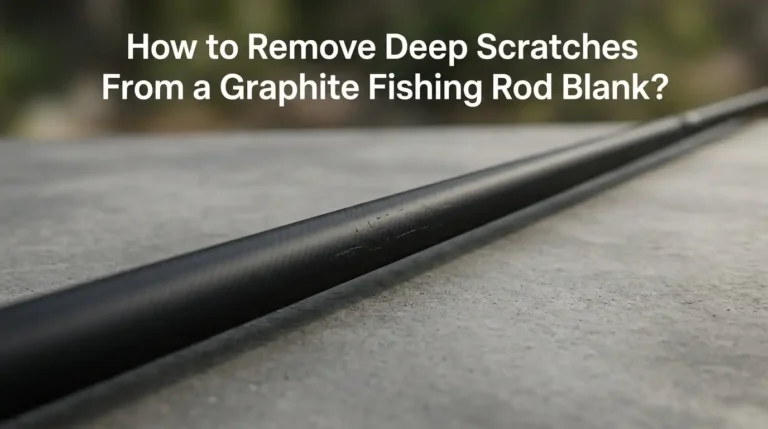
Graphite fishing rod cracks happen in two main ways. The first type is a tip break, which occurs at the rod’s end. The second type is a mid section crack, which sits somewhere along the blank’s body.
Understanding where your crack is located matters greatly. Tip breaks are simpler to fix because you only need to replace the damaged tip section. Mid section cracks require more work but remain totally fixable with the right approach.
Graphite rods are hollow inside, which actually helps with repairs. This hollow space lets you insert reinforcement material directly into the blank. The material slides inside and supports both sides of the crack from within.
Internal plugs prevent further damage at the break point. When you insert a sleeve inside the hollow blank, it acts like a splint on a broken bone. The sleeve holds the two pieces together and stops the crack from spreading.
Different adhesives work for graphite rod repairs. Hot glue and super glue both bond the materials effectively. Your choice depends on which method feels comfortable for you.
Alignment during repair is critical for casting performance. A crooked rod will not cast properly and feels unbalanced in your hand. You must check that both sides of the break line up straight before the glue hardens.
Wrapping tape around the repaired area provides extra protection. This tape shields the joint from future stress and impact. Strong tape keeps the repair intact during normal fishing use.
Common mistakes include misaligning the tip during reattachment and using inadequate wrapping. Another error is inserting a loose sleeve that doesn’t fit snugly inside the blank. These mistakes weaken your repair and lead to failure during casting.
Tools and Materials Needed for the Repair
Before you start fixing your graphite rod crack, gather the right tools and materials. Having everything ready makes the repair process smooth and prevents frustration midway through.
You will need an adhesive that bonds graphite effectively. Super glue works well for small repairs. Hot glue or heat melt adhesive also work for tip replacements. Choose one based on your crack location and size.
Internal sleeves form the backbone of mid section repairs. These sleeves slide inside your hollow rod blank. You can use a graphite sleeve from a donor rod or a fiberglass sleeve. The sleeve must fit snugly to hold the broken pieces together properly.
Wrapping materials protect your repair and add strength. Strong tape, electrical tape, or specialized rod wrapping thread all serve this purpose. Wrap around the break point and slightly beyond on both sides. This prevents the crack from spreading further under casting stress.
You will also need basic hand tools for the job. A heat gun or hair dryer softens adhesive for tip removal. Sandpaper helps clean the break point before gluing. A ruler or measuring tape ensures your sleeve fits correctly inside the blank.
Cleaning supplies matter too. Rubbing alcohol removes old glue residue. A clean break point bonds better with fresh adhesive.
Finally, have a straight edge or flat surface nearby. This helps you check alignment while the glue dries. Proper alignment ensures your rod casts straight and performs like it did before the crack appeared.
Gather these materials before starting. This preparation saves time and produces better results. You avoid stopping mid repair to hunt for missing supplies.
How To Fix a Cracked Tip Section
A cracked tip section requires quick action to save your rod. The tip is the thinnest part of your fishing rod, so damage here spreads fast if you ignore it.
Start by removing the damaged tip from the blank. Heat helps this step. Warm the connection point gently so the old tip slides off without forcing it. Forcing creates additional cracks you don’t need.
Clean the blank end thoroughly before reattaching anything. Dirt and old adhesive prevent new bonds from forming. Use a cloth to wipe away debris. A clean surface means a stronger repair.
Apply your chosen adhesive to the blank end. Super glue works fast and creates a solid bond. Hot glue also works well if you prefer a slower setup time. Either option bonds graphite effectively.
Slide the new tip onto the blank carefully. Alignment matters more than speed here. A crooked tip ruins your casting accuracy and looks wrong too. Check that the tip sits straight before your adhesive hardens.
Hold the tip in position while the glue sets. Don’t move it around or twist it. Most adhesives need several minutes to cure fully. Patience now prevents redoing this work later.
After the glue hardens, wrap the connection point with strong tape. This wrapping adds reinforcement and protects the joint from stress. Wrap tightly but not so tight that you crush the graphite.
Test your rod gently before using it on the water. Flex it slightly to confirm the repair holds. A successful tip repair restores your rod to working condition and extends its life significantly.
How To Repair a Mid-Section Break Using the Sleeving Technique
A mid section break requires a different approach than a tip repair. The sleeving technique works because your graphite rod is hollow inside, which gives you space to work with.
Start by preparing a donor piece. You need a graphite or fiberglass sleeve that measures roughly four inches long. This sleeve slides inside the hollow blank at the break point. Make sure the sleeve fits snugly without forcing it. A tight fit prevents movement during casting and stress.
Clean the break area thoroughly before assembly. Remove any dirt, debris, or loose graphite pieces. A clean surface helps adhesives bond properly and strengthens your repair.
Insert the sleeve into one end of the broken blank. Push it in slowly and check that it sits centered. The sleeve should extend equally on both sides of the crack. This balanced placement distributes stress evenly across the repair.
Apply adhesive to the break point where the two blank sections meet. Use super glue or hot glue, depending on your preference. Work quickly because these adhesives set fast. Press the two blank sections together firmly around the sleeve.
Hold everything in place while the glue cures. Most adhesives need several minutes to set properly. Do not move the rod during this time.
After the glue hardens completely, wrap the entire repair area with strong tape. Wrap tightly in overlapping layers. This wrapping adds protection and prevents the crack from spreading further. Extend the tape several inches beyond the break on both sides.
Test your repair gently before fishing. Cast a few times in your yard to check alignment and feel. The rod should cast smoothly without wobbling or bending oddly at the repair point. If everything feels right, your mid section repair is complete and ready for use.
Ensuring Proper Alignment and Curing the Repair
Proper alignment makes the difference between a rod that casts smoothly and one that wobbles or fails. When you reattach a tip or insert a sleeve, the blank must sit perfectly straight. Any angle or twist will throw off your casting accuracy and put stress on the repair.
Start by laying your rod on a flat surface. A table or workbench works great for this step. Position the blank so it rests naturally without rolling. This gives you a baseline for checking alignment as you work.
When reattaching a tip section, slide it on slowly and straight. Push it in line with the blank’s axis. If it goes in at an angle, remove it and try again. Take your time here because rushing causes misalignment.
For mid section repairs with sleeves, insert the sleeve into one blank end first. Make sure it goes in straight and doesn’t tilt. Then carefully align the second blank section with the sleeve. Both pieces must meet the sleeve’s centerline exactly.
Use a straight edge or ruler to verify alignment before the adhesive sets. Place it alongside the rod to spot any bends or twists. The rod should form one continuous line from end to end.
Allow full curing time before handling your rod. Different adhesives need different timeframes. Some set in minutes while others require hours or even overnight. Rushing this step risks misalignment as the glue hardens unevenly.
After curing completes, gently flex the rod to check alignment. It should bend smoothly without kinks or flat spots. A properly aligned repair feels natural during casting and performs reliably on the water.
Common Mistakes To Avoid When Repairing a Rod Blank
When repairing your graphite fishing rod blank, certain mistakes can ruin your repair work. Understanding these errors helps you succeed on your first attempt.
Misaligning the tip during reattachment tops the list of common problems. Many anglers rush this step and slide the new tip on at an angle. This creates a rod that casts poorly or feels unbalanced. Take your time. Slide the tip straight onto the blank. Use a flat surface to verify the alignment before your adhesive sets.
Using the wrong adhesive type causes repairs to fail later. Super glue works for some repairs, but hot glue may not hold under casting stress. Hot melt adhesive bonds well for tip replacements. Choose an adhesive designed for rod repair work. Read the instructions carefully. Different adhesives cure at different speeds.
Inadequate wrapping around the break point leaves your repair vulnerable. Some anglers apply tape too loosely or skip wrapping entirely. The tape holds everything together while the adhesive cures. Wrap the connection point firmly with strong tape. Cover the entire break area. This prevents additional damage and reinforces the bond.
Failing to clean the break area thoroughly prevents strong adhesive bonds. Dirt and old adhesive residue sit between the surfaces. Your new glue cannot grip properly. Clean the blank end completely before applying any adhesive. Remove loose graphite pieces and debris.
Inserting sleeves incorrectly weakens mid section repairs. Your internal sleeve must fit snugly inside the hollow blank. A loose sleeve moves around during casting. Measure your blank’s interior diameter. Choose a sleeve that fits tightly. Insert it straight into the blank end.
Avoiding these mistakes ensures your repair lasts through many fishing seasons.
Troubleshooting Persistent or Recurring Cracks
Persistent cracks require a different strategy than single breaks. These cracks keep returning because the underlying cause wasn’t fully addressed. You need to identify why the crack keeps appearing before attempting another repair.
Check the rod’s casting technique first. Improper casting puts stress on specific blank areas. If you’re jerking the rod too hard during casting, the same spot will crack again. Practice smoother, more controlled casting motions to reduce strain on weak points.
Examine your storage conditions next. Graphite rods stored in hot vehicles or direct sunlight can develop stress fractures. Temperature changes cause the material to expand and contract repeatedly. Store your rod in a cool, dry place away from extreme heat.
Look for structural weakness in the blank itself. Sometimes the original crack wasn’t the real problem. The blank may have a manufacturing defect or hidden damage elsewhere. If cracks keep appearing near the same location, the blank may be compromised beyond repair.
Consider the repair method you used previously. If your first repair didn’t use an internal sleeve, try that approach this time. A proper internal sleeve distributes stress across a wider area and prevents the break from reopening. Make sure the sleeve fits snugly inside the hollow blank.
Apply wrapping tape that extends further beyond the break point than before. Wrap at least 2 inches on each side of the damage. This extra coverage helps distribute force more evenly throughout that section.
If cracks continue after these steps, the blank has likely reached the end of its lifespan. Multiple persistent cracks indicate the graphite structure has degraded too much for reliable repairs. Replacing the rod becomes the safer option for your fishing experience.
Testing and Caring for Your Repaired Rod
After you repair your graphite fishing rod blank, testing it properly keeps you safe and confirms the fix works. Start with gentle flexing. Hold the rod at both ends and bend it slowly in a smooth curve. You should feel no unusual clicking, cracking, or sharp pain points along the blank.
Next, perform a casting test in your yard or a safe open space. Cast without a lure first to avoid losing tackle. Make short casts and gradually increase distance. Listen for any sounds coming from the repair area. Watch how the rod bends during the cast stroke.
Pay close attention to the tip section. It should move smoothly and return to center without wobbling or dragging to one side. Any deviation means your alignment needs adjustment before you fish.
Check the wrapped area carefully after each test. Look for tape peeling or adhesive oozing out. These signs suggest the repair needs reinforcement. Add extra wrapping tape if needed.
Now focus on caring for your repaired rod. Store it horizontally on a flat surface or rod rack. Never stand it vertically, as this puts pressure on the repair. Keep it away from extreme heat or cold, which weakens adhesive bonds.
After fishing, rinse the rod with fresh water and dry it completely. This prevents salt corrosion from reaching your repair. Inspect the wrapped section monthly for damage.
Avoid high stress casts for the first few fishing trips. Let the adhesive fully cure under normal use. Gradually increase casting power as you gain confidence in the repair. This careful approach helps your rod last many seasons ahead.
Final Thoughts
Fixing a crack in your graphite fishing rod blank is a skill worth learning. It saves you money and keeps your favorite rod in action. With patience and the right materials, most breaks become manageable projects.
Tip section breaks usually need a simple heat melt adhesive fix. Mid section breaks require more effort with sleeving techniques. Either way, the process stays within reach for most anglers.
Graphite sleeves work well for graphite rods. You do not need fiberglass unless that is what you have on hand. Both materials create solid repairs when done correctly.
Remember that alignment matters more than speed. Take your time reattaching the tip or inserting a sleeve. A rushed repair often leads to another break down the road.
Wrapping and taping the break point protects your work. This step stops small cracks from turning into bigger problems. Never skip this part of the process.
Every rod tells a story through its repairs. Some blanks handle multiple fixes well. Others show their age after one or two breaks. Learning to read these signs helps you decide when a rod still has fishing life left.
Practice makes these repairs easier over time. Your first fix might feel tricky. By your second or third repair, the steps will feel familiar.
Keep basic repair supplies in your tackle box. A small tube of adhesive and some sleeve material go a long way. You will thank yourself next time a crack appears mid trip.
Fishing rods are built to handle stress, but breaks happen. With these repair skills, you keep casting instead of shopping for a replacement rod.
Frequently Asked Questions
Can I use a graphite sleeve to fix a crack in the middle of my rod?
Yes, you can. A graphite sleeve works well for mid-section cracks. The sleeve slides inside the hollow blank at the break point. It should fit snugly so it doesn’t move around. Make the sleeve about 4 inches long. This gives enough support on both sides of the crack.
What type of adhesive works best for graphite rod repairs?
Hot glue and super glue both work for graphite rods. Hot glue melts and bonds quickly when the tip reattaches. Super glue creates a permanent bond for smaller cracks. Choose based on your break location. Tip breaks respond well to hot glue. Internal repairs often use super glue for better penetration into the crack.
Why is alignment so important when reattaching a broken tip?
Misalignment ruins your casting accuracy and balance. When the tip sits at an angle, your guides won’t line up correctly. This creates drag during casts and reduces distance. Proper alignment ensures the rod bends evenly under load. Take time to position the tip straight before the adhesive sets.
Should I wrap the entire break area or just around the crack?
Wrap beyond the crack on both sides. Extend your tape or wrapping material at least 1 to 2 inches past the break point. This distributes stress across a wider area. A small wrap only protects the immediate break. Wider wrapping prevents new cracks from forming near the original damage.
How do I know if my repair will hold during actual fishing?
Test your rod in an open yard first. Make several practice casts to check for weakness. Watch the wrapped area closely during each cast. Listen for any unusual sounds or creaking. If the repair feels solid after yard testing, it should handle light fishing trips. Avoid heavy casting pressure on your first few outings.

Hi, I’m Ivy Webb, the passionate angler and creator behind BaitHookVault.com. I spend my days out on the water personally testing and reviewing a wide variety of fishing tools and gear.