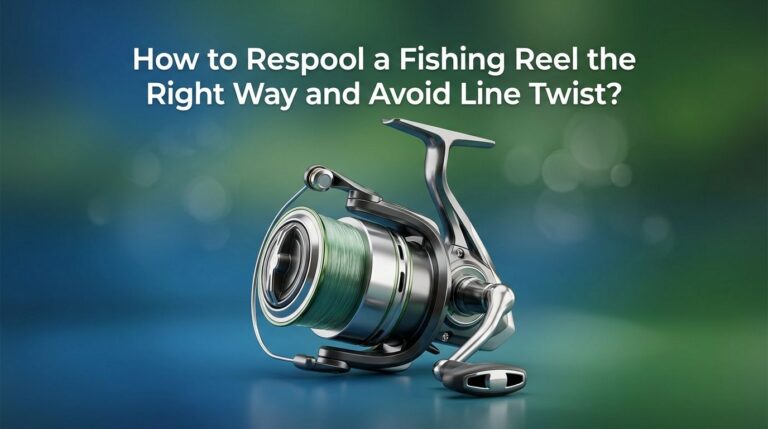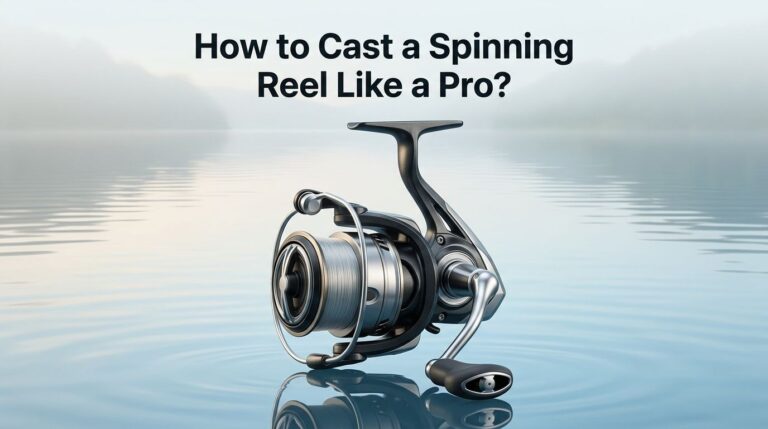
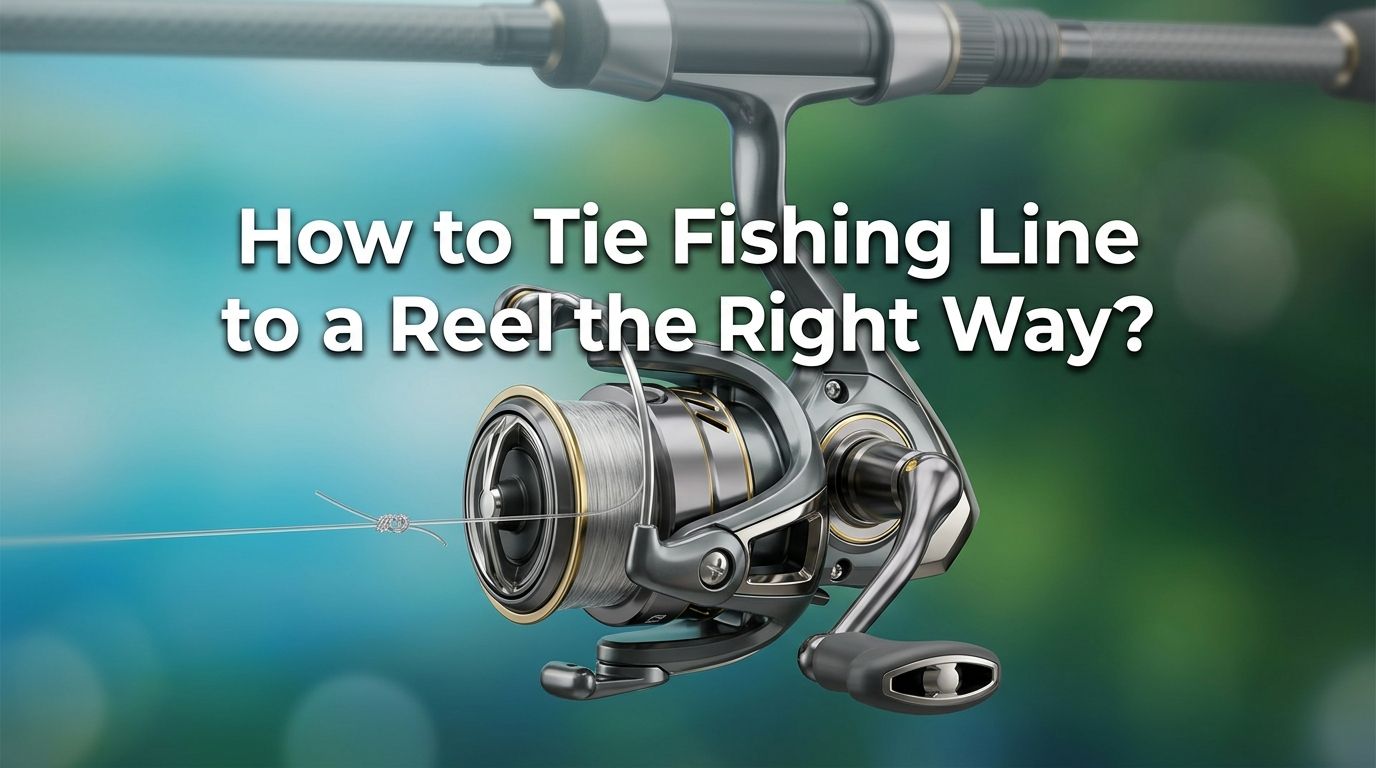
How to Tie Fishing Line to a Reel the Right Way?
You just bought a new fishing reel. You have your line ready. But you stare at the empty spool and wonder how to actually get the line attached.
This small step matters more than most anglers realize. A poorly tied connection can cause your entire line to spin freely on the spool. That means lost fish, wasted time, and serious frustration on the water.
The good news is that tying fishing line to your reel is simple once you learn the right technique. Whether you fish with monofilament, fluorocarbon, or braided line, the process takes less than two minutes.
In a Nutshell
- The arbor knot is the most popular and reliable knot for attaching fishing line to a reel spool. It works on both spinning reels and baitcasting reels, and it holds firm with monofilament and fluorocarbon lines.
- Braided line requires extra steps because its smooth, slick surface can slip on the spool. You can solve this by adding a strip of electrical tape to the spool or by using a few yards of monofilament backing before tying on your braid.
- The uni knot is a strong alternative to the arbor knot. It creates a tighter grip around the spool and works well for anglers who want extra security. The trade off is a slightly bulkier knot profile on the spool.
- Always thread the line under the bail on a spinning reel before tying it to the spool. Forgetting this step is one of the most common beginner mistakes. It means you have to cut the line and start over.
- Proper tension during spooling prevents line twist. After tying the knot, keep steady pressure on the line as you reel it onto the spool. Loose spooling leads to tangles and bird’s nests during casting.
- Trim your tag end close to the knot after tying. A long tag end can catch on the line above it and cause snags or uneven spooling.
How to Choose the Right Knot for Your Fishing Line and Reel
Not every knot works equally well with every type of fishing line. Monofilament and fluorocarbon lines have enough grip and stretch to hold a basic arbor knot firmly against the spool. The stretch in these lines actually helps lock the knot in place.
Braided line is a different story. Braid is smooth and slippery, so a standard arbor knot may spin freely on a bare spool. You will need either electrical tape on the spool, monofilament backing, or a modified uni knot to get a secure hold.
Your reel type also matters. Spinning reels, baitcasting reels, and conventional reels all have slightly different spool shapes. The arbor knot and uni knot work on all of them. Pick the knot that gives you the best grip for your specific line material.
How to Tie an Arbor Knot to Attach Line to Your Reel Spool
The arbor knot is the go to choice for most anglers. It is fast, simple, and reliable with mono and fluoro lines. Here is how to tie it step by step.
First, wrap the line around the reel spool. Second, tie an overhand knot with the tag end around the main line. This creates a sliding loop around the spool. Third, tie a second overhand knot at the very tip of the tag end. This stopper knot prevents the first knot from slipping free.
Pull the main line to slide both knots down against the spool. The stopper knot jams against the first knot and locks everything tight. Trim the tag end close and you are ready to spool your line.
Pros: Very easy to learn, ties in under 30 seconds, works with mono and fluoro.
Cons: Can slip with braided line on a bare spool, not the strongest option for heavy drag settings.
How to Tie a Uni Knot to Secure Fishing Line to a Reel
The uni knot gives you a tighter grip than the arbor knot. It is a great choice if you want a more secure connection or if you fish in conditions that put high stress on your line.
Start by wrapping the line around the spool. Form a loop with the tag end running parallel to the main line. Wrap the tag end through the loop and around both lines four to six times. Pull the tag end to tighten the wraps, then pull the main line to cinch the knot against the spool.
The uni knot’s multiple wraps create more friction, which means less chance of slipping. This knot also works better than the arbor knot for braided line, though you may still want tape or backing with braid.
Pros: Stronger grip, more wraps mean better security, versatile across line types.
Cons: Slightly bulkier profile on the spool, takes a bit longer to tie than the arbor knot.
How to Attach Braided Line to a Reel Without Slipping
Braided fishing line is popular for its thin diameter and zero stretch. But its smooth, slick surface creates a real problem at the spool. Braid can spin freely around a smooth metal or graphite spool, and no knot alone will always solve this.
The most reliable fix is to add a small strip of electrical tape to the bare spool before tying your knot. The braid digs into the tape and grips firmly. Tie your arbor or uni knot directly over the tape.
Another option is to use monofilament backing. Tie a few yards of cheap monofilament to the spool first. Then connect your braided main line to the mono using a double uni knot or an FG knot. The mono grips the spool, and the braid connects securely to the mono.
Pros of tape method: Quick, simple, and cheap.
Cons of tape method: Tape can degrade over time and may need replacing.
Pros of mono backing: Creates a very secure base that lasts longer than tape.
Cons of mono backing: Adds an extra knot connection between the backing and the braid.
How to Thread Line on a Spinning Reel Before Tying the Knot
Before you tie anything, you need to thread the line correctly through your spinning reel. This step is critical and often overlooked by beginners.
Open the bail arm on your spinning reel. The bail is the metal wire that flips up and down. Thread the end of your line through the first guide on the rod, then down to the reel. Pass the line under the bail and toward the spool.
Now you are ready to tie your knot. If you tie the line to the spool without going under the bail first, the line will not be captured properly. You will have to cut the line and start the entire process over.
After tying the knot, close the bail by hand. Do not crank the handle to close it. Closing it by hand is a good habit that prevents the line from catching on the bail mechanism.
How to Tie Fishing Line to a Baitcasting Reel
Baitcasting reels work a little differently from spinning reels. The spool sits inside a frame and rotates during casting. But the process for attaching line is very similar.
Thread the line through the level wind guide on the front of the reel. This is the small guide that moves back and forth across the spool. Forgetting this step means you have to remove all the line and start over.
Once the line is through the level wind, tie an arbor knot or uni knot directly to the spool. Hold light tension on the line as you begin to reel. Make sure the line lays evenly across the spool from side to side.
Baitcasting reel spools often have small holes in them. Some anglers thread the line through one of these holes before tying the knot. This gives the line an extra anchor point and prevents any possible slipping, even with braid.
How to Keep Proper Tension While Spooling Line on Your Reel
Tying the knot is only half the job. How you spool the line onto the reel determines whether you get smooth casts or frustrating tangles.
For spinning reels, lay the line spool on the floor with the label facing up. The line should come off the spool in the same direction your reel winds it on. If you see twists forming, flip the spool over.
Pinch the line lightly between your thumb and index finger as you reel. This creates enough tension to pack the line tight on the spool. Loose line will cause loops and bird’s nests on your very first cast.
For baitcasting reels, push a pencil through the center of the line spool and have a friend hold the ends. Apply light pressure to the spool as you reel. Even, consistent tension is the goal. Fill the spool to about an eighth of an inch from the rim for best casting performance.
How to Avoid Common Mistakes When Tying Line to a Reel
Several common errors can ruin your spooling job before you even make a cast. Knowing them ahead of time saves you a lot of headaches.
Mistake one: Forgetting to thread the line under the bail on a spinning reel. Always check this before tying the knot. Mistake two: Not trimming the tag end close enough. A long tag end can catch line above it and cause tangles.
Mistake three: Overfilling the spool. Line should sit about 1/8 inch below the spool lip. Too much line causes loops to fly off during casting. Mistake four: Using no backing or tape with braided line. Braid will slip on a bare spool under heavy drag pressure.
Take an extra 30 seconds to double check your work before you start spooling. A small error at this stage creates big problems on the water.
How to Tell If Your Line Is Properly Attached to the Reel Spool
After tying the knot, do a quick test before spooling the rest of your line. Pull firmly on the main line while holding the reel. The knot should not slide or rotate around the spool.
If you feel the line slipping, cut it off and start again. With monofilament or fluorocarbon, a properly tied arbor knot should grip without any movement. With braided line and tape, the knot should hold firm even under strong pulls.
Once you have spooled all the line, test again. Grab the line near the rod tip and pull with moderate force. Watch the spool to see if the line is spinning. If it holds steady, you are good to go. A solid connection at the spool means you can fight fish with confidence and apply full drag pressure without worry.
How to Change Old Fishing Line and Retie to the Reel
Fishing line wears out over time. Monofilament and fluorocarbon develop memory coils and lose strength after a season of use. Braided line lasts longer but still needs replacement every year or two.
To remove old line, pull it off the reel and dispose of it responsibly. Do not throw fishing line in the trash where it can harm wildlife. Many tackle shops have recycling bins for old line.
Once the spool is empty, inspect it for nicks, grooves, or old tape residue. Clean the spool with a soft cloth. If you are using braid, apply fresh electrical tape. Then tie your new line using the arbor or uni knot and spool up with proper tension.
Changing your line at least once a year is a simple habit that prevents break offs and lost fish. Fresh line casts better, knots hold stronger, and your overall fishing experience improves.
How to Match Line Type and Pound Test to Your Reel Before Tying
Before you tie your first knot, make sure you have the right line for your reel. Every reel has a line capacity rating printed on the spool or listed in the manual. This tells you how much line of a given pound test the spool can hold.
Using line that is too heavy can mean you do not have enough line on the spool. Using line that is too light may leave you with too much line and cause overfilling. Both situations hurt casting performance and can cause problems on the water.
Check your reel’s specifications and match your line accordingly. If you prefer braided line, remember that braid has a thinner diameter than mono at the same pound test. You may need to add extra mono backing to fill the spool properly. Getting this balance right before you tie the knot saves you from respooling later.
How to Tie Fishing Line to a Fly Reel
Fly reels follow the same basic principle but with a slight twist. Most fly anglers use backing line before attaching the fly line. The backing fills the spool and gives you extra length for long runs from big fish.
Tie the backing to the spool using an arbor knot. Then connect the fly line to the backing using a loop to loop connection or a nail knot. The arbor knot works perfectly for fly reel spools because the backing is usually braided Dacron, which grips well.
Make sure to wind the backing on evenly. Then attach the fly line and wind that on top. The fly line should fill the spool to about a quarter inch from the rim. This makes the retrieve faster because each turn of the handle picks up more line.
Pros of arbor knot for fly reels: Simple and effective with Dacron backing.
Cons: If you use gel spun backing, you may need tape for extra grip, just like with braided fishing line.
Frequently Asked Questions
How Do You Tie Fishing Line to a Spinning Reel for the First Time?
Open the bail arm. Thread the line under the bail and around the spool. Tie an arbor knot by making an overhand knot around the main line, then tying a stopper knot at the tag end. Pull tight against the spool, trim the tag end, close the bail by hand, and begin reeling with steady tension.
What Is the Best Knot for Tying Fishing Line to a Reel?
The arbor knot is the most widely used and recommended knot for attaching line to a reel spool. It works well with monofilament and fluorocarbon. The uni knot is a strong second option that offers a tighter grip and works better with braided line.
Can You Tie Braided Line Directly to the Reel Spool?
You can, but braid tends to slip on bare spools because of its smooth surface. The best approach is to apply a strip of electrical tape to the spool first or to use a few yards of monofilament as backing. This gives the braid a surface to grip and prevents the line from spinning under pressure.
How Often Should You Change Fishing Line on Your Reel?
Monofilament and fluorocarbon should be replaced at least once a year with regular use. If you fish frequently, consider changing it every few months. Braided line lasts longer, often two to three years, but inspect it regularly for fraying or weak spots.
Does It Matter Which Direction You Spool Line on a Reel?
Yes. On a spinning reel, the line should come off the supply spool in the same direction the reel winds it on. If the line twists as you spool it, flip the supply spool over. Proper direction prevents line twist, which causes tangles and poor casting.

Hi, I’m Ivy Webb, the passionate angler and creator behind BaitHookVault.com. I spend my days out on the water personally testing and reviewing a wide variety of fishing tools and gear.