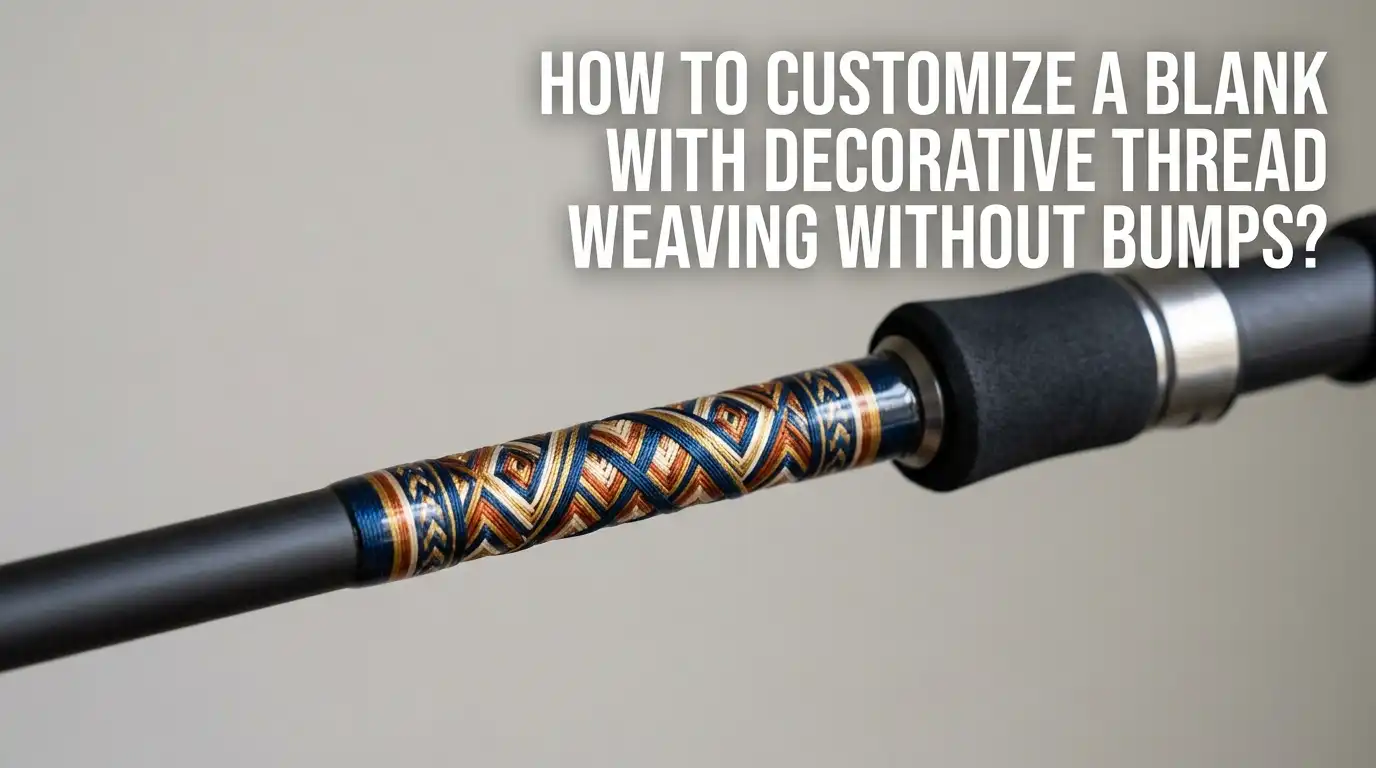
How to Customize a Blank With Decorative Thread Weaving Without Bumps?
Decorative thread weaving turns a plain blank into a stunning piece of art. Yet many crafters struggle with one frustrating issue: bumps.
Those tiny lumps ruin the smooth finish you worked hard to create. The good news is that you can fix this problem with the right tools and techniques.
This guide walks you through every step to weave thread on a blank without bumps. You will learn about thread selection, tension control, packing methods, and finishing tricks.
Key Takeaways
- Pick the right thread: Use smooth, durable thread like size A nylon for fine work or size D for stronger holds. Cheap thread frays and creates lumps.
- Sand the blank first: A smooth surface stops snags. Use 400 grit sandpaper before you start weaving any pattern.
- Control your tension: Keep even pressure across every wrap. Too tight pulls the blank, too loose leaves gaps that become bumps later.
- Pack threads as you wrap: Push the threads tight with a burnishing tool every few turns. This closes gaps before they grow.
- Hide your tag ends well: Always trim ends at an angle with a sharp razor blade. Long or thick tag ends are the top cause of visible bumps.
- Apply finish in thin coats: Build up epoxy or varnish slowly in multiple thin layers. Thick coats trap air and form bubbles that look like bumps.
Understand Why Bumps Form During Thread Weaving
Bumps appear for a few clear reasons. The most common cause is uneven tension while wrapping. When some threads sit tighter than others, they push neighbors out of line. This creates raised spots on the surface.
Another cause is trapped tag ends. The small thread tips you tuck under the wraps add extra thickness if not trimmed close. Dust, lint, or rough spots on the blank also push threads upward. Even a single fiber can ruin the look.
Knowing the root cause helps you stop bumps before they start. Most builders find that clean prep work and steady hand pressure solve nine out of ten problems. The rest comes down to choosing good thread and a smooth finish method.
Choose the Right Type of Thread for Your Project
Thread choice shapes the final result more than any other factor. Nylon thread stays smooth and resists fraying. It works well for rod building and decorative wraps. Size A is fine and thin, while size D is thicker and stronger.
Polyester thread offers strong color and low stretch. It holds patterns crisp and clean. Silk thread looks beautiful but breaks easily under tension. Cotton thread is soft but can fuzz up over time.
Pros of nylon: smooth surface, easy to work with, wide color range.
Cons of nylon: can stretch under heavy pull.
Pros of polyester: crisp lines, color stays bright.
Cons of polyester: less forgiving for beginners.
Always test a small wrap first to see how the thread behaves on your blank.
Prepare the Blank Surface Before You Start
A clean, smooth blank gives the best base for weaving. Start by sanding the surface with 400 grit sandpaper. Use light circular motions to remove rough spots without scratching deep marks.
Wipe the blank with a lint free cloth and rubbing alcohol. This removes dust, oil, and finger prints. Even tiny bits of grease can stop thread from sitting flat. For wood blanks, you can apply a thin sealer coat to fill open grain.
Check the blank under bright light from different angles. Look for any high spots or splinters. If you see flaws, sand again. Skipping this step leads to bumps you cannot fix later. Good prep takes ten minutes and saves hours of fixing.
Set Up Proper Tension on Your Thread Spool
Tension is the secret to flat, even wraps. Use a thread tensioner with a felt or rubber pad. This keeps steady pressure as you wrap. Too loose and the thread sags, too tight and it digs into the blank.
A good rule is to set tension at medium pressure. The thread should feel firm but not pull the blank when you stop wrapping. You can test by pulling thread by hand. If it slides smoothly with light drag, you are set.
Pros of using a tensioner: consistent results, less hand fatigue, better looking wraps.
Cons of using a tensioner: costs money, takes time to adjust.
If you do not own a tensioner, you can run thread through a heavy book. The book weight gives basic tension for small projects.
Use the Pack and Wrap Method for Tight Threads
The pack and wrap method keeps threads close together with no gaps. Wrap two or three turns, then push the threads back toward the start with your thumbnail or a packing tool. Repeat this every few wraps.
This method closes hidden gaps that turn into bumps once you apply finish. Without packing, threads spread out under epoxy and create wavy lines. A small bone folder or the back of a spoon works well for packing.
Be gentle when packing. Hard pressure can break threads or damage the blank surface. Use light, even strokes in the wrap direction. After packing, run your finger over the wrap to feel for gaps. If you feel any, pack again before moving on.
Trim Tag Ends at the Right Angle
Tag ends are the small thread pieces left after you finish a wrap section. If you leave them long or cut them straight, they form bumps under the finish. The fix is simple but takes practice.
Use a fresh, sharp razor blade to trim. Hold the blade at a low angle, almost flat against the blank. Slice the tag end with one smooth motion. The angle helps the end blend into the wrap instead of standing up.
Never use scissors for this step. Scissors crush the thread fibers and leave a thick stub. After cutting, gently rub the area with your fingernail. This smooths any remaining fuzz into the wrap so it disappears under the finish coat.
Apply Color Preserver if You Want Vivid Colors
Some thread fades or turns dark when epoxy soaks in. Color preserver seals the thread first and keeps colors bright. It also fills tiny gaps between threads, which helps create a smoother base.
Apply color preserver with a small brush in thin coats. Let each coat dry fully before adding the next. Two or three coats usually work well. Avoid thick coats that pool on the surface, as these add unwanted thickness.
Pros of color preserver: keeps colors bright, fills small gaps, smooth base for finish.
Cons of color preserver: adds extra steps, can look chalky if applied too thick, may weaken bond between thread and epoxy.
For natural colored wraps that look better when soaked through, you can skip this step.
Burnish the Wraps for a Polished Surface
Burnishing means rubbing the wraps to flatten them. Use a smooth, hard tool like a plastic burnisher or the back of a metal spoon. Rub gently in the same direction as the wraps.
This step presses fibers down and removes any tiny lumps you may have missed. It also gives the wrap a slight shine. Burnish after packing but before adding any finish coat.
Do not press too hard. Heavy pressure can flatten the thread too much and leave dull marks. Light, repeated passes work better than one hard rub. Check the wrap under good light after burnishing. The surface should look even, with no raised threads sticking up.
Mix and Apply Epoxy Finish in Thin Coats
Thick epoxy coats are the second biggest cause of bumps. Air bubbles get trapped, dust settles in, and the finish does not cure flat. The solution is to apply multiple thin coats instead.
Mix epoxy in small batches using equal parts as the maker directs. Stir slowly to avoid making bubbles. Let the mix sit for a minute so any bubbles can rise and pop. Apply with a fine brush in long, even strokes.
Rotate the blank slowly as the epoxy cures. A drying motor helps keep the finish even on round blanks. For flat blanks, lay the piece level and let gravity work. Add a second coat once the first feels dry to the touch.
Remove Air Bubbles Before the Finish Cures
Air bubbles in epoxy look just like bumps once cured. You need to remove them quickly while the finish is still wet. The most common tool is a small flame, like a heat gun on low or a lighter held at distance.
Wave the heat quickly across the surface without holding it in one spot. The heat thins the epoxy and lets bubbles rise and pop. Be careful not to burn the thread or scorch the blank.
You can also blow gently on the surface. Your breath carries warm carbon dioxide that pops bubbles. This trick works best for small projects. Always check under bright light to find hidden bubbles before the epoxy starts to set.
Fix Small Bumps After the Finish Cures
Sometimes bumps still appear after everything dries. Do not panic. You can fix most small bumps with a light sanding. Use 600 to 1000 grit wet sandpaper with a drop of water.
Sand the bump in small circles with light pressure. Stop often to check your work. The goal is to flatten only the bump, not the surrounding finish. Wipe the area clean and dry it well.
Once smooth, apply one more thin coat of epoxy over the spot. This blends the repair into the rest of the wrap. Pros of sanding fixes: saves the whole project, quick to do. Cons: can break through to the thread if you sand too deep, may need color touch up.
Store and Cure Your Project in a Dust Free Space
Dust is the silent enemy of smooth finishes. Even one speck that lands on wet epoxy creates a bump. Set up a clean curing area away from foot traffic and open windows.
A simple cardboard box turned on its side makes a good dust cover. Cut a hole for the drying motor if you use one. Let the project cure for at least 24 hours before handling. Full hardness usually takes 48 to 72 hours.
Keep the room at steady temperature, around 70 degrees Fahrenheit. Cold rooms slow curing and can leave a soft, sticky finish. Hot rooms speed curing too much and trap bubbles. Avoid touching the surface until the finish feels hard and smooth.
Practice Patterns on Scrap Before the Real Blank
Every weaving pattern takes practice. Before you start on a finished blank, test your design on a scrap dowel or old blank. This shows you where bumps form and how thread reacts to your tension.
Try the seven thread alphabet pattern for basic weaves. This common method teaches counting and spacing. Once you master simple patterns, move to more complex designs like diamonds or feathers.
Keep a notebook with thread sizes, tension settings, and finish layers that worked best. Building experience helps you spot problems early. Many top builders practice each new pattern three or four times before using it on a real project. Patience here pays off with cleaner results later.
FAQs
What thread size works best for bump free weaving?
Size A nylon thread is the most popular choice for fine, smooth wraps. It lays flat and packs tightly without creating bulk. Size D is better for thick decorative bands or heavy duty rod wraps where strength matters more than fine detail.
Can I weave thread on plastic or acrylic blanks?
Yes, you can. Just be sure to sand the surface lightly with 400 grit paper first. This gives the thread something to grip. Clean off all dust before wrapping, and use a finish made for plastic to avoid cracking.
How do I stop thread from slipping while wrapping?
Use steady tension and start each wrap with a few tight base turns. You can also add a tiny drop of glue at the start point, but keep it small to avoid bumps. Practice with scrap material to build your hand control.
Is color preserver always needed?
No, color preserver is optional. Use it when you want bright, true colors that match the original thread. Skip it for natural, darker tones that come from epoxy soaking through. Each method has fans, so test both to see which look you prefer.
How many epoxy coats should I apply?
Two to three thin coats give the best results for most decorative wraps. The first coat soaks into the thread and seals it. The second and third coats build a smooth, glossy top. More than three coats can look thick and yellow over time.
What is the best way to remove a stubborn bump?
For stubborn bumps, wet sand carefully with 1000 grit paper, then polish with finer grits up to 2000. Wipe clean and apply one thin epoxy coat over the spot. Work slowly to avoid sanding through to the thread underneath.

Hi, I’m Ivy Webb, the passionate angler and creator behind BaitHookVault.com. I spend my days out on the water personally testing and reviewing a wide variety of fishing tools and gear.