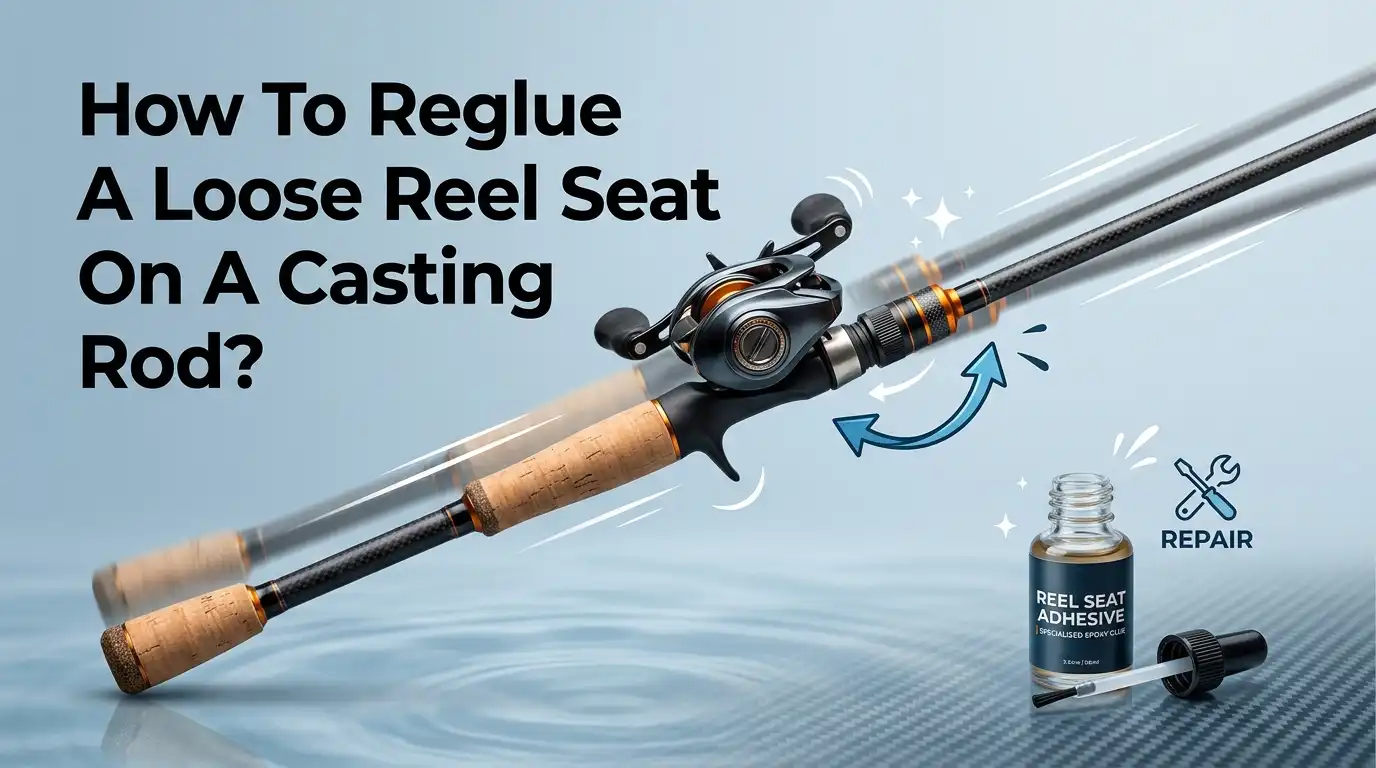
How To Reglue A Loose Reel Seat On A Casting Rod?
A loose reel seat ruins a good day on the water. Your reel wobbles, your casts feel off, and every fight with a fish becomes a battle with your own gear. The good news is simple.
You can reglue a loose reel seat on your casting rod at home. You do not need a workshop or expensive tools. You just need patience, the right glue, and a clear plan.
This guide walks you through every step. You will learn why reel seats come loose, how to pick the right glue, and how to fix the problem two different ways.
Key Takeaways
- A loose reel seat usually means the glue bond failed. Old tape arbors crumble, epoxy dries out, or the blank was too smooth to hold. Finding the cause helps you pick the right fix.
- Two main repair methods exist. You can inject epoxy through small drilled holes without removing the seat, or you can remove the whole seat and rebuild the bond from scratch.
- Two part epoxy is the best glue choice. It flows into gaps, cures hard, and stays waterproof. Avoid super glue for this job because it stays brittle and fails fast.
- Roughening the surfaces matters. A smooth blank or a shiny reel seat will not hold glue. Light sanding gives the epoxy something to grip.
- Curing time is not optional. Give the epoxy a full 24 hours before you fish. Rushing the cure ruins the whole repair.
- Alignment is critical. The reel foot hoods must line up with your rod guides before the glue sets.
Why Reel Seats Come Loose On Casting Rods
A reel seat sits on your rod blank and holds your reel in place. Over time, the bond between the seat and the blank breaks down. This is the root of the problem. Most reel seats come loose because the original glue failed, not because the seat itself broke.
Several things cause this. Tape arbors crumble inside the seat after years of use. These arbors are strips of tape that center the seat on the blank. When they fall apart, the seat starts to spin. Old epoxy dries out and loses its grip. Heat, water, and constant casting stress all speed this up.
Sometimes the blank was simply too smooth when the rod was built. Glue needs a rough surface to hold. A glossy blank lets the bond slip. Knowing the cause helps you choose the right repair.
Signs Your Reel Seat Needs Regluing
Catching the problem early saves you trouble. A loose reel seat gives clear warning signs if you pay attention. The most obvious sign is movement. Grab your reel seat and try to twist it. If it rotates even a little, the bond has failed.
Listen for clicking or creaking when you cast or reel. That sound often means the seat is shifting on the blank. You might also feel a slight wobble when you set the hook on a fish. This wobble steals power from your cast and your fight.
Look closely at the seat. Small gaps between the seat and the blank are a red flag. You may even see the seat rock side to side. If your reel keeps coming loose no matter how tight you lock it down, the seat itself is the problem. Fix it before it gets worse.
Tools And Materials You Need For The Job
Gathering your supplies first makes the repair smooth. You do not want to stop halfway to hunt for a tool. Most of these items are cheap and easy to find. Here is what you need for the injection method and the full removal method.
For the injection fix, gather these items:
- Two part epoxy glue with a long working time, around 20 to 30 minutes.
- A small drill and bit sized to match your syringe tip.
- A syringe to inject the epoxy.
- A mixing cup and stir stick for the epoxy.
- Denatured alcohol and a rag for cleaning.
- A razor blade and a marker.
For the full removal method, add a heat gun or a pot of hot water, some masking tape for new arbors, and fine grit sandpaper. Having everything ready means you can work without rushing the epoxy before it sets.
Choosing The Right Glue For Your Reel Seat
The glue you pick decides whether your repair lasts. Two part epoxy is the top choice for reel seats, and for good reason. It flows into tight gaps, cures rock hard, and shrugs off water. Rod builders trust it for exactly this job.
Pick an epoxy with a long open time. A 20 or 30 minute epoxy gives you room to work without panic. Five minute epoxy sets too fast and often leaves gaps. For the injection method, a thinner flowing epoxy works best because it seeps under the seat.
Here are the pros and cons of common glue choices:
- Two part slow cure epoxy. Pros: strong, waterproof, fills gaps, long work time. Cons: needs a full day to cure.
- Five minute epoxy. Pros: fast, handy for small fixes. Cons: thick, sets before it spreads, weaker bond.
- Super glue. Pros: quick and cheap. Cons: brittle, fails under stress, not made for this job.
Skip the super glue. Choose real rod building epoxy.
Method One: The Inject And Reglue Technique
This method fixes a loose seat without removing it. It is the fastest fix and keeps your rod looking untouched. You drill tiny holes, inject epoxy underneath, and let it cure. Rod repair shops use this trick all the time.
The idea is simple. Fresh epoxy fills the empty space between the seat and the blank. Once it hardens, the seat locks in place again. This works great when the seat is still centered and only slightly loose.
The big appeal is speed and looks. You place the drill holes under the reel foot, so the repair stays hidden once your reel is mounted. No one will ever know you fixed it. The following sections break this method into clear steps. Follow each one and you will restore a solid bond in a single afternoon of work.
Step By Step: Drilling And Injecting Epoxy
Start with the reel removed. Mark four spots evenly around the seat, right where the reel foot will sit later. This hides the holes when your reel goes back on. Use a marker so the spots are clear.
Next, drill through the seat but not the blank. Hold the seat steady. Press the drill bit gently, then add pressure until it passes through the seat wall. Stop the moment you break through. Match the bit size to your syringe tip. Clean each hole with a razor blade, then wipe the seat with denatured alcohol.
Now mix your two part epoxy. Draw it into the syringe and inject it slowly into each hole until the space fills. Rotate the seat a full 360 degrees so the epoxy spreads everywhere. Line up the reel foot hoods with your rod guides. Wipe off any spill. Let it cure for 24 hours.
Method Two: Removing The Reel Seat Completely
Sometimes the injection fix is not enough. If the seat spins freely or the tape arbors have fully crumbled, you need to remove the seat and rebuild the bond. This method takes more time but gives the strongest and most lasting result.
Removing the seat lets you see what went wrong. You can clean out old glue and broken tape, roughen both surfaces, and start fresh. This is the same process rod builders use when they replace a seat entirely.
Here are the pros and cons of full removal:
- Pros: You fix the real problem, build proper new arbors, and get a bond that lasts for years. You can also replace a damaged seat.
- Cons: It takes longer, needs heat to break the old bond, and carries a small risk of damaging the grip or blank if you rush.
Choose this method when the seat is badly loose or the injection fix already failed. Slow and careful work wins here.
How To Safely Remove A Stuck Reel Seat
Old epoxy holds tight, so you need heat to break it. The safest way is gentle, even heat. A pot of hot water works well for metal seats. Turn off the boiling water, seal the seat area in a couple of plastic bags, and soak it for about ten minutes. The heat softens the old epoxy.
For graphite seats, a heat gun works better because these seats do not carry heat as well as metal. Move the gun back and forth for two or three minutes. Some builders alternate heat with a quick ice bath. This expand and contract cycle cracks the old bond.
Once the epoxy softens, twist and slide the seat off. Go slow. If it sticks, apply more heat rather than force. Forcing a stuck seat can crack the blank. Patience protects your rod.
Cleaning And Prepping The Blank Before Regluing
This step decides how well your new bond holds. A clean, rough surface grips glue. A smooth, dirty one does not. Skipping prep is the most common reason a repair fails.
First, scrape off all the old epoxy and crumbled tape from the blank. Wipe the area with denatured alcohol to remove grease and dust. A clean blank is a must. Any oil left behind will weaken the bond.
Next, roughen the surface. Use fine grit sandpaper or the edge of a file. Let the tool slide under its own weight. Your goal is to scuff the shiny finish, not gouge the fibers. Scuff the inside of the reel seat too. This gives the epoxy a surface to key into. Do the same to the blank and the seat, then wipe both clean one last time before you glue.
Building New Tape Arbors For A Snug Fit
Arbors center the seat on the blank and fill the gap between them. Without arbors, the seat sits crooked or spins. Masking tape arbors are the easiest to make at home and need no special tools.
Wrap masking tape around the blank in two or three spots along the seat area. Wrap it thick enough that the seat slides on with a snug fit. Place one arbor near each end of the seat and one in the middle. Leave bare blank between the arbors so epoxy can bond directly to the blank there. That bare contact is where most of the strength comes from.
Test fit the seat before you glue. It should slide on with light resistance. If it is too loose, add more tape. If it is too tight, remove a wrap. A snug fit keeps the seat straight while the epoxy cures.
Gluing The Reel Seat Back In Place Correctly
Now you bond everything for good. Mix your two part epoxy thoroughly, folding it into itself for a minute so it blends fully. A poor mix never cures hard.
Spread epoxy over the blank, the arbors, and the bare sections between them. Coat the inside of the reel seat too. Do not skimp. Extra epoxy fills voids and squeezes out the ends, which is what you want. Slide the seat onto the blank slowly, twisting as you push so the glue spreads evenly.
Then comes the key step. Line up the reel foot with your rod guides. The hoods must point straight along the same axis as the guides, or your reel will sit crooked. Wipe away any epoxy that squeezes out with a rag and alcohol before it hardens. Set the rod down level and leave it alone.
Curing Time And Aftercare Tips For A Lasting Bond
The hardest part of this repair is waiting. Epoxy needs time to reach full strength. Rushing this step undoes all your careful work. Give the glue at least 24 hours before you touch the rod again.
Keep the rod in a warm, dry spot while it cures. Cold slows the process. Lay it flat or stand it upright so the seat does not shift. Do not test the seat by twisting it during the cure. Even a small nudge can break the fresh bond.
After a full day, check your work. The seat should feel rock solid with zero movement. Mount your reel and give it a gentle test before your next trip. Going forward, rinse your rod with fresh water after saltwater use. Store it out of direct heat. Good care keeps that new bond strong for many seasons.
Common Mistakes To Avoid When Regluing
A few simple errors ruin most reel seat repairs. Knowing them ahead of time saves you a second attempt. The biggest mistake is skipping surface prep. Glue will not stick to a smooth or greasy blank, no matter how good the epoxy is.
Another common error is using the wrong glue. Super glue and thick five minute epoxy both fail fast on reel seats. Stick with slow cure two part epoxy. Using too little glue is just as bad, since gaps let the seat move again.
Do not forget alignment. A crooked reel seat means crooked guides, which wrecks your casting. Line up the hoods with the guides every time. Finally, never rush the cure. Fishing before the epoxy hardens is the fastest way back to a loose seat. Take your time, and the fix will hold.
Frequently Asked Questions
Can I fix a loose reel seat without removing it?
Yes. The inject and reglue method fixes many loose seats without removal. You drill small holes under the reel foot, inject flowing epoxy, and rotate the seat to spread it. This works best when the seat is only slightly loose and still centered. If the seat spins freely, you will need to remove it and rebuild the bond for a lasting fix.
What is the best glue for a reel seat on a casting rod?
Two part slow cure epoxy is the best choice. It flows into gaps, cures hard, and stays waterproof under heavy use. Pick an epoxy with a 20 or 30 minute working time so you have room to align the seat. Avoid super glue and thick five minute epoxy, since both fail quickly under the stress of casting and fighting fish.
How long does the epoxy need to cure?
Give the epoxy a full 24 hours before you fish. Most rod building epoxies reach usable strength in a couple of hours, but full strength takes a day. Keep the rod in a warm, dry place while it cures. Do not twist or test the seat during this time. Rushing the cure is the most common reason a repair fails.
Why does my reel seat keep coming loose?
It keeps coming loose because the bond never fully repaired. Common causes include a smooth blank, greasy surfaces, too little glue, or the wrong glue. If you fixed it once and it failed, remove the seat completely next time. Clean and roughen both surfaces, build new tape arbors, and use plenty of slow cure epoxy for a bond that lasts.
Will drilling holes weaken my reel seat?
No, small holes will not weaken the seat when done right. You only drill through the thin seat wall, never the rod blank. Match the bit to your syringe tip so the holes stay small. Placing them under the reel foot hides them completely once your reel is mounted. The injected epoxy actually makes the seat stronger by filling the empty gaps.

Hi, I’m Ivy Webb, the passionate angler and creator behind BaitHookVault.com. I spend my days out on the water personally testing and reviewing a wide variety of fishing tools and gear.