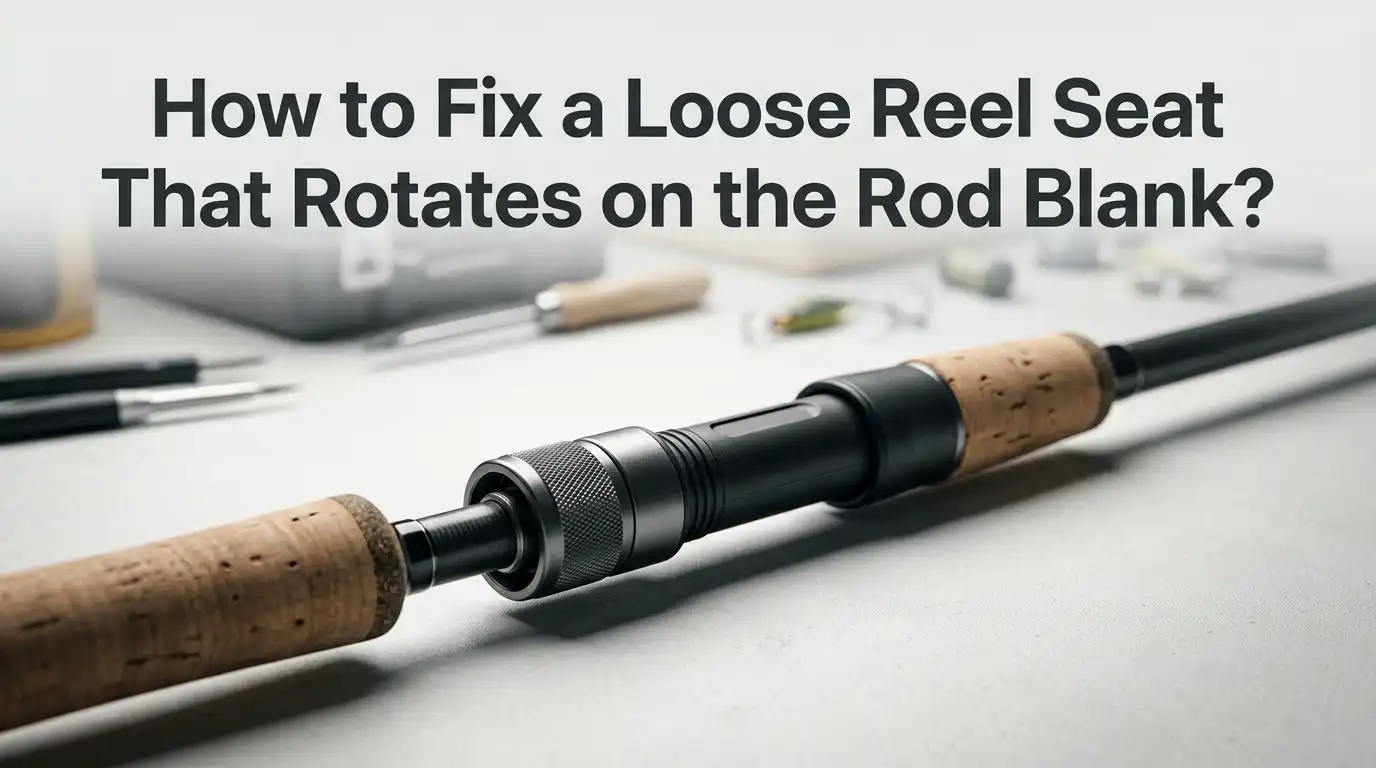
How to Fix a Loose Reel Seat That Rotates on the Rod Blank?
A loose reel seat ruins your fishing trip faster than tangled line. You cast, you hook a fish, and suddenly the reel twists sideways on the blank. The grip slips. The reel wobbles. Your confidence drops with every spin.
This common problem affects both budget rods and high end gear after years of use. The good news is you can fix it at home with simple tools and a bit of patience.
This guide walks you through every method that actually works, from quick epoxy injections to full reel seat replacement.
Key Takeaways
- Loose reel seats usually fail because the original glue bond breaks down, the arbor shrinks, or moisture sneaks under the seat over many fishing seasons.
- The fastest fix is the drill and inject epoxy method, which takes about 30 minutes of hands on work and 24 hours of cure time.
- For a cleaner long term repair, you can remove the reel seat completely, clean the blank, add fresh arbors, and bond a new seat using rod building epoxy.
- Tape shims, masking tape wraps, and rubber O rings offer temporary fixes when you are on the water and need to finish the day without losing the reel.
- Choosing the right epoxy matters more than the brand name, since slow cure two part epoxies bond stronger than five minute hardware store glues for fishing rod stress.
- Prevention starts with yearly inspections, rinsing the rod after saltwater trips, and storing rods in dry racks instead of damp garages or hot car trunks.
Why a Reel Seat Becomes Loose Over Time
A reel seat sits on the rod blank using glue and small arbors or bushings that fill the gap. Over time, temperature swings, moisture, and casting stress weaken the bond.
The epoxy underneath dries out and turns brittle. Tiny cracks form. Soon the seat starts to wiggle. Saltwater rods suffer faster because salt creeps into any gap and corrodes the bond from inside.
Cheap factory rods often use foam arbors that compress over years of pressure. Once that foam shrinks, the seat has room to spin. Carbon blanks also flex more than fiberglass, so the constant bending eventually breaks the glue grip. Knowing the cause helps you pick the right repair method below.
Tools and Materials You Need for the Job
Gather your supplies before you start so the epoxy does not cure while you hunt for a drill bit. You will need a small hand drill or rotary tool, a 1/16 inch drill bit, two part rod building epoxy, a syringe with a thin tip, isopropyl alcohol, masking tape, a permanent marker, and clean rags.
Optional items include denatured alcohol for cleaning, mixing cups, a stir stick, and acetone for stubborn residue. If you plan to fully replace the seat, also grab a heat gun, foam or cork arbors, a sharp utility knife, and reel seat thread or shrink tubing.
Skip super glue and five minute epoxy. They look easy but fail under fishing stress. Real rod building epoxy stays slightly flexible after curing, which matches how the blank bends during casts and hook sets.
Quick Temporary Fixes While You Are on the Water
Sometimes the reel seat starts spinning during a trip and you have no tools. You can still finish the day with a few field tricks. Wrap masking tape or electrical tape around the bottom of the reel foot and onto the rod. This locks the reel position even if the seat itself still rotates underneath.
Another option is to slide a thin rubber O ring under the reel hood. The rubber grips both surfaces and reduces the spin.
Some anglers carry small strips of inner tube rubber in their tackle box for exactly this reason. These fixes last only a few hours, but they save the fishing day. As soon as you get home, plan a real repair so the problem does not get worse.
Method 1: The Drill and Inject Epoxy Repair
This is the most popular fix among rod builders and tackle shops. Mark two small spots on the reel seat where the reel foot will later cover them. Drill straight through the seat wall using a 1/16 inch bit. Stop the moment the bit breaks through. Do not drill into the blank itself, or you weaken the rod.
Mix slow cure two part epoxy on a clean surface. Load it into a syringe. Inject epoxy into both holes while slowly rotating the seat 360 degrees so the glue spreads evenly underneath. Wipe away the overflow with alcohol. Stand the rod upright and let it cure for 24 hours.
Pros: Fast, low cost, no need to remove the seat, hides the holes under the reel.
Cons: Permanent, hard to reverse, leaves small visible holes if your reel ever moves position.
Method 2: Full Reel Seat Removal and Replacement
If the seat is cracked, corroded, or just too far gone, replace it. Heat the seat gently with a heat gun on low setting, moving constantly so the blank does not scorch. The old epoxy softens around 200 degrees Fahrenheit. Twist and pull the seat off using gloves and pliers.
Clean the blank with sandpaper and alcohol until smooth. Test fit your new reel seat with fresh foam or cork arbors. Coat the blank, the arbors, and the inside of the seat with rod building epoxy. Slide everything on, line up the hood with the guides, and let it cure flat for a full day.
Pros: Clean professional finish, fixes any underlying damage, long lasting bond.
Cons: Takes more time, requires more tools, costs more for replacement parts, risk of cracking the seat during removal.
Method 3: Tape Shim Method for Minor Wobble
This works when the seat spins only slightly and you want to avoid drilling. Slide the reel seat off if it moves freely, or work from the open end if it stays trapped. Wrap thin masking tape around the blank in the gap area, building up layers until the seat fits snugly again.
Add a few drops of thin viscosity superglue or rod epoxy along the tape edge before sliding the seat back in place. The tape acts as a custom shim and the glue locks everything down. Rotate the seat to spread the glue and align the hood with your guides.
Pros: Cheap, no drilling, easy for beginners, works on light tackle rods.
Cons: Less durable than epoxy injection, not strong enough for heavy saltwater rods, tape can shift if not glued properly.
Method 4: Using a Rubber or Heat Shrink Sleeve
Some anglers wrap a section of heat shrink tubing around the joint between the seat and the blank. You slide the tubing over the gap, apply a heat gun, and watch it shrink tight. This holds the seat firmly without drilling or removing anything.
You can also try a silicone rubber sleeve designed for fishing rod grips. It stretches over the lower end of the seat and onto the blank. The friction stops the spin while keeping the repair reversible. This method works best when the seat rotates only a little and the rest of the rod is in good shape.
Pros: Reversible, no chemicals, clean look, great for renting or borrowed rods.
Cons: Adds bulk to the grip, may slip on smooth carbon blanks, less effective on badly worn seats.
Method 5: Bushing or Arbor Rebuild from Underneath
This advanced method involves accessing the gap under the seat from one open end. You slide tiny strips of cork or foam arbor into the space using a thin probe. Once the gap is packed, you flood the area with thin epoxy that wicks into the new arbor material.
This works well on older rods where the original arbors have crumbled but the seat itself is still in good shape. Patience matters here because rushing the packing step leaves uneven gaps. Rotate the rod often during the epoxy flood so gravity pulls the glue everywhere.
Pros: Keeps the original reel seat, hides all work inside, very strong result.
Cons: Hardest method for beginners, needs special probes or picks, takes several hours of careful work.
Choosing the Right Epoxy for Reel Seat Repair
Not every glue holds up to fishing stress. The best choice is a slow cure two part epoxy rated for rod building. These products stay slightly flexible, resist water, and bond well to graphite, fiberglass, cork, and metal. Common shop names include 30 minute Devcon 2 Ton, ProGlu, and U40 Rod Bond.
Avoid five minute epoxy because it sets before you can rotate the seat fully. Skip super glue too, since it gets brittle and shatters under cast vibrations. Marine grade epoxies also work but often cost more without adding much benefit on small repairs.
Always read the cure time, mix the parts exactly, and work in a warm dry room. Cold air slows cure and weakens the final bond. A clean mixing surface keeps dust out of the glue.
Step by Step Drying and Curing Tips
Curing makes or breaks the repair. Place the rod horizontally on a rod dryer or two padded supports after you finish the glue work. A rod dryer turns the blank slowly so the epoxy spreads evenly and does not pool on one side. If you do not own one, rotate the rod by hand every 15 minutes for the first two hours.
Keep the rod in a warm room between 65 and 75 degrees Fahrenheit. Humidity above 70 percent slows the cure. Do not test the seat by twisting it for at least 24 hours, and wait 48 hours before fishing. Patience now means the repair lasts for years instead of weeks.
How to Prevent the Reel Seat From Loosening Again
Prevention beats repair every time. After each saltwater trip, rinse the rod with fresh water and dry the reel seat area with a soft cloth. Salt left in any crack will eat the glue bond. Wipe the seat threads with a light reel oil twice a season to keep them moving smoothly.
Store rods in a vertical or horizontal rack away from heat and direct sun. Car trunks reach 140 degrees in summer, which softens any rod epoxy. Check the reel seat every few months by trying to twist it gently. Catching a small wobble early lets you fix it with a drop of glue instead of a full repair.
When to Take the Rod to a Professional
Most reel seat repairs are easy at home. Still, some jobs need a pro. If the rod blank itself is cracked under the seat, do not try to fix it yourself. A bad blank repair can fail mid cast and snap back into your face. Take it to a rod builder for inspection.
High end rods with custom reel seats, inlaid wood, or skeleton designs also belong in expert hands. The cost of replacing rare parts often beats the cost of pro labor. Ask local tackle shops for builder recommendations, or check online rod building forums. Many builders accept mail in repairs for a fair price.
Frequently Asked Questions
How long does it take to fix a loose reel seat at home?
The hands on work takes about 30 to 60 minutes. Curing adds 24 hours. Plan for a full weekend if you want to fish the rod again safely. Full replacements may take two days from start to finish.
Can I use super glue instead of epoxy for the repair?
No. Super glue gets brittle and cracks under casting vibration. It also bonds too fast to let you rotate the seat for even coverage. Always pick a slow cure two part rod building epoxy for lasting results.
Will drilling holes in the reel seat weaken the rod?
Not if you drill only through the reel seat wall and stop before touching the blank. Use a small 1/16 inch bit and light pressure. Place the holes where the reel foot will cover them later for a clean look.
How do I know if the arbors inside the seat are damaged?
Slide the seat off if possible and look inside. Crumbled foam, dry cracked cork, or visible gaps mean the arbors failed. You can also tap the seat and listen for hollow sounds along its length, which suggest empty spaces underneath.
Is it worth fixing a cheap fishing rod with a loose seat?
Yes, in most cases. A 10 dollar epoxy repair saves a 50 to 200 dollar rod. Even budget rods perform well after a proper fix. Only skip the repair if the blank itself is cracked or the guides are also failing.
Can saltwater rods be repaired the same way as freshwater rods?
Yes, but use marine grade or saltwater rated epoxy for the best bond. Rinse the blank thoroughly with fresh water before any repair so no salt stays trapped under the new glue. Cure the rod in a dry warm room for full strength.

Hi, I’m Ivy Webb, the passionate angler and creator behind BaitHookVault.com. I spend my days out on the water personally testing and reviewing a wide variety of fishing tools and gear.