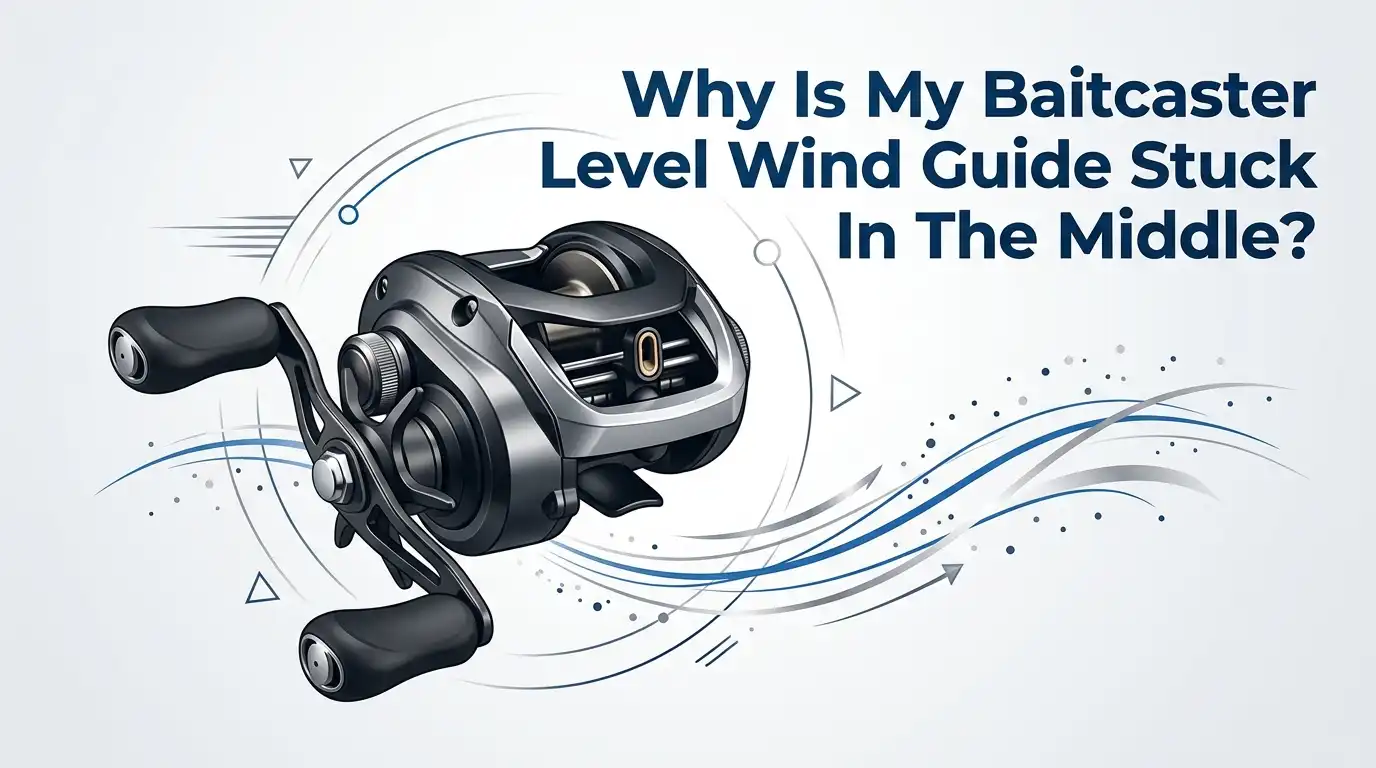
Why Is My Baitcaster Level Wind Guide Stuck In The Middle?
Your baitcaster worked fine yesterday. Today the little line guide sits frozen in the center of the reel. You crank the handle, but it refuses to slide left or right.
The line piles up in one spot, and your casts feel off. This is one of the most common baitcaster problems anglers face, and the good news is that you can usually fix it at home.
A stuck level wind guide almost always points to a small problem inside your reel. Dirt, a worn part, or a loose cap can stop the guide cold. You do not need to buy a new reel.
Key Takeaways
- A stuck level wind guide usually means dirt, a worn pawl, or a loose pawl cap. These three causes account for most jammed reels, and each one has a clear fix you can do yourself.
- The pawl is the most common culprit. This tiny metal pin rides inside the worm gear groove and wears down over time. A worn pawl is cheap and easy to replace.
- Cleaning and oiling the worm gear fixes many cases. Grit and old grease bind the moving parts. A toothbrush, a cotton swab, and reel oil often solve the problem in minutes.
- Always check the pawl cap first. A loose or over tightened cap can stop the guide instantly. Finger tight is the rule, since plastic caps crack easily.
- A damaged worm gear is the harder fix. If the gear teeth are stripped or the crossover groove is worn, you may need a new part or professional help.
- Regular maintenance prevents most jams. A quick clean and oil after each trip keeps your level wind moving smoothly for years.
What Is A Level Wind Guide And How Does It Work
The level wind guide is the small eyelet that slides across the front of your spool. Its job is simple but important. It lays your fishing line evenly across the spool as you crank the handle. Without it, your line would pile up in one spot and cause backlashes.
Behind the guide sits a long grooved shaft called the worm gear. A tiny pin called the pawl drops into that groove. As the worm gear spins, the pawl follows the groove and pulls the guide back and forth. This back and forth motion is what spreads your line out neatly.
The reel handle drives the whole system through a set of small gears. When everything is clean and aligned, the guide glides smoothly. When one part fails, the guide stops, often right in the middle.
Why Your Level Wind Guide Gets Stuck In The Middle
A guide that freezes in the center sends a clear message. The pawl has lost contact with the worm gear groove. When the pawl cannot grip the groove, the guide stops wherever it happens to be, and the middle is a common resting spot.
Several things cause this loss of contact. Dirt and sand pack into the groove and block the pawl. Old grease hardens and glues the parts together. The pawl tip wears down and slips out of the track. The worm gear teeth strip and stop turning.
A loose pawl cap is another frequent reason. The cap holds the pawl in place against the gear. If the cap backs out, the pawl drops out of position and the guide stops moving. Knowing the cause helps you pick the right fix.
Tools You Need Before You Start
Gather your tools before you open the reel. Working with the right gear saves time and prevents lost parts. You do not need a full workshop for this job. A few basic items handle most level wind repairs.
You will want a small screwdriver set with flathead and Phillips heads. A pair of needle nose tweezers helps you grab tiny parts. Reel oil and reel grease are essential, since the wrong lubricant can gum up the works. A soft toothbrush and cotton swabs clean the gear well.
Lay an old towel on your table to catch springs and pins. Good lighting matters too, because these parts are small. Keep a small dish nearby to hold screws and the pawl cap. With these ready, you can move through each fix without stopping to search for tools.
Step One: Check The Pawl Cap First
Always start with the easiest fix. The pawl cap is the round cover that sits over the pawl, usually on top of the level wind shaft. A loose or misaligned cap stops the guide fast, and this check takes only a minute.
Unscrew the pawl cap by turning it counterclockwise. Look inside and find the pawl, a small pin with a flat tip. Make sure the pawl tip sits down inside the worm gear groove. If it sits crooked or sideways, line it up so it drops straight into the track.
Now screw the cap back on. Tighten it finger tight only, since most caps are plastic and crack under force. Crank the handle and watch the guide. Many anglers fix the whole problem with this one simple step.
Pros: This fix is fast, free, and needs no real disassembly. Cons: It does not help if the pawl itself is worn or the gear is dirty, so you may need to keep going.
Step Two: Clean The Worm Gear And Pawl
Dirt is the quiet enemy of every baitcaster. Sand, grit, and old grease pack into the worm gear groove and block the pawl. When this happens, the guide drags or freezes in place. A good cleaning fixes a large share of stuck guides.
Remove the pawl cap and lift out the pawl with tweezers. Set both in your dish. Use a toothbrush to scrub the worm gear shaft and clear the groove. Run a cotton swab through the level wind tube and around the frame to pull out hidden grime.
Wipe away every trace of old grease. Crank the handle slowly to expose the full length of the shaft as you clean. A clean groove lets the pawl drop in and ride freely again. Once everything looks bright and clear, you are ready to lubricate.
Pros: Cleaning is cheap and solves many cases without new parts. Cons: It takes more time and care, and a worn part will still cause trouble after cleaning.
Step Three: Lubricate The Level Wind Correctly
The right lubricant keeps your level wind smooth, but the wrong one causes new problems. Use reel oil and reel grease made for fishing reels, never heavy car grease or thick household oil. Thick lubricants attract dirt and slow the parts down.
Place a thin coat of light reel grease along the worm gear groove. Do not overdo it, since too much grease grabs sand and grit. Add one small drop of reel oil to the pawl itself before you set it back in place.
Reinstall the pawl, line it up with the groove, and replace the cap finger tight. Crank the handle several times to spread the lubricant. A drop of oil on the worm shaft followed by a few cranks works the lubricant into the track. The guide should now slide with ease.
Pros: Proper oiling restores smooth motion and protects parts from wear. Cons: Over oiling backfires and pulls in debris, so light hands win here.
Step Four: Inspect The Pawl For Wear
The pawl is the part most likely to fail. This tiny pin rides against the worm gear millions of times and slowly wears down. A worn pawl loses its grip on the groove and lets the guide stick to one spot.
Pull the pawl out and look at the tip under good light. A worn pawl shows a crescent shaped wear mark near the tip where it rubbed the gear. A fresh pawl has a clean, even tip with no flat spots or shiny worn edges.
Compare your pawl to a new one if you have it. A rounded or flattened tip means the pawl is done. Some anglers flip a worn pawl over to use the unworn side as a quick fix. This trick buys you a little time, but a real replacement works best.
Pros: Spotting a worn pawl early saves your worm gear from damage. Cons: A flipped pawl is only a short term patch and will wear out soon.
Step Five: Replace A Worn Or Damaged Pawl
When the pawl is worn, a new one often fixes everything. Pawls are small, cheap, and made to be the part that wears out first. Replacing one is one of the most satisfying baitcaster repairs you can do.
Match the new pawl to your reel model, since shapes differ between brands. Remove the cap, take out the old pawl, and clean the area. Drop the new pawl into the worm gear groove with the flat tip facing the track. Make sure it sits straight before you close the cap.
Replace the cap finger tight and test the guide. A correctly seated new pawl restores full left to right travel right away. Crank a few times to confirm smooth motion across the whole spool width.
Pros: A new pawl gives a like new feel and costs very little. Cons: You must find the correct part for your model, which takes a short search.
Step Six: Examine The Worm Gear For Damage
If a new pawl does not fix the guide, look at the worm gear next. A worn or stripped worm gear cannot move the pawl, no matter how good the pawl is. This is a less common but more serious cause.
Turn the handle and watch the worm gear spin. Look closely at the crossover points where the groove changes direction, since these wear first. Run your fingernail along the groove to feel for chips, flat spots, or stripped teeth.
A damaged crossover groove traps the pawl and stops the reverse motion. If the gear teeth at the end of the shaft are stripped, the gear will not turn at all. Damage here usually means the part needs replacement rather than cleaning.
Pros: Spotting gear damage explains a fix that nothing else solved. Cons: Worm gear replacement is harder and may require deeper disassembly or a pro.
Step Seven: Check The Drive Gears Behind The Side Plate
Sometimes the problem hides deeper inside the reel. A small pinion gear drives the worm shaft, and if it slips, the guide stops moving. This check means opening the side plate, so go slowly.
Remove the handle, the star drag, and the side plate screws. Watch for washers and small parts under the star drag, and note their order. Find the gear that meshes with the end of the worm shaft and look for worn or broken teeth.
A loose or stripped drive gear breaks the link between the handle and the level wind. If this gear cannot turn the worm shaft, the guide will sit still even with a perfect pawl. Replace any damaged gear and reassemble in the reverse order.
Pros: This step finds hidden causes that surface fixes miss. Cons: Deeper disassembly risks lost parts and needs careful reassembly.
Step Eight: Fix Uneven Line Lay After The Repair
Even after a good fix, your line may still lay slightly off. Uneven line lay often comes from how the line feeds onto the reel, not the level wind itself. A few small habits clean this up fast.
Spool new line under steady, light tension by pinching it between your fingers. A loose spool of line leads to uneven layers and future jams. Keep the rod tip and the line spool aligned so the line feeds straight into the guide.
The distance between your rod’s first guide and the reel matters too. A first guide set too close to the reel can crowd the line and cause stacking. With smooth tension and good alignment, your repaired level wind lays line evenly across the spool again.
Pros: Better spooling habits prevent the problem from returning. Cons: It takes a little practice to keep steady tension every time.
How To Prevent Your Level Wind From Sticking Again
Prevention beats repair every time. A few minutes of care after each trip keeps your level wind moving for years. Most stuck guide problems come from skipped maintenance, so a simple routine pays off.
After fishing, wipe the worm gear and guide with a cotton swab to clear sand and salt. Add a tiny drop of reel oil to the worm shaft once it looks dry. Crank the handle a few times to spread the oil along the groove.
Inspect the pawl every few months for wear, and keep a spare on hand. Rinse saltwater reels gently with fresh water and dry them before storage. Store your reels in a dry place away from grit and dust. This light habit stops jams before they start.
Pros: A short routine saves you from bigger repairs and lost fishing days. Cons: It asks for consistent effort, which is easy to forget after a long day.
When To Take Your Reel To A Professional
Some problems go beyond a home fix. If you have cleaned, oiled, replaced the pawl, and the guide still sticks, a pro can help. Knowing when to stop saves you from damaging your reel further.
A stripped worm gear deep in the reel often needs special tools to swap. Bent shafts and internal gear damage call for parts and skill most anglers lack. A reel under warranty should go back to the maker rather than apart on your table.
Reel repair shops handle these jobs quickly and have the right parts on hand. A professional service also gives your whole reel a full clean and tune. If the fix feels over your head, there is no shame in handing it off to an expert.
Pros: A pro fixes hard problems fast and keeps your warranty safe. Cons: Service costs money and means waiting to get your reel back.
Frequently Asked Questions
Why does my baitcaster line pile up on one side?
Line piles up on one side when the pawl does not reverse direction in the worm gear groove. A worn pawl or a damaged crossover groove usually causes this. Check the pawl first, clean the worm gear, and replace the pawl if the tip looks worn.
Can I fix a stuck level wind guide without taking the reel apart?
Yes, in many cases. Start by unscrewing the pawl cap and checking that the pawl sits inside the worm gear groove. Clean and oil the visible worm shaft. These outside fixes solve a large share of stuck guides without opening the side plate.
How often should I clean and oil my level wind?
Wipe the worm gear and add a drop of oil after every few trips, or after any day in sand or saltwater. A deeper clean once a season keeps the parts fresh. Regular light care prevents most sticking problems before they begin.
What kind of oil should I use on the worm gear?
Use oil and grease made for fishing reels. A light coat of reel grease goes in the worm gear groove, and a small drop of reel oil goes on the pawl. Avoid thick car grease or heavy household oil, since these attract dirt and slow the parts.
How do I know if my pawl is worn out?
Pull the pawl out and look at the tip under good light. A worn pawl shows a crescent shaped wear mark or a flat spot near the tip. A new pawl has a clean, even point. If you see wear, replace it to protect the worm gear from further damage.
My level wind moves but feels rough. What is wrong?
A rough feel usually means dirt in the groove or a lack of lubrication. Clean the worm gear with a toothbrush and cotton swab, then add light grease and oil. If it still feels gritty after cleaning, inspect the pawl and worm gear for wear.

Hi, I’m Ivy Webb, the passionate angler and creator behind BaitHookVault.com. I spend my days out on the water personally testing and reviewing a wide variety of fishing tools and gear.