How To Fix A Spinning Reel Bail That Won’t Close Automatically?
Your spinning reel bail should snap shut the moment you turn the handle. When it stops doing that, fishing turns frustrating fast. You crank the reel, the bail stays open, and your line dangles loose.
Sometimes you even lose a lure mid cast. The good news is simple. Most bail problems are easy to fix at home. You do not need a professional or expensive tools. You just need a little patience and the right steps.
This guide breaks down every reason a bail refuses to close on its own. It walks you through cleaning, lubrication, spring repair, and full part replacement.
Key Takeaways
- Dirt and salt buildup cause most bail failures. A simple cleaning fixes the issue in many cases, so always start there before buying parts.
- The bail spring is the most common broken part. When it wears out or snaps, the bail loses the tension it needs to flip closed automatically.
- The trip lever and cam must line up correctly. If reassembly is even slightly off, the lever misses the cam and the bail stays open.
- Lubrication matters more than people think. A few drops of reel oil on the pivot points often restores smooth, automatic closing right away.
- Many anglers close the bail by hand on purpose. This habit reduces line twist and extends reel life, so it works as both a fix and a long term solution.
- Replacement parts are cheap and widely available. A new bail spring or trip lever costs little, and the repair takes under thirty minutes.
Understanding How A Spinning Reel Bail Works
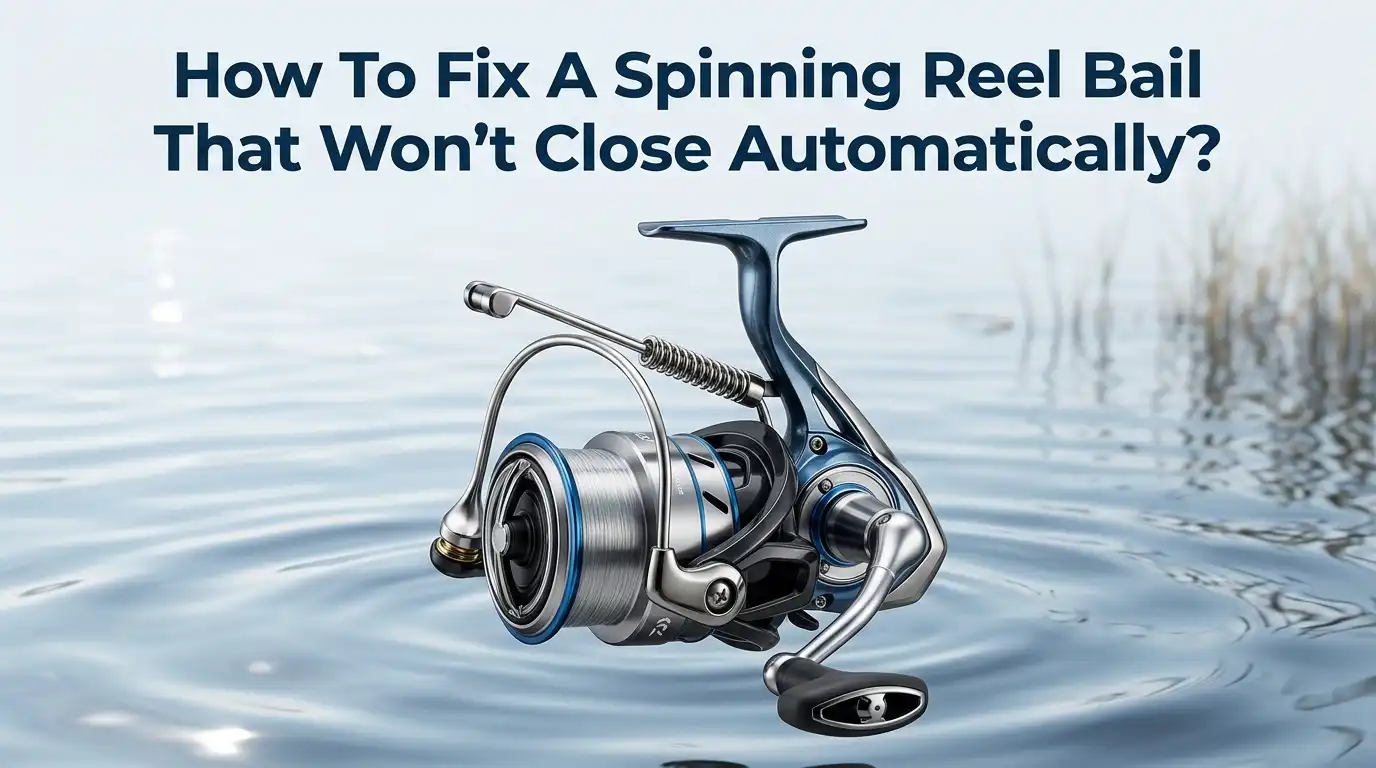
The bail is the metal wire arm that wraps around the spool. Its job is simple but important. It guides your line onto the spool and holds it in place during retrieval.
When you open the bail, line flows freely so you can cast. When you turn the handle, the bail should flip shut and lock the line.
Inside the reel, a small part called the trip lever does the work. As the rotor spins, the trip lever hits a fixed bump called the cam. This contact forces the bail closed.
A spring then holds it in the locked position. When any of these parts fail, the bail will not close on its own. Knowing this system helps you find the fault quickly and fix it with confidence.
Common Reasons Your Bail Won’t Close Automatically
Several issues stop a bail from snapping shut. The most frequent cause is a worn or broken bail spring. Without spring tension, the bail has nothing to pull it closed.
The second common cause is dirt, salt, and grime in the moving parts. This buildup makes the bail stiff and slow.
A bent trip lever is another reason. If the lever does not reach the cam, the bail stays open every time. Loose or overtightened bail arm screws also cause trouble. Sometimes the problem starts after a cleaning, when parts go back together slightly wrong.
Old grease that has dried and hardened can jam the whole mechanism too. Once you know these causes, you can test each one and rule them out step by step.
Tools You Need Before You Start The Repair
Gather your tools before you open the reel. A clean workspace and the right gear make this job much easier. You do not need anything fancy. Most items are already in your home or tackle box.
You will want a Phillips screwdriver, usually a #1 size, to remove the bail arm screws. A small flathead screwdriver helps lift springs and tiny parts. Keep cotton swabs and a soft cloth ready for cleaning.
Reel oil and reel grease handle the lubrication. A bowl of warm soapy water cleans stubborn grime off small parts.
A magnetic tray or small dish stops tiny screws from rolling away and getting lost. Finally, take a photo of the bail before you take it apart. This picture becomes your reference guide during reassembly.
Step One: Inspect The Bail And Identify The Problem
Start with a close look before you touch any screws. A careful inspection saves you from fixing the wrong thing. Open and close the bail by hand a few times. Feel for stiffness, grinding, or a loose floppy motion.
If the bail feels gritty, dirt is likely the cause. If it flops with no resistance, the spring is probably broken. Turn the reel handle slowly and watch the trip lever. See if it reaches the cam during the rotation.
If the lever misses the cam, your problem is alignment or a bent part. Check the bail arm screws too. A screw that is too tight will bind the bail, while a loose one creates wobble. This simple check points you straight to the right repair.
Pros: Inspection is free and fast, and it prevents wasted effort on parts you do not need.
Cons: Some internal faults stay hidden until you open the reel fully.
Step Two: Clean The Bail Mechanism Thoroughly
Cleaning fixes a huge number of bail problems. Salt, sand, and old grease build up inside the bail arm and jam the moving parts. Start by removing the bail arm screws with your screwdriver. Set the small parts in your tray so nothing rolls away.
Use cotton swabs dipped in reel oil to wipe the inside of both bail arms. Scrub the trip lever, pivot arm, and spring gently with warm soapy water. Dry every part fully with a soft cloth before you put anything back.
Never soak the whole reel in water, since that traps moisture inside the gears. Avoid harsh sprays that strip away needed lubrication. Once everything is clean and dry, your bail often moves freely again with no further repair needed.
Pros: Cleaning costs almost nothing and solves most sticking issues.
Cons: It takes time, and heavy corrosion may still need part replacement.
Step Three: Lubricate The Pivot Points Correctly
Lubrication brings stiff bails back to life. Dry pivot points create friction that stops the bail from snapping shut. After cleaning, add a few small drops of reel oil to each bail pivot. Focus on the spots where the bail arm meets the rotor.
Use reel grease, not oil, on the trip lever and cam contact area. Grease lasts longer and handles the heavy contact between these parts. Work the bail open and closed several times to spread the lubricant evenly.
Use only proper reel oil and grease, since household products like WD40 wash away too fast and attract dirt. Wipe off any extra so grime does not stick later. Correct lubrication often restores automatic closing instantly, making this one of the most rewarding quick fixes.
Pros: Fast, cheap, and effective for stiff or slow bails.
Cons: Wrong products can damage parts and create more buildup over time.
Step Four: Check And Adjust The Bail Arm Screws
The screws on each end of the bail control its movement. When these screws sit too tight, they squeeze the bail and stop it from flipping freely. When they sit too loose, the bail wobbles and the trip lever misses the cam. Getting them just right matters.
Back off each screw by a tiny amount, around one sixty fourth of a turn. Add a drop of reel oil at each screw point as you adjust. Test the bail after each small change.
Make sure the screws are snug enough that they will not back out on their own during a cast. This balance takes a few tries to find. Once the screws sit correctly, the bail should move smoothly and the trip lever should reach the cam every time you crank the handle.
Pros: Requires no new parts and fixes binding fast.
Cons: Getting the exact tension right takes patience and trial.
Step Five: Examine The Trip Lever And Cam Alignment
The trip lever and cam work as a team. The lever must swing out far enough to hit the cam during rotation. If it does not reach, the bail will never close on its own. This problem often appears after a cleaning when parts go back together slightly off.
Look closely at the trip lever as you turn the handle slowly. Watch whether it makes solid contact with the cam each rotation. If the lever looks bent, gently straighten it with pliers.
If the parts were reassembled wrong, take them apart and line up every hole and pin carefully before snapping them back.
A spring like lever sits inside the bail base, and it must seat fully to swing far enough. Proper alignment here is often the missing piece that gets the bail snapping shut again.
Pros: Solves the exact mechanical cause of failed closing.
Cons: Requires careful handling and a steady hand with small parts.
Step Six: Replace A Worn Or Broken Bail Spring
The bail spring is the part that fails most often. When it wears out or snaps, the bail loses all its snap back tension. Replacing it is the surest fix for a bail that flops loosely. You will need a matching spring with the correct size for your reel model.
Remove the bail arm screw and gently twist the bail base away from the reel. Lift out the old spring by pushing down and pulling it outward. Separate the small pin from the old spring and place it inside the new one.
Set the new spring and pin into the spring slot, then press it lightly until it sits in place. Do not preload the spring tension until the bail screw is back in. Line up the holes, squeeze the parts together, and screw everything tight. The bail should now snap shut firmly.
Pros: Permanently fixes the most common cause of bail failure.
Cons: You must match the exact spring size for your reel.
Step Seven: Reassemble The Bail Without Mistakes
Reassembly is where many repairs go wrong. A single misplaced part stops the bail from closing, even after a perfect cleaning. This is why your reference photo matters so much. Work slowly and check each piece against the picture.
Make sure the spring and pin sit in their slot correctly. Confirm the trip lever swings freely and reaches the cam. Line up every hole before you push the bail base back onto the rotor. Insert and tighten the screws last, and avoid overtightening them.
Once assembled, turn the handle several times and watch the bail close. If it sticks or stays open, take it apart and recheck the alignment. Patience here pays off. A careful rebuild means your bail closes smoothly and reliably for many trips to come.
Pros: Proper assembly locks in all your repair work.
Cons: Mistakes force you to start over, which costs extra time.
Should You Close The Bail By Hand Instead?
Many experienced anglers never use automatic closing at all. They flip the bail shut by hand before reeling, and they do it on purpose. This habit protects the trip mechanism from wear and reduces stress on the gears. It also cuts down on line twist, which keeps your line healthier.
Automatic closing slams the parts together hard each time. Over years, this beats up the bail arms, the trip lever, and the gear train. Closing by hand removes that impact completely.
If your reel is older or you cannot find the right spring, manual closing works as a permanent solution. It takes a moment to learn, but it soon becomes second nature. Some pros say it adds years to a reel. So even after a repair, this habit is worth building.
Pros: Reduces wear, cuts line twist, and extends reel life greatly.
Cons: It adds a small extra step and takes practice to make automatic.
How To Prevent Bail Problems In The Future
Prevention keeps your bail working for years. A little regular care stops most problems before they start. Rinse your reel with fresh water after every trip, especially after fishing in salt water. Salt is the number one enemy of smooth bail action.
Wipe the bail arm, spool, and body with a damp cloth after rinsing. Dry the reel fully before you store it, and never leave it wet in a hot car. Lubricate the pivot points lightly every few months.
Store your reel in a dry place away from direct heat and moisture. Check the bail spring tension during each cleaning so you catch wear early. Building the habit of closing the bail by hand also helps a lot. These small steps mean fewer repairs and more time spent actually fishing.
When To Take Your Reel To A Professional
Sometimes a repair goes beyond a home fix. If your reel has deep internal corrosion or stripped gears, a professional is the smart choice. High end reels with complex parts also benefit from expert service, since one wrong move can cause more damage.
Take your reel in if you cannot find the matching spring or trip lever. A repair shop often stocks parts that are hard to buy on your own. Go professional if the bail still fails after you have cleaned, lubricated, and replaced the spring.
A skilled technician can spot worn parts that are tough to see with an untrained eye. Service costs are usually low compared to buying a new reel. For a reel you love or one with sentimental value, the small fee is worth the peace of mind.
Pros: Expert repair handles tough faults and saves valuable reels.
Cons: It costs money and means waiting without your reel for a while.
Frequently Asked Questions
Why does my spinning reel bail stay open when I reel?
Your bail stays open because the trip lever is not reaching the cam, or the bail spring is worn out. Dirt buildup and dried grease also block the closing action. Start by cleaning and lubricating the bail. If it still stays open, check the spring and the trip lever alignment carefully.
Can I fix a bail spring without buying new parts?
Sometimes yes. If the spring is just dirty or slightly loose, cleaning and reseating it may restore the tension. A bent trip lever can often be straightened by hand too. But if the spring is cracked or snapped, you must replace it. A broken spring cannot be repaired and will keep failing.
Is it bad to close the bail with the handle every time?
It is not dangerous, but it does add wear. Closing the bail with the handle slams the parts together and stresses the gears over time. It also creates more line twist. Many anglers close the bail by hand instead. This habit protects your reel and helps it last much longer.
How often should I lubricate my reel bail?
Lubricate the bail pivot points every few months with normal use. If you fish in salt water often, clean and oil the bail more frequently. Always rinse and dry the reel after each saltwater trip. Regular light lubrication prevents stiffness and keeps the automatic closing action smooth and reliable.
What lubricant works best for a spinning reel bail?
Use proper reel oil for the pivot points and reel grease for the trip lever and cam. Avoid household sprays like WD40, since they wash away fast and attract dirt. Reel specific products stay in place longer and protect the moving parts. A small amount goes a long way, so do not overapply.
My bail will not close after I cleaned my reel. What went wrong?
This is very common. During reassembly, a part likely went back slightly out of place, so the trip lever cannot reach the cam. Take the bail apart again and line up every hole, pin, and spring. Check your reference photo. Careful reassembly almost always solves the problem right away.

Hi, I’m Ivy Webb, the passionate angler and creator behind BaitHookVault.com. I spend my days out on the water personally testing and reviewing a wide variety of fishing tools and gear.