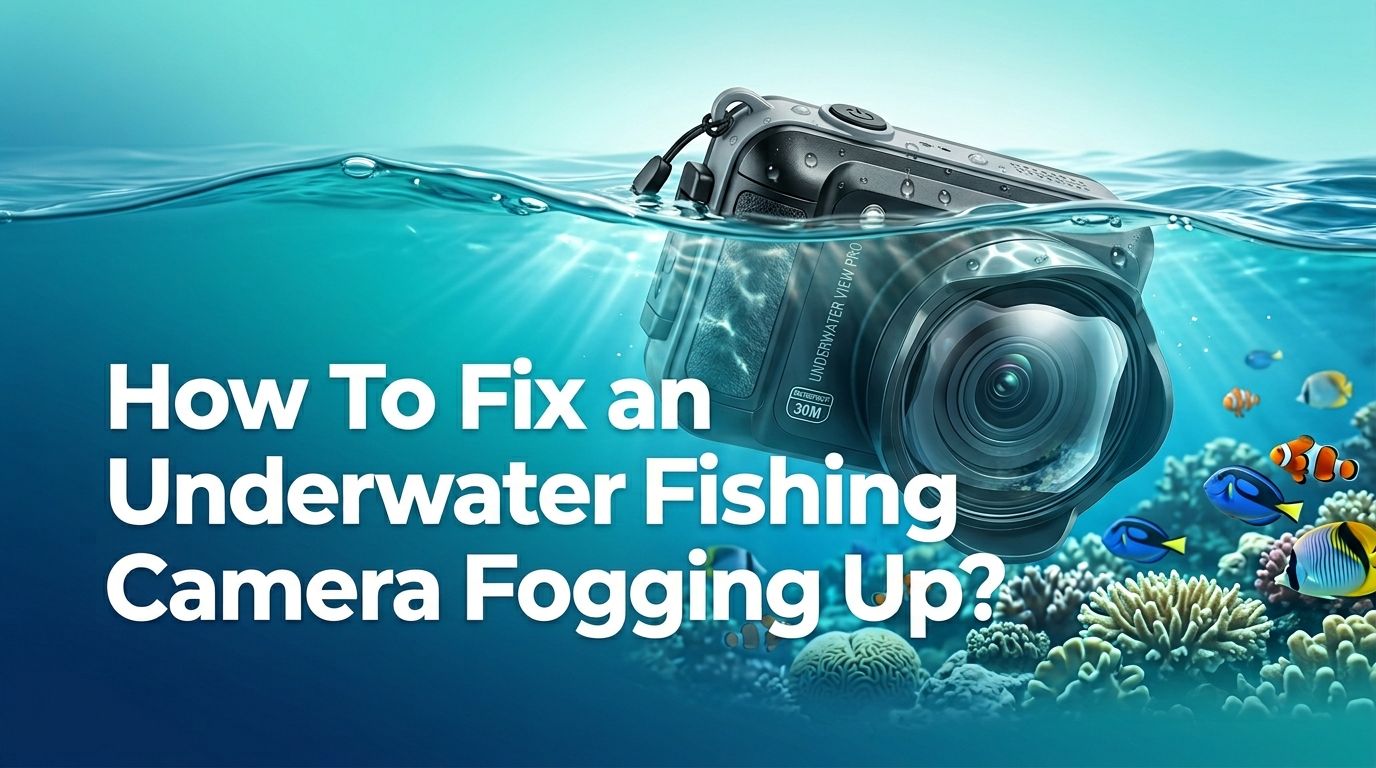
How To Fix an Underwater Fishing Camera Fogging Up?
You dropped your underwater fishing camera into the lake, and instead of watching bass cruise by, you are staring at a cloudy, white haze. Fogging is one of the most frustrating problems anglers face with underwater cameras. It turns an expensive piece of gear into a useless blur.
The good news? This problem is fixable. In most cases, you do not need to buy a new camera or send it in for repairs.
A few simple adjustments to how you prepare, store, and use your camera can eliminate fogging for good. Whether you fish in warm summer lakes or drill through ice in the dead of winter, condensation follows the same basic rules of physics.
In a Nutshell
- Fogging happens because of temperature differences. The air trapped inside your camera housing holds moisture. Cold water cools the lens or housing exterior, and that moisture condenses on the inside surface as fog. Understanding this basic cause is the first step to fixing it.
- Silica gel packets are a popular but imperfect solution. They absorb some moisture inside the housing, but they do not work miracles. If your housing already has water droplets inside, silica gel alone will not prevent fog. You need to start with a dry housing first.
- Assembling your camera in a cool, dry environment is the single best prevention method. If you seal your camera housing in an air conditioned room or a dry vehicle, you trap less moisture inside. This one step prevents the majority of fogging issues.
- O ring maintenance matters more than most anglers realize. A worn, dirty, or improperly lubricated O ring can let small amounts of moisture seep into the housing over time. Regular cleaning and greasing of O rings keeps the seal tight and the interior dry.
- Quick fixes exist for mid-trip fogging. If fog forms while you are on the water, you can pull the camera up, open the housing, wipe it dry, and reseal it. A hair dryer on low heat can also speed up the drying process.
- Long term storage habits prevent repeat problems. Storing your camera with fresh silica packets in a cool, dry place keeps residual moisture from building up between trips. This reduces fogging the next time you head out.
Why Does an Underwater Fishing Camera Fog Up
Fogging happens because of condensation. The air inside your camera housing contains water vapor. Cold lake or river water cools the outer surface of the housing and the lens. The warm, moist air inside then releases its moisture as tiny water droplets on the cooler glass surface. This is the exact same process that fogs your car windshield on a cold morning.
Temperature contrast is the main trigger. The bigger the difference between the air temperature inside the housing and the water temperature outside, the more likely fog will form. In summer, a camera left in the sun gets very hot inside. Dropping it into cool water creates a sharp temperature gap that produces heavy fog almost instantly.
Humidity plays a role too. If you sealed the housing on a muggy day near the water, you trapped humid air inside. That extra moisture has nowhere to go once the housing cools down.
Assemble Your Camera in a Cool, Dry Environment
This is the most effective prevention method available. The air you seal inside the housing determines how much moisture is present. Assembling your camera in an air conditioned room or a dry vehicle with the AC running reduces humidity inside the housing significantly.
Cold, dry air holds far less moisture than warm, humid air. If you prepare your camera inside your house or cabin before heading to the lake, you start with a much drier baseline. Avoid opening the housing once you reach the water, especially if you are near the shoreline where humidity is higher.
Pros: This method costs nothing and prevents most fogging before it starts. It is the most reliable approach.
Cons: It requires advance planning. You cannot easily reseal the housing in a dry environment once you are already at the lake.
Use Silica Gel Desiccant Packets
Silica gel packets absorb moisture from the air inside the camera housing. Many cameras come with one or two packets included. You place them inside the housing before sealing it. They work by drawing water vapor out of the trapped air, which lowers the chance of condensation.
However, silica gel has limits. If there are actual water droplets inside the housing, the packets cannot absorb enough to prevent fog. Also, saturated silica packets can release moisture back into the housing when temperatures rise. This means old, used packets can actually make the problem worse.
Pros: Cheap, easy to use, and widely available. They add an extra layer of protection alongside other methods.
Cons: They are not a standalone solution. Old or saturated packets can contribute to fogging. You must replace or recharge them regularly by baking them in an oven at low heat.
Keep the Housing and Camera Cool Before Use
Heat is your enemy in the fight against fog. A camera housing left on the dashboard or sitting in direct sunlight on the boat deck will heat up fast. The air inside expands and absorbs more moisture. Then the sudden plunge into cold water triggers heavy condensation.
Keep your camera in a shaded spot or inside a cooler (without ice touching it) before use. Wrapping it in a light colored towel blocks direct sunlight and slows heat buildup. Some anglers keep the camera in an insulated bag during transport.
Also, avoid leaving the camera powered on when it is not in the water. The battery generates heat during operation. This internal heat raises the temperature inside the housing and increases the moisture capacity of the trapped air.
Pros: Simple habit change with strong results. No cost involved.
Cons: Requires consistent awareness. Easy to forget on a busy fishing day.
Inspect and Maintain Your O Rings
O rings form the watertight seal on your camera housing. Over time, they collect dirt, sand, and debris. They also dry out and lose their flexibility. A compromised O ring lets tiny amounts of water creep into the housing, which causes fogging and can eventually lead to full flooding.
Remove the O ring from its groove before each trip. Wipe it clean with a soft, lint free cloth. Inspect it for cracks, nicks, or flat spots. Apply a thin layer of O ring grease (silicone based) with your fingers. Do not use too much grease because excess grease attracts dirt.
Also clean the groove where the O ring sits. A single grain of sand or a strand of hair can break the seal. This five minute maintenance routine can save your camera from fog and water damage.
Pros: Prevents both fogging and catastrophic flooding. Extends the life of your housing.
Cons: Requires O ring grease and a small time commitment. Forgetting this step can lead to costly damage.
Wipe Down the Interior Before Sealing
Before you close the housing, wipe every interior surface with a dry, lint free microfiber cloth. Pay special attention to the lens port, the corners, and the area around the O ring groove. Even a tiny droplet of water trapped inside will turn to vapor and coat the lens with fog.
Some anglers also use a cotton swab to reach tight corners that a cloth cannot access. Check for any residual moisture from the last use. If you rinsed the housing in fresh water after a previous trip, make sure it is completely dry before resealing.
This step takes less than two minutes but makes a real difference. Combining it with assembly in a dry environment creates a near foolproof setup against fogging.
Apply Anti Fog Coatings to the Lens Port
Anti fog solutions create a thin, transparent coating on the inside of the lens port. This coating changes the surface tension so that moisture forms a thin, even film instead of tiny fog droplets. The result is a clear view even if some condensation occurs.
Divers and snorkelers commonly use products like baby shampoo, dish soap diluted with water, or dedicated anti fog sprays. Apply a small amount to the inside of the lens port, spread it evenly, and then lightly buff with a soft cloth. Do not wipe it completely off. The thin residue is what prevents fog.
Pros: Quick, inexpensive, and effective as a backup method. Works well alongside other prevention steps.
Cons: May slightly affect image clarity if applied too heavily. Needs to be reapplied regularly. Some products leave streaks.
Use the Hair Dryer Method for Quick Recovery
If your camera has already fogged up, a hair dryer on low heat is one of the fastest ways to remove internal moisture. Open the housing, remove the camera, and aim warm (not hot) air into the housing for several minutes. Let the camera itself air out separately.
This method works because warm air evaporates trapped moisture. Be careful not to use high heat, as excessive temperatures can damage plastic components, seals, or the camera itself. A few minutes of gentle warming is enough to dry out most housings.
Once the interior feels dry, wipe everything down with a microfiber cloth. Then reseal the housing in the driest environment available. This mid-trip fix can save a fishing session.
Pros: Fast and effective. Most people have access to a hair dryer at a cabin or home nearby.
Cons: Not practical in remote locations without electricity. Excessive heat can cause damage.
Try the Rice or Desiccant Soak Method
If moisture has built up inside the camera lens itself, you may need a longer term absorption method. Place the camera (with the housing open or removed) inside a sealed container filled with uncooked rice or fresh silica gel packets. Leave it for 24 to 48 hours.
The rice or silica gel draws moisture out of the camera slowly. This method works best for internal fog that does not clear up with simple wiping or air drying. Use a breathable bag like cheesecloth around loose rice to prevent grains from getting stuck in ports or buttons.
Pros: Effective for stubborn internal moisture. Rice is cheap and available everywhere.
Cons: Slow process. Loose rice can leave dust or get stuck in small openings. Silica gel works better but costs more.
Reduce Trapped Air Inside the Housing
Less air inside the housing means less moisture available to condense. Some camera housings allow you to minimize the air pocket by adjusting the fit or adding internal padding. Foam inserts designed for specific camera models can fill empty space and reduce the volume of trapped air.
The physics is straightforward. A smaller volume of air holds less total water vapor. Even if the humidity percentage is the same, the absolute amount of moisture is lower. This means less fog can form on the lens port.
Pros: Addresses the root cause of condensation at a physical level. Works well for housings with large air gaps.
Cons: Not all housings allow for easy modification. Improper padding can press buttons or block controls.
Store Your Camera Properly Between Trips
How you store your underwater fishing camera between uses affects whether it fogs up on the next trip. Always store the housing open so air can circulate and residual moisture can escape. Place fresh silica gel packets inside the storage case or bag.
Keep the camera in a cool, dry location away from basements, garages, or areas with high humidity. Mold and mildew can grow on internal surfaces if moisture lingers for weeks. Before your next trip, inspect the interior for any signs of dampness or residue.
Replace silica packets every few months or recharge them by heating them in an oven at 250 degrees Fahrenheit for about two hours. Properly stored gear starts every trip in the best possible condition.
Know When Professional Repair Is Needed
Sometimes the fog is a symptom of a deeper issue. If you have tried every method above and the camera still fogs up repeatedly, the housing may have a crack, a warped seal, or a damaged O ring groove. Internal electronics can also fail and create heat spots that worsen condensation.
Persistent fog combined with visible water inside the housing suggests a leak rather than simple condensation. In this case, continuing to use the camera risks permanent water damage to the electronics. Contact the manufacturer or a qualified repair shop for inspection.
Warranty coverage may apply if the camera is relatively new. Do not attempt to disassemble sealed camera components yourself, as this voids most warranties and can cause further damage.
Pros: Professional repair fixes the root cause permanently.
Cons: Can be expensive and time consuming. You may be without your camera for weeks.
Step by Step Checklist Before Every Fishing Trip
Follow this routine each time you prepare your underwater fishing camera. First, clean and grease all O rings. Second, wipe the interior of the housing completely dry with a microfiber cloth. Third, place one or two fresh silica gel packets inside the housing.
Fourth, assemble and seal the housing in a cool, air conditioned environment. Fifth, store the sealed housing in a shaded, cool spot during transport. Sixth, keep the camera powered off until you are ready to use it in the water. Seventh, avoid opening the housing near the water unless absolutely necessary.
This checklist takes about ten minutes and prevents the vast majority of fogging problems. Consistency is key. Make it a habit and foggy footage becomes a thing of the past.
Frequently Asked Questions
Can I use cat litter instead of silica gel packets inside my camera housing?
Some types of crystal cat litter are made from silica gel and can work as a substitute. However, standard clay cat litter creates dust that can coat your lens and damage your camera. If you use crystal cat litter, place it inside a small breathable pouch to contain any loose particles. Dedicated silica gel packets are safer and more reliable for use inside camera housings.
How often should I replace the silica gel packets in my underwater camera?
Replace or recharge silica packets every three to five uses, or whenever they change color. Many silica packets include an indicator that shifts from blue or orange to green or clear when saturated. You can recharge them by spreading them on a baking sheet and heating them at 250 degrees Fahrenheit for about two hours.
Why does my underwater camera fog up only in cold water?
Cold water creates a larger temperature difference between the warm air inside the housing and the cold exterior surface. This bigger gap causes faster and heavier condensation. Ice fishing cameras are especially prone to this because air temperatures may be well above freezing while water temperatures sit near 32 degrees Fahrenheit.
Is it safe to use rubbing alcohol to clean the inside of my camera lens port?
Isopropyl alcohol evaporates quickly and leaves no residue, making it a reasonable option for cleaning glass lens ports. Use a small amount on a microfiber cloth and wipe gently. Avoid using it on plastic lens ports or coated surfaces, as alcohol can damage certain coatings and plastics over time.
Will fogging damage my underwater fishing camera permanently?
Occasional light fogging usually causes no permanent damage. However, repeated or heavy fogging means moisture is present, and prolonged exposure to moisture can corrode internal electronics, cause mold growth on lens elements, and degrade image quality over time. Address fogging issues promptly to protect your investment.
Can I drill a small ventilation hole in the housing to prevent fogging?
This is not recommended. Any hole in the housing compromises its waterproof seal and will allow water to flood the interior. The housing is designed to be a sealed unit. Instead, focus on reducing the moisture content of the air sealed inside through the prevention methods described in this guide.

Hi, I’m Ivy Webb, the passionate angler and creator behind BaitHookVault.com. I spend my days out on the water personally testing and reviewing a wide variety of fishing tools and gear.