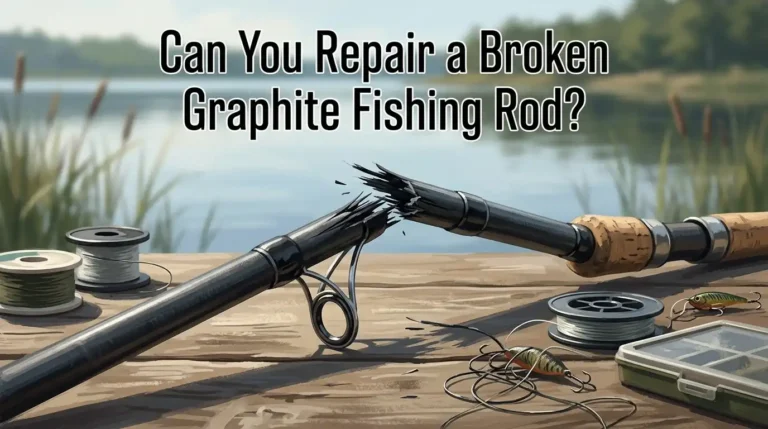
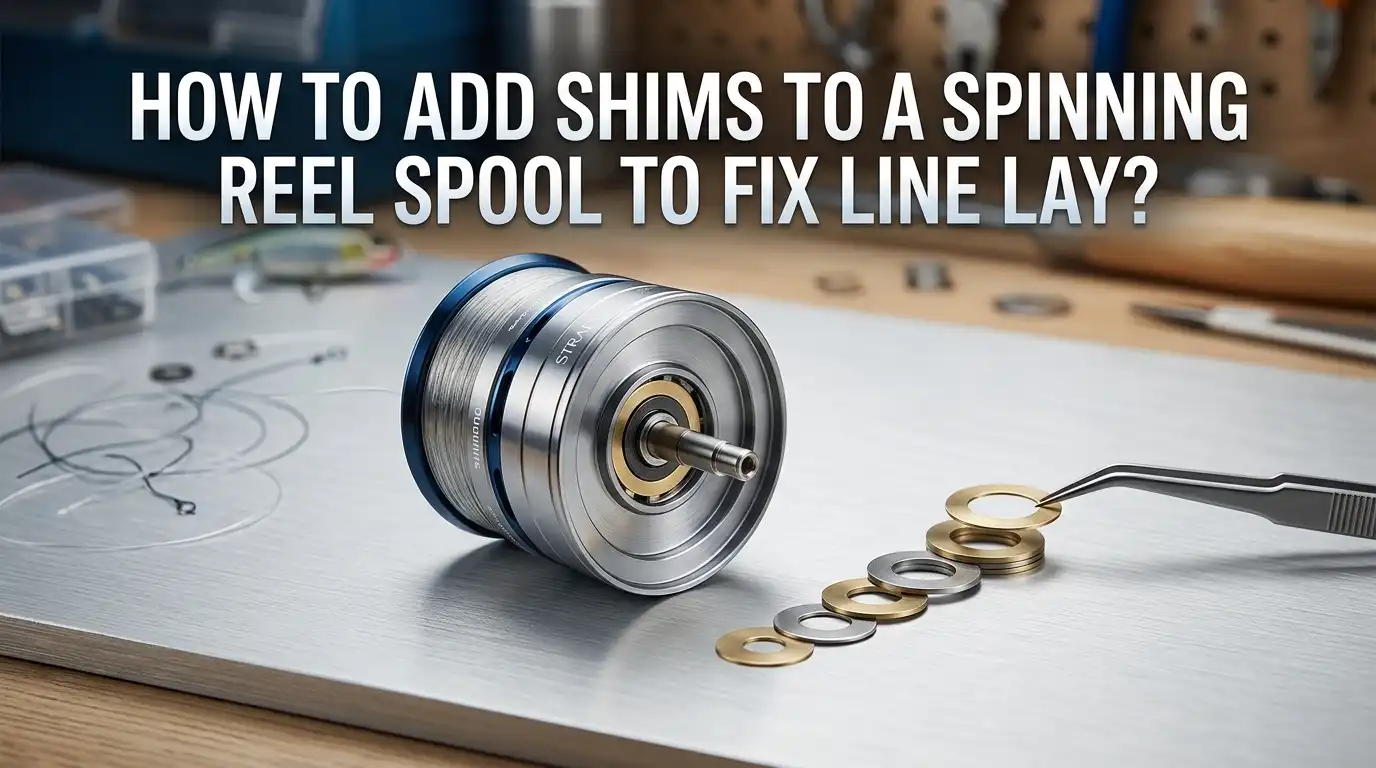
How To Add Shims To A Spinning Reel Spool To Fix Line Lay?
Does your fishing line stack unevenly on your spinning reel? Maybe it bunches up at the top, or piles toward the bottom like a tiny mountain. This problem is called poor line lay, and it can ruin your casts.
It causes wind knots, shorter casting distance, and a lot of frustration on the water. The good news is simple. You can fix it yourself in minutes.
The secret tool sits right under your drag knob, and it is called a shim. In this guide, you will learn what shims are, how they work, and how to add them to your spool the right way. Let me walk you through it.
In a Nutshell:
- Shims are thin washers that sit on the main shaft under your spool. They raise or lower the spool height to control how line stacks.
- Top heavy line lay means line bunches near the top lip. To fix it, you usually remove a shim to lower the spool.
- Bottom heavy line lay means line piles near the base. To fix it, you usually add a shim to raise the spool.
- Most reels include free shims in the box when you buy them. Check the small plastic bag that came with your reel.
- Make one change at a time. Add or remove only one shim, then test. Adding too many at once flips the problem the other way.
- Some Daiwa reels stack slightly top heavy on purpose. This is part of the ABS design. Do not fix line lay that is already working fine.
What Line Lay Means On A Spinning Reel
Line lay describes how your fishing line sits across the spool. A good line lay is flat and even from top to bottom. The line covers the whole spool height in a smooth layer.
When line lay goes wrong, the line stacks in one spot more than another. This creates a cone shape or a bulge. The shape matters because line leaves the spool in loops during a cast. If those loops come off an uneven pile, they tangle.
A flat, even line lay gives you the best casting distance and the fewest knots. Think of it like winding thread on a sewing bobbin. When the thread sits even, it pulls off clean every time you need it.
Why Poor Line Lay Causes Casting Problems
Poor line lay creates real trouble on the water. When line stacks too high in one area, it forms a loose pile. During a cast, that loose pile dumps extra line all at once.
This causes the dreaded wind knot, where line loops over itself and jams. Uneven lay also adds friction as line peels off the spool. More friction means shorter casts and less accuracy.
You work harder and your lure travels less far. Bottom heavy lay can choke the line near the base, while top heavy lay lets loops jump off the lip too early. Both problems steal your fishing time. Fixing the lay with shims solves these issues at the source. You cast farther and untangle less.
What Spool Shims Are And How They Work
Spool shims are small, thin washers. They are made of plastic, nylon, fiber, or thin metal. They sit on the main shaft of your reel, directly under the spool. Their only job is to change the height where the spool sits.
When the reel turns, the spool moves up and down in a motion called oscillation. The line wraps on as the spool rises and falls. The height of the spool decides where the line stacks most. Adding a shim raises the spool.
This pushes more line toward the bottom of the spool. Removing a shim lowers the spool. This pushes more line toward the top. Shims give you fine control over this balance, and they cost almost nothing.
Tools You Need Before You Start
You do not need a full workshop for this job. The task is simple and quick. Gather a few basic items first so you do not stop halfway. You will need your spinning reel, of course. Keep the shim pack that came with the reel close by.
If you lost the shims, you can buy generic spool washers in the right diameter for your shaft. A small dish or magnetic tray helps you hold tiny parts so they do not roll away.
Good lighting makes the small washers easy to see. You may also want your fishing line ready, since the best time to adjust is during a fresh respool. A clean towel under your work area catches dropped parts. That is everything you need.
How To Diagnose Your Line Lay Problem First
Never adjust before you check the problem. Look at your spool carefully before touching any shims. First, spool your reel with line under light, steady tension. Reel in a good amount and watch how the line builds.
Then study the shape. If the line forms a flat, even wall, you have a perfect lay and need no change. If the line bulges near the top lip, your reel is top heavy. If the line piles up near the base and looks starved at the top, your reel is bottom heavy.
Hold the reel at eye level for the clearest view. Note the shape before you start. This step tells you exactly whether to add or remove a shim, so you do not guess.
Step By Step: How To Add Shims To Your Spool
Here is the full process. Follow each step in order and work slowly. Rushing causes lost springs and small dropped parts.
- Loosen the drag knob fully. Turn it counterclockwise until it stops, then keep turning until it comes off the shaft.
- Lift the spool straight up. Pull it off the main shaft. Watch for any drag clicker spring or small washer that may sit on top.
- Find the existing shims. Look at the bare shaft where the spool sat. Count how many washers are already there.
- Add one shim. Slide a single new washer down onto the shaft to raise the spool. This fixes bottom heavy lay.
- Reinstall the spool. Place it back on the shaft and seat it firmly.
- Screw the drag knob back on. Turn clockwise until snug. Do not overtighten yet.
Now your spool sits higher. You are ready to test the new lay.
How To Remove Shims For Top Heavy Line Lay
Sometimes adding is not the answer. If your line bunches near the top lip, you need to lower the spool instead. Follow the same first steps. Take off the drag knob and lift the spool. Look at the shaft and find the washers.
Remove one shim to drop the spool down a little. Set the removed washer in your tray so you do not lose it. Then put the spool and drag knob back on. Test the lay again. If the line still stacks high, you can remove one more, but only if a spare shim remains on the shaft.
Never remove every washer unless your reel manual allows it. Some reels need at least one shim to seat the spool correctly. Go slow and test between each change.
Pros and Cons of removing shims: The clear pro is fast relief from top heavy lay and fewer wind knots from jumping loops. The con is that removing too many can leave the spool loose or flip the lay to bottom heavy. You may also lose small washers if you are not careful.
How To Test And Fine Tune After Adjusting
Testing tells you if the fix worked. Do not trust the lay from just a few wraps of fresh line. Reel in a solid amount of line under firm, steady tension. A gloved hand or a cloth helps you hold tension as the line winds on.
Make several strong casts first, because fresh braid settles after the first few casts. Then look at the spool shape again at eye level. If the line now sits flat and even, you are done.
If it improved but still leans one way, repeat the process with one more shim change. Always adjust only one shim at a time. Each washer makes a small but real difference. Patience here gives you a perfect lay that lasts the whole season.
Common Mistakes To Avoid When Shimming
A few simple errors trip up many anglers. Learn these now so you skip the frustration. The biggest mistake is judging line lay too soon. New line, especially braid, settles after a few hard casts, so what looks wrong indoors often fixes itself on the water.
The second mistake is adding too many shims at once. This overshoots and flips the problem to the other side. The third mistake is overfilling the spool.
Always leave a small gap, about two to three millimeters, between the line and the lip. The fourth mistake is spooling with no tension. Loose line stacks badly no matter how many shims you use. Avoid these and your fix will hold.
When Your Reel Is Top Heavy On Purpose
Here is something many anglers miss. Some reels stack slightly top heavy by design, and that is correct. Many modern Daiwa reels use an ABS spool with a reverse taper. This shape keeps the loops large and controlled as line leaves the reel.
The mild top lean reduces friction and actually prevents wind knots. So before you grab a shim, ask if the lay is truly broken. A slight taper toward the top lip that does not climb onto the upper bevel is usually fine.
The line you want to watch for is a sharp step at the top or a hollow, starved base. That extreme shape needs a shim. A gentle taper does not. Check your reel manual to learn what your model is built to do.
Pros And Cons Of Using Shims Versus Other Fixes
Shims are not the only way to manage line lay. It helps to know your options. Below is a quick look at the main methods and how they compare.
- Adding or removing shims. Pros: cheap, fast, and reusable. It fixes the root cause at the spool. Cons: needs a little trial and error, and you must open the reel each time.
- Hand winding the offset. Pros: no parts needed. You wind some line, pull the spool, and hand wind to even the stack. Cons: slow and only a temporary patch.
- Adjusting fill level. Pros: simple, just use less or more line. Cons: does not fix the actual lay shape, only the height.
- Buying a different spool. Pros: solves design mismatches. Cons: costly and not always available for your model.
For most anglers, shims give the best mix of cost, speed, and lasting results.
Tips To Keep Your Line Lay Perfect Long Term
A good fix should last. A few habits keep your line lay clean for many trips. Always spool with steady, firm tension. Run the line through a damp cloth or a gloved hand as it winds on.
Respool when your line gets old, twisted, or memory bound. Old line never lays flat no matter what you do. Close the bail by hand instead of cranking the handle, because a snapping bail can drop a loop into the lay.
Check your spool fill level often and keep that small gap below the lip. Store your reel away from heat, which can warp plastic shims. When you switch line types, recheck the lay, since braid and mono behave differently. These small steps protect your work.
Frequently Asked Questions
How many shims should I add to my spinning reel?
Start with just one shim and test the result. Most line lay problems need only one or two washers to fix. Adding more than that usually overcorrects and flips the lay to the opposite side. Always adjust one at a time, then check the spool shape before adding another.
Where do the shims go on a spinning reel?
The shims go on the main shaft, directly under the spool. Take off the drag knob, lift the spool straight up, and you will see the bare shaft. The washers slide right onto that shaft. Place your new shim there, then reinstall the spool and drag knob.
Why does my line keep filling the top of the spool first?
Top heavy filling means your spool sits too high during oscillation. To fix it, remove one shim to lower the spool. Keep in mind that some Daiwa reels with ABS spools stack slightly top heavy on purpose. Check your manual before you change anything.
Can I use any washer as a spool shim?
You should use washers made for your reel or generic shims with the correct inner diameter. The hole must match your main shaft size so the washer sits flat. The wrong size will wobble or fail to seat the spool. Most reels include the right shims in the box.
Will fixing line lay stop my wind knots completely?
Good line lay reduces wind knots a lot, but it may not stop them fully. Wind knots also come from loose line, a snapping bail, and casting in heavy wind. Pair your shim fix with hand closing the bail and spooling under firm tension for the best results.
Do I need to respool my line after adding a shim?
Yes, you should respool to see the true result. The old uneven line keeps its shape even after you adjust the spool height. Strip off the line, add or remove your shim, then wind fresh line on under steady tension. This gives you a clean, flat lay from the start.

Hi, I’m Ivy Webb, the passionate angler and creator behind BaitHookVault.com. I spend my days out on the water personally testing and reviewing a wide variety of fishing tools and gear.