How to Keep Worms Alive for Fishing in Hot Summer Weather?
You just bought a cup of nightcrawlers from the bait shop. You open the container at the lake and half of them are dead. Sound familiar?
Keeping fishing worms alive is one of the most overlooked parts of a successful fishing trip. Dead or sluggish worms do not attract fish. A lively, wriggling worm on your hook is what gets bites.
The good news is that keeping your bait worms healthy is simple once you know the basics. You do not need expensive gear or a complicated setup. A few small changes in how you store, feed, and transport your worms can keep them alive for weeks or even months.
In a Nutshell
- Temperature is the single most important factor. Worms thrive between 40°F and 65°F. Anything above 80°F can kill them quickly. Store your worms in a cool spot like a basement, garage, or refrigerator to keep them comfortable and active.
- Moisture must stay balanced at all times. The bedding should feel like a wrung out sponge. Too wet and the worms drown. Too dry and they shrivel up. Check the moisture level every few days and mist with water if needed.
- Use the right bedding material for best results. Shredded newspaper, peat moss, or coconut coir all work well. Avoid anything with chemicals, bleach, or strong scents. The bedding gives worms a place to burrow, breathe, and stay cool.
- Feed your worms small amounts of the right food. Vegetable scraps, coffee grounds, crushed eggshells, and bread crumbs are great options. Avoid dairy, meat, oily foods, and citrus. Overfeeding causes rot and kills worms fast.
- Always remove dead worms from the container. A single dead worm releases toxins that can kill the rest. Check your container regularly and remove any worms that look pale, flat, or mushy.
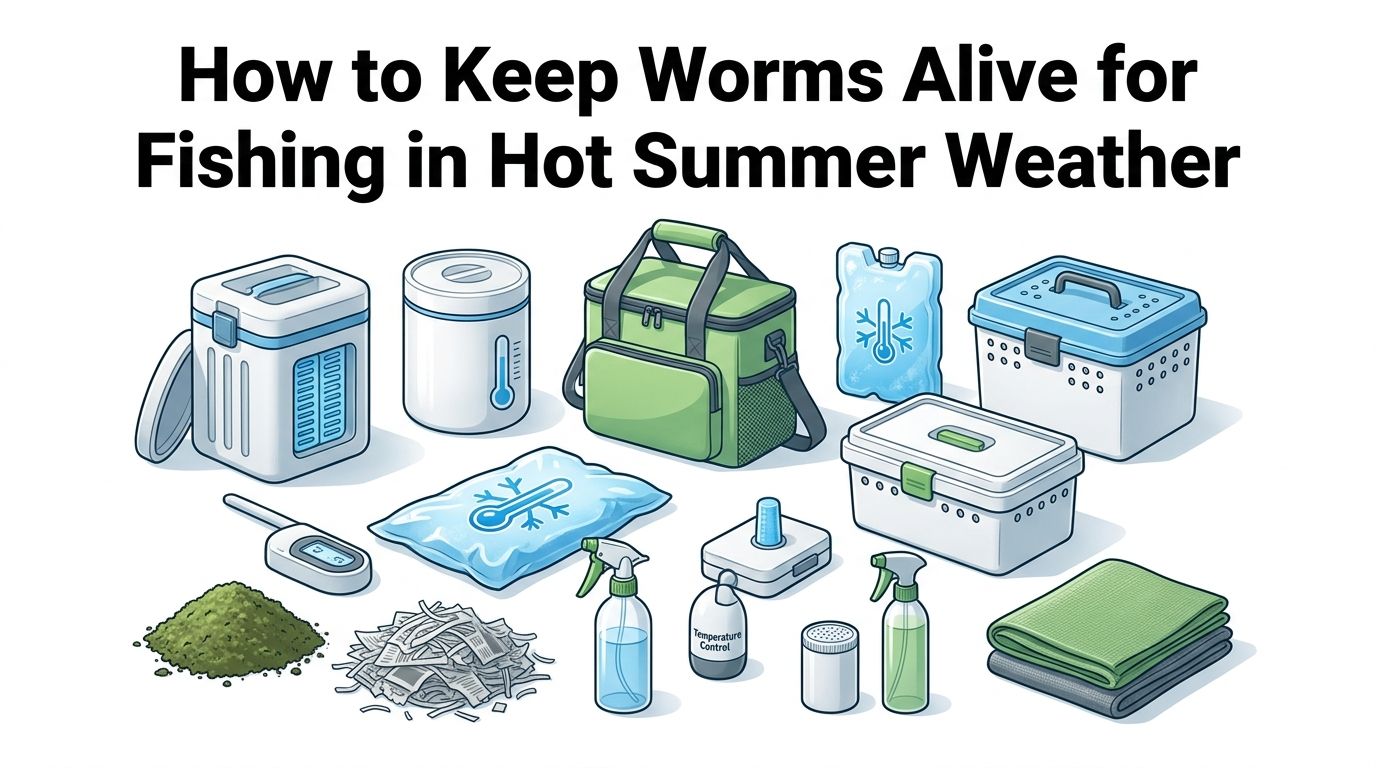
- Plan ahead for hot weather fishing trips. A small portable cooler with a damp cloth over the container keeps worms alive even on the hottest summer days. Shade is your best friend at the water’s edge.
How to Choose the Right Container for Keeping Fishing Worms Alive
Your container matters more than you might think. Worms need ventilation, darkness, and enough space to move around. A sealed plastic bag will suffocate them within hours. A styrofoam bait cup works for a single trip, but it will not keep worms alive long term.
For home storage, a shallow plastic tub with small holes drilled into the lid works perfectly. Keep the depth under 16 inches so the bedding does not compact too much at the bottom. Worms breathe through their skin, so air flow is essential.
Wooden containers are another solid choice. They allow some air exchange through the sides and help regulate moisture. A tight fitting lid with small ventilation holes prevents escape while keeping the environment dark.
Pros: Plastic tubs are cheap and easy to find. Wooden boxes regulate moisture better.
Cons: Plastic can trap heat. Wood can mold if too wet.
How to Pick the Best Bedding Material for Your Fishing Worms
Bedding serves as your worms’ home, food source, and moisture regulator all at once. The most popular options include shredded newspaper, peat moss, coconut coir, and commercial worm bedding. Each one has strengths and weaknesses.
Shredded newspaper is free and easy to prepare. Soak it in water, wring it out, and fluff it up before adding it to the container. Avoid glossy or colored print, as the inks may contain harmful chemicals.
Peat moss holds moisture well and creates an acidic environment that discourages mold. Coconut coir is pH neutral and very absorbent. Commercial worm bedding products are pre mixed and ready to use right out of the bag.
Pros: Newspaper is free. Peat moss holds moisture well. Coconut coir is long lasting.
Cons: Newspaper breaks down fast. Peat moss can be too acidic if overused. Commercial bedding costs more.
How to Control Temperature So Your Worms Do Not Overheat or Freeze
Temperature control is the number one factor in worm survival. Nightcrawlers prefer 40°F to 55°F. Red wigglers do best between 55°F and 77°F. Both types will die if temperatures climb above 90°F or drop below freezing.
A refrigerator set to around 40°F to 45°F is the easiest storage solution for nightcrawlers. Place the container on a shelf away from the back wall to avoid freezing. For red wigglers, a cool basement or garage often provides the right range.
During hot summer months, move your worm container to the coolest spot in your home. If you are fishing outdoors in the heat, place a frozen water bottle inside your cooler next to the worm container. This brings the temperature down without getting the bedding too wet.
Pros: Refrigerator storage is reliable and consistent. Basements offer natural cooling.
Cons: Refrigerators can be too cold near the back wall. Garages can overheat in summer.
How to Get the Moisture Level Right in Your Worm Container
Worms breathe through their skin. They need consistent moisture to survive. The bedding should feel damp like a wrung out sponge. If you squeeze a handful and water drips out, it is too wet. If it feels crumbly and dry, you need to add water.
Use a spray bottle to mist the bedding lightly when it starts to dry out. Do not pour water directly into the container. Pooling water at the bottom will drown your worms. If the bedding gets too wet, add dry shredded newspaper or paper towel strips to absorb excess moisture.
Check moisture levels every two to three days. In warm or dry environments, the bedding dries out faster and needs more frequent attention. In humid environments, you may need to open the lid briefly to let some moisture escape.
Pros: Spray bottles give you precise moisture control. Adding dry bedding absorbs excess water.
Cons: Requires regular attention. Too much or too little moisture kills worms quickly.
How to Feed Your Fishing Worms to Keep Them Fat and Healthy
Well fed worms are lively, plump, and more attractive to fish. Vegetable scraps, coffee grounds, crushed eggshells, oatmeal, and stale bread are all excellent food sources. Cut food into small pieces so the worms can break it down faster.
Feed your worms small amounts once or twice a week. Bury the food under the top layer of bedding to prevent mold and fruit flies. A good rule of thumb is to offer food only after the previous batch has mostly disappeared.
Avoid feeding your worms meat, dairy, oily food, or citrus fruits. These items create bad smells, attract pests, and produce conditions that can kill your worms. Onions and garlic are also best avoided because their strong compounds irritate worm skin.
Pros: Kitchen scraps are free and readily available. Coffee grounds also help condition bedding.
Cons: Overfeeding causes rot and odor. Wrong foods can kill worms.
How to Store Worms in the Refrigerator for Weeks at a Time
The refrigerator is the most convenient long term storage option for fishing worms, especially nightcrawlers. Set your fridge temperature to 40°F to 45°F and place the container on a middle shelf. Avoid the crisper drawer because humidity levels there are often too high.
Use a breathable container with a secure lid. Small ventilation holes allow air exchange while keeping worms from escaping. Place a layer of damp newspaper on top of the bedding to help hold in moisture without making things too soggy.
Check on your worms once a week. Remove any dead worms immediately. Refresh the bedding every two to three weeks by replacing old material with fresh, damp bedding. Worms stored this way can live for four to eight weeks with minimal effort.
Pros: Consistent cool temperature. Low maintenance once set up.
Cons: Takes up fridge space. Some family members may object.
How to Transport Worms to Your Fishing Spot Without Losing Them
Getting worms safely from your home to the fishing spot requires a little planning. A small insulated cooler is the best transport option. Place the worm container inside the cooler with a frozen gel pack or ice pack to keep things cool.
Avoid putting ice directly on the worm container. Melting ice creates excess water that can flood the bedding. Wrap the ice pack in a towel or cloth to prevent direct contact with the container.
Once you arrive at your fishing spot, keep the cooler in the shade. Open it only to grab worms. Direct sunlight heats up the inside of a cooler surprisingly fast. A wet towel draped over the cooler provides extra cooling through evaporation on hot days.
Pros: Coolers are cheap and effective. Gel packs last for hours.
Cons: You need to remember to freeze the packs ahead of time. Coolers add bulk to your gear.
How to Keep Worms Alive on the Bank During a Long Fishing Day
A full day of fishing puts your worms at risk, especially in warm weather. Shade is your top priority. Place the worm container under a tree, bush, or umbrella. Even a bucket turned sideways can provide enough shade.
Dig a shallow hole in the ground near your fishing spot and set the container inside it. The ground stays cooler than the air, and this simple trick can lower the temperature inside your container by several degrees.
Rotate your containers if you have more than one. Keep one in the cooler and one on the bank. Swap them every 20 to 30 minutes. This ensures you always have lively worms on your hook while the others stay cool in the cooler.
Pros: Ground burial is free and effective. Rotating containers keeps all worms fresh.
Cons: Not all fishing spots have shade. Digging may not be practical everywhere.
How to Spot and Remove Dead Worms Before They Kill the Rest
Dead worms release harmful bacteria and toxins into the bedding. One dead worm can start a chain reaction that kills the entire container if you do not catch it quickly. Make it a habit to inspect your worms before every fishing trip and at least once a week during storage.
Healthy worms are firm, responsive, and pull back when touched. Dead or dying worms look pale, flat, stretched out, and do not react to touch. They may also have a slimy coating or a foul smell.
Remove dead worms with a stick or your fingers and dispose of them away from the container. If you notice several dead worms at once, change the bedding immediately. The existing bedding may be too wet, too dry, too acidic, or contaminated with bacteria from the dead worms.
Pros: Early removal prevents mass die offs. Inspection takes only a minute or two.
Cons: Requires consistent attention. Some beginners have trouble identifying sick worms.
How to Avoid the Most Common Mistakes That Kill Fishing Worms
Most worm deaths come down to a handful of repeated mistakes. Overwatering is the number one killer. Worms need moisture, but standing water drowns them. Always aim for that damp sponge texture.
The second most common mistake is heat exposure. Leaving a worm container in a hot car, on a sunny dashboard, or in direct sunlight for even 30 minutes can be fatal. Worms have no way to cool themselves down.
Overfeeding ranks third. Uneaten food rots, creates heat, and attracts pests. Feed small amounts and wait until the previous food is gone before adding more. Using tap water with heavy chlorine is another common issue. Let tap water sit out for 24 hours before using it, or use filtered water.
Pros: Avoiding these mistakes keeps worms alive with very little effort.
Cons: Requires building new habits. Easy to forget in the excitement before a fishing trip.
How to Start a Simple Worm Farm at Home for Unlimited Fishing Bait
If you fish regularly, a small worm farm saves you money and gives you a constant supply of fresh bait. A basic setup requires a plastic tub, bedding, food scraps, and a starter batch of worms. Red wigglers are the easiest species to farm at home because they reproduce quickly and tolerate a wide range of conditions.
Drill small holes in the lid and upper sides of the tub for air flow. Fill it with six to eight inches of damp bedding. Add your starter worms and a small amount of food. Place the tub in a spot that stays between 55°F and 77°F.
Within a few months, your worms will reproduce and you will have more bait than you need. The worm castings they produce also make excellent garden fertilizer. Feed them kitchen scraps two to three times per week and change the bedding every couple of months.
Pros: Unlimited free bait. Produces garden fertilizer. Low startup cost.
Cons: Takes a few months to build up population. Requires weekly feeding and occasional bedding changes.
How to Choose Between Nightcrawlers and Red Wigglers for Fishing Bait
Nightcrawlers are larger and tougher on the hook. They work well for bass, walleye, catfish, and other larger species. They prefer cooler temperatures around 40°F to 55°F and need deeper bedding to burrow into.
Red wigglers are smaller and more active. Their constant movement on the hook attracts panfish, trout, and perch. They are easier to keep alive at home because they tolerate a wider temperature range and reproduce faster.
Your choice depends on what you fish for and how much effort you want to put into worm care. Nightcrawlers are better for occasional anglers who store bait in the fridge between trips. Red wigglers suit anglers who want to maintain a self sustaining worm farm at home.
Pros of nightcrawlers: Bigger profile attracts larger fish. Tough and durable on the hook.
Cons of nightcrawlers: Need cooler temps. Harder to breed at home.
Pros of red wigglers: Easy to breed. Active and lively.
Cons of red wigglers: Smaller size. Less durable on the hook.
Frequently Asked Questions
How long can you keep worms alive in the refrigerator?
You can keep nightcrawlers alive in the refrigerator for four to eight weeks with proper care. Maintain a temperature of 40°F to 45°F and check the moisture level weekly. Change the bedding every two to three weeks and remove any dead worms promptly. Red wigglers can also survive in the fridge, but they prefer slightly warmer temperatures and may become sluggish.
How do you know if your fishing worms are dead?
Dead worms appear pale, flat, and limp. They do not respond when you touch them. They may also feel slimy and produce a noticeable foul odor. Healthy worms are firm, react to light and touch, and have a rich reddish brown color. Remove dead worms immediately to protect the rest of the container.
Can you use tap water for your worm bedding?
Yes, but let the tap water sit out for 24 hours first to allow chlorine to evaporate. Chlorine can irritate worm skin and harm them over time. Filtered or dechlorinated water is the safest option. Always mist the bedding lightly with a spray bottle rather than pouring water directly into the container.
What is the best food for keeping fishing worms fat?
Coffee grounds, crushed eggshells, vegetable scraps, oatmeal, and stale bread are all excellent choices. Cut food into small pieces and bury it under the bedding. Avoid meat, dairy, citrus, onions, and oily foods. Feed small amounts once or twice a week and wait for the previous batch to disappear before adding more.
How do you keep worms alive in hot weather while fishing?
Use a small insulated cooler with a frozen gel pack to transport and store your worms on the bank. Keep the cooler in the shade and open it only when you need a worm. A wet towel over the cooler adds extra cooling. You can also dig a shallow hole in the ground and place the container inside to take advantage of the cooler soil temperature.

Hi, I’m Ivy Webb, the passionate angler and creator behind BaitHookVault.com. I spend my days out on the water personally testing and reviewing a wide variety of fishing tools and gear.