What Is the Best Way to Align a Misaligned Spinning Reel Rotor?
You just picked up your spinning reel, started cranking the handle, and felt that annoying wobble. The rotor shakes, vibrates, or tilts to one side with every turn.
A misaligned spinning reel rotor can ruin your fishing experience, tangle your line, and cause uneven line lay on the spool. The good news? You can fix this yourself in most cases without spending money on a professional reel repair service.
Whether your rotor nut has worked itself loose, your bearings are worn, or the rotor itself is out of balance, there is a clear solution for each problem. This guide walks you through every cause and every fix, step by step.
In a Nutshell
- A loose rotor nut is the most common cause of spinning reel rotor misalignment. Remove the spool, locate the nut on the main shaft, and tighten it to a moderate snugness. Do not overtighten, as this can warp the pinion gear. Apply a small amount of blue thread locker (like Loctite) to prevent the nut from backing out during use.
- Worn or damaged bearings create excess rotor play. When you can rock the rotor back and forth by hand, the bearings supporting the pinion gear may be degraded. Replacing these bearings restores a tight, smooth spin and removes the wobble.
- An unbalanced rotor causes vibration at speed. The bail arm side of the rotor is heavier than the opposite side. Adding a small counterweight, such as a stick on lead wheel weight, to the lighter side can eliminate vibration. This method mimics how car tires are balanced.
- A bent main shaft or damaged rotor creates persistent misalignment. If the shaft is bent, straightening it is possible with careful work, but replacing the shaft or rotor is often the safer and more reliable option.
- Regular cleaning and lubrication prevent many rotor problems before they start. Dirt, salt, and sand work their way into the reel body and wear down parts faster. A quick rinse after each trip and periodic lubrication of bearings and gears keeps the rotor spinning true.
- Shimming the main gear can improve overall rotor alignment. Thin shims placed above or below the main gear reduce play and help the rotor sit evenly on the pinion shaft. This fine tuning step is common among reel technicians.
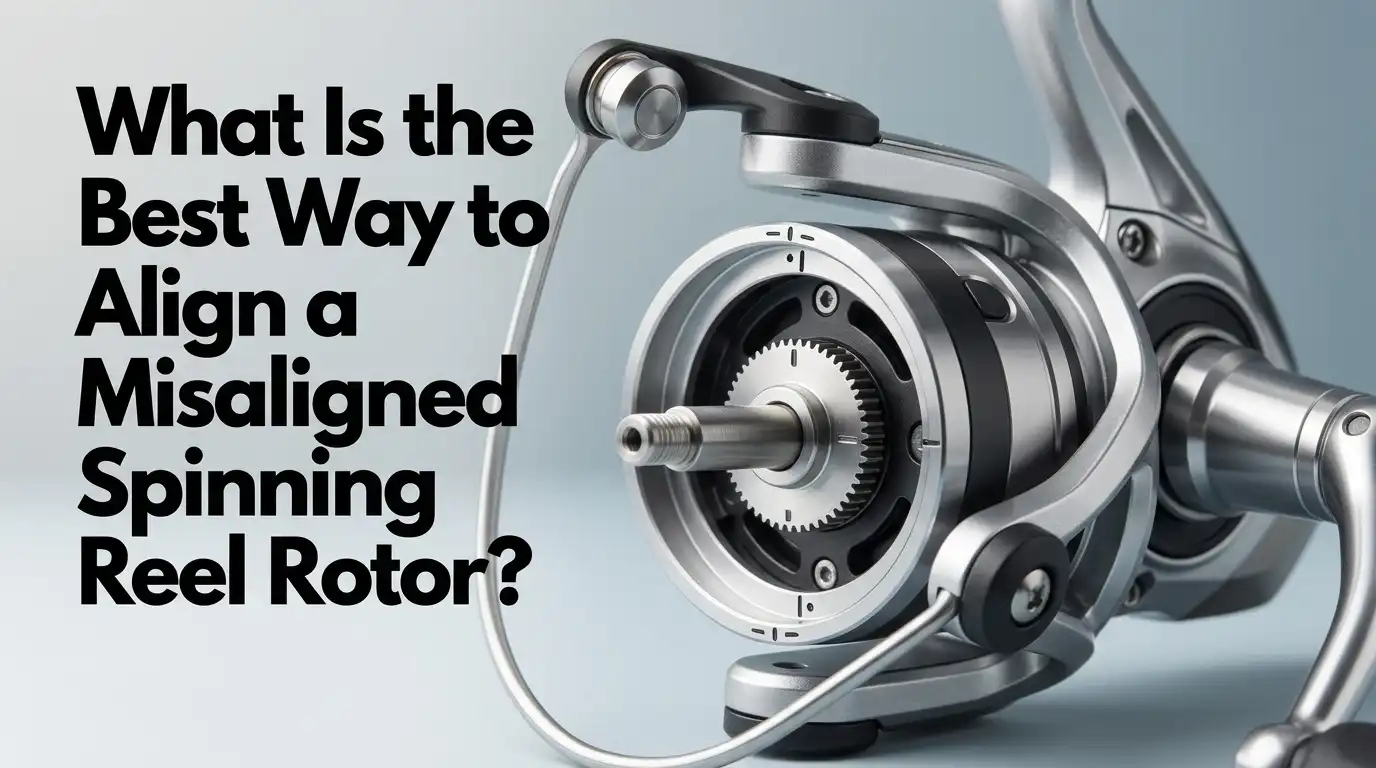
Understanding What a Spinning Reel Rotor Does
The rotor is the rotating assembly that sits on top of the reel body. It holds the bail arm and the line roller. Every time you turn the handle, the rotor spins around the spool and wraps line onto it. The rotor must spin evenly and concentrically for the reel to function well.
A rotor that wobbles or tilts creates several problems. It causes uneven line lay, increases friction, and puts stress on internal gears. Over time, that stress leads to premature wear on the pinion gear, main gear, and bearings. Understanding the rotor’s role helps you see why alignment matters so much.
Most rotors have a built in counterweight on the side opposite the bail arm. This counterweight exists to offset the heavier bail assembly. If the counterweight is too light or the rotor has been damaged, the balance shifts and wobble begins.
Common Causes of a Misaligned Rotor
Several issues can push a spinning reel rotor out of alignment. The most frequent cause is a loose rotor nut. This nut sits on the main shaft beneath the spool and holds the rotor in place. Vibration during normal use can gradually loosen it, especially on budget reels that lack a lock washer or set screw.
Worn bearings are the second most common cause. The bearings on the pinion gear shaft support the rotor as it spins. Once these bearings develop play, the rotor rocks and tilts during rotation.
A bent main shaft creates a tilted orbit for the rotor. Dropping the reel on a hard surface or slamming a car trunk on it can bend the shaft. Physical damage to the rotor itself, such as a crack or a warped section, also leads to misalignment. Finally, dirt and corrosion buildup inside the reel body can push parts out of position and create friction that throws off smooth rotation.
Tools You Will Need for the Fix
Before you start working on your reel, gather a few basic items. You will need a set of small screwdrivers, both flat head and Phillips. A pair of needle nose pliers helps with removing small clips and washers. A clean, well lit workspace with a towel or mat prevents small parts from rolling away.
Keep a small container nearby to hold screws, washers, and shims as you remove them. Reel oil and reel grease are essential for reassembly. Do not use household oils like WD 40, as they can strip existing grease and attract dirt.
If you plan to balance the rotor, you will also need stick on lead wheel weights (the kind used for car tire balancing) or small pieces of moldable lead. A tube of blue thread locker is useful for securing the rotor nut. Having the schematic diagram for your specific reel model makes the entire process much easier, and most manufacturers provide these for free on their websites.
How to Diagnose the Type of Misalignment
Start by removing the spool from the reel. Loosen the drag knob fully and lift the spool off the shaft. Now, turn the handle slowly and watch the rotor spin. Look for side to side movement, up and down play, or visible tilting.
Grab the rotor gently with your free hand and try to rock it. If it moves back and forth on the shaft, you likely have a loose rotor nut or worn bearings. If the rotor spins smoothly but vibrates at higher speeds, the issue is balance rather than mechanical play.
Check the main shaft by looking straight down at it. A bent shaft will appear slightly off center as the rotor turns. Spin the rotor and watch whether the bail arm traces a level circle or dips on one side. This visual check tells you quickly whether you are dealing with a balance problem, a loose component, or physical damage.
Fixing a Loose Rotor Nut
This is the easiest and most common fix. Remove the spool by loosening the drag knob. Beneath the spool, you will see the main shaft with a nut threaded onto it. Use the appropriate wrench or pliers to tighten this nut.
The key is moderate tightness. You want the nut snug but not cranked down with full force. Overtightening can warp the pinion gear, which creates a whole new problem. Once tightened, apply a small drop of blue Loctite to the threads. This prevents the nut from vibrating loose again.
Some reels use a lock washer or a set screw instead of thread locker. If your reel has these features, make sure the lock washer is seated flat and the set screw is secure. Reassemble the spool and spin the handle to test. The wobble should be gone if the nut was the culprit.
Pros: Quick fix, no special skills required, zero cost if you already have basic tools.
Cons: Does not solve the problem if bearings or the shaft are the real issue. Nut may loosen again if thread locker is not used.
Replacing Worn Bearings to Eliminate Play
When tightening the rotor nut does not fix the wobble, worn bearings are the likely cause. The bearings on the pinion gear shaft allow the rotor to spin freely. Over time, salt, dirt, and friction wear them down and create play.
To access these bearings, you will need to remove the rotor from the reel body. Unscrew the rotor nut completely, then carefully slide the rotor off the shaft. Inside the reel body, locate the bearings on the pinion gear. They are small metal or ceramic rings. If they feel rough when you spin them with your finger, or if they have visible corrosion, they need to be replaced.
Order the correct bearing size for your reel model. Press or slide the new bearings into place, apply a small drop of reel oil, and reassemble the rotor. The fit should feel tight and smooth with no rocking.
Pros: Eliminates the root cause of rotor play. New bearings also improve overall reel smoothness and retrieve feel.
Cons: Requires disassembly, which can be intimidating for beginners. Bearings must match the exact size specification, and sourcing them may take time.
Balancing an Unbalanced Rotor with Counterweights
Some rotors wobble not because of loose parts but because they are poorly balanced. The bail arm side is heavier, and the factory counterweight does not fully offset that difference. This is especially common on older or budget reels.
The simplest fix uses stick on lead wheel weights. These are the same adhesive weights used to balance car rims. Cut a small strip, peel off the backing, and press it onto the inside of the rotor on the lighter side (opposite the bail arm). Start with a small piece and test by spinning the handle. Add or remove weight until the vibration disappears.
Another approach involves melting a small amount of lead into the rotor cup on the lighter side and securing it with high temperature hot glue. This method provides a more permanent solution. You can also use a small countersunk screw drilled and tapped into the rotor with lead molded around it for extra security.
Pros: Dramatically reduces vibration. Stick on weights are cheap and easy to apply. The fix is reversible.
Cons: Requires trial and error to find the right amount of weight. Stick on weights may eventually shift or fall off. Melting lead requires care to avoid damaging paint or coatings.
Addressing a Bent Main Shaft
A bent main shaft creates a consistent wobble that no amount of nut tightening or bearing replacement will fix. You can identify a bent shaft by removing the rotor and rolling the shaft on a flat, hard surface. A straight shaft rolls evenly. A bent shaft wobbles or rocks.
Straightening a shaft is possible, but it carries risk. Placing the shaft on a flat surface and gently pressing the bend out with controlled force can work. However, if you apply too much pressure, you can snap the shaft or create a weak point that fails during a fight with a fish.
The safer approach is to replace the shaft entirely. Contact the reel manufacturer or a third party reel parts supplier and order the correct replacement. Installation is straightforward on most reels. Slide the new shaft into the reel body and reassemble. A new shaft guarantees perfect alignment and eliminates any hidden stress fractures.
Pros of straightening: Free if done at home. Keeps the original part intact.
Cons of straightening: Risk of breaking the shaft. May not achieve perfect alignment.
Pros of replacing: Reliable, permanent fix. No risk of hidden damage.
Cons of replacing: Costs money. Parts may not be available for discontinued models.
Using Shims to Fine Tune Rotor Alignment
Shimming is a precision adjustment technique that reel technicians use to remove play from the main gear and pinion gear assembly. Thin metal or plastic shims placed above or below the main gear change how the rotor sits on the shaft. This adjusts the vertical position and reduces any up and down movement.
To shim your reel, remove the side plate and access the main gear. Note the existing shims and their positions before removing anything. Add a thin shim above or below the gear to change the clearance. The goal is to reduce play without creating binding. The rotor should spin freely with minimal wobble.
Some reels include extra shims in the box from the factory. If yours did not, you can purchase shim kits from reel parts suppliers. Test the reel after each shim adjustment by spinning the handle and feeling for smoothness. A properly shimmed reel feels noticeably tighter and more precise.
Pros: Provides fine control over alignment. Professional level fix that dramatically improves reel feel.
Cons: Requires patience and multiple test fits. Incorrect shimming can create gear binding and damage.
Cleaning and Lubricating to Prevent Future Misalignment
Prevention is easier than repair. Dirt, salt, sand, and old grease buildup inside a spinning reel accelerate wear on every moving part. Regular cleaning keeps the rotor aligned and the gears operating smoothly.
After every saltwater trip, rinse the reel gently under fresh water with the drag tightened. This prevents salt from entering the reel body. Once a season, or more often if you fish frequently, perform a full disassembly. Clean each part with a mild solvent or reel cleaner, dry everything completely, and apply fresh reel grease to gears and reel oil to bearings.
Pay special attention to the pinion gear bearings and the rotor nut. Grease the threads of the rotor nut lightly to prevent corrosion. Check the nut’s tightness every few trips. These simple steps add years to your reel’s life and prevent the misalignment problems that lead to wobble and vibration.
When to Seek Professional Reel Repair
Some problems go beyond a home fix. If you have tried tightening the nut, replacing bearings, shimming, and balancing, and the rotor still wobbles, a professional reel technician should inspect the reel. Internal gear damage, a cracked rotor housing, or a warped reel body require specialized tools and expertise.
Professional services typically cost between $25 and $60 for a full cleaning and adjustment. Major repairs involving parts replacement may cost more. Many local tackle shops offer reel repair, and several mail in services specialize in spinning reel work.
A professional can also identify problems you might miss, such as a slightly out of round pinion gear or a worn oscillation mechanism that affects rotor movement. If your reel has sentimental or monetary value, a professional repair protects that investment and ensures the work is done correctly.
Quick Reference Checklist for Rotor Alignment
Follow this order to diagnose and fix a misaligned spinning reel rotor efficiently. Start with the simplest fix and move to more involved solutions only if needed. Remove the spool and check the rotor nut for looseness. Tighten it to moderate snugness and apply thread locker.
If the wobble continues, inspect the bearings. Replace any bearing that feels gritty or has visible damage. Check the main shaft for bends by rolling it on a flat surface. Replace the shaft if it is not straight.
Test the rotor balance by spinning it slowly and noting where the heavy side settles. Add stick on lead weights to the lighter side until the vibration stops. Finally, shim the main gear if there is vertical play. This systematic approach saves time and ensures you address the actual cause rather than guessing.
Frequently Asked Questions
Why does my spinning reel rotor wobble even though it is new?
Some brand new reels have factory rotor imbalance. The counterweight cast into the rotor may not perfectly offset the bail arm’s weight. Budget reels are more prone to this issue because manufacturers spend less on precision balancing. You can fix it by adding a small stick on lead weight to the lighter side of the rotor.
Can I use WD 40 to lubricate my spinning reel?
No. WD 40 is a solvent and water displacer, not a lubricant. It strips existing grease from gears and bearings and leaves a thin residue that attracts dirt. Use purpose made reel oil for bearings and reel grease for gears. These products are formulated to protect and lubricate under the specific conditions inside a fishing reel.
How often should I check the rotor nut on my spinning reel?
Check the rotor nut every 5 to 10 fishing trips, or anytime you notice a new wobble or vibration. Reels without a lock washer or set screw are more likely to develop a loose nut. Applying blue thread locker during your first check greatly reduces the chance of it loosening again.
Is it safe to straighten a bent main shaft at home?
It is possible but risky. A slight bend can sometimes be corrected by gently pressing the shaft against a flat surface. However, applying too much force can snap the shaft or create a weak spot. If the bend is significant, replacing the shaft is the safer and more reliable choice.
How do I know if my spinning reel needs new bearings?
Remove the spool and spin the rotor by hand. If you feel roughness, grinding, or hear a gritty sound, the bearings are likely worn. You can also remove the bearings and spin them individually between your fingers. A healthy bearing spins freely and silently. A worn bearing feels rough and may not spin at all.
What type of lead weight should I use to balance a rotor?
Stick on lead wheel weights made for car tire balancing work perfectly. They are inexpensive, easy to cut to size, and have a strong adhesive backing. These weights stay on car rims at highway speeds and in rain, so they hold up well on a fishing reel rotor. Cut small strips and test incrementally until the vibration stops.

Hi, I’m Ivy Webb, the passionate angler and creator behind BaitHookVault.com. I spend my days out on the water personally testing and reviewing a wide variety of fishing tools and gear.